Fresh green beans cooked with salt and better is one of my favorite dishes. I came across the variety Prevail several years ago and find it a superior open-pollinated bush bean.
English:
Chinese:

Fresh green beans cooked with salt and better is one of my favorite dishes. I came across the variety Prevail several years ago and find it a superior open-pollinated bush bean.
English:
Chinese:
Cabbage is one of those veggies that can keep well. While green cabbage grows fast, I personally like gunma and savory cabbages because they taste better than the bland green cabbage. However, for best nutritious value, red cabbage is preferred.
English:
Chinese:
Daikon is a white winter radish that grow from mid-summer to fall. Its flavor is mild and according to traditional Chinese culinary, daikon could neutralize the “heat” when having red meat such as lamb and beef.
English:
Chinese:
October is garlic planting season. The hardneck variety that we grow is called “Music”.
In the following videos, I share some tips on growing your own garlic.
Chinese:
English:
This year marks the first year we start using the greenhouse and it does make a difference for peppers.
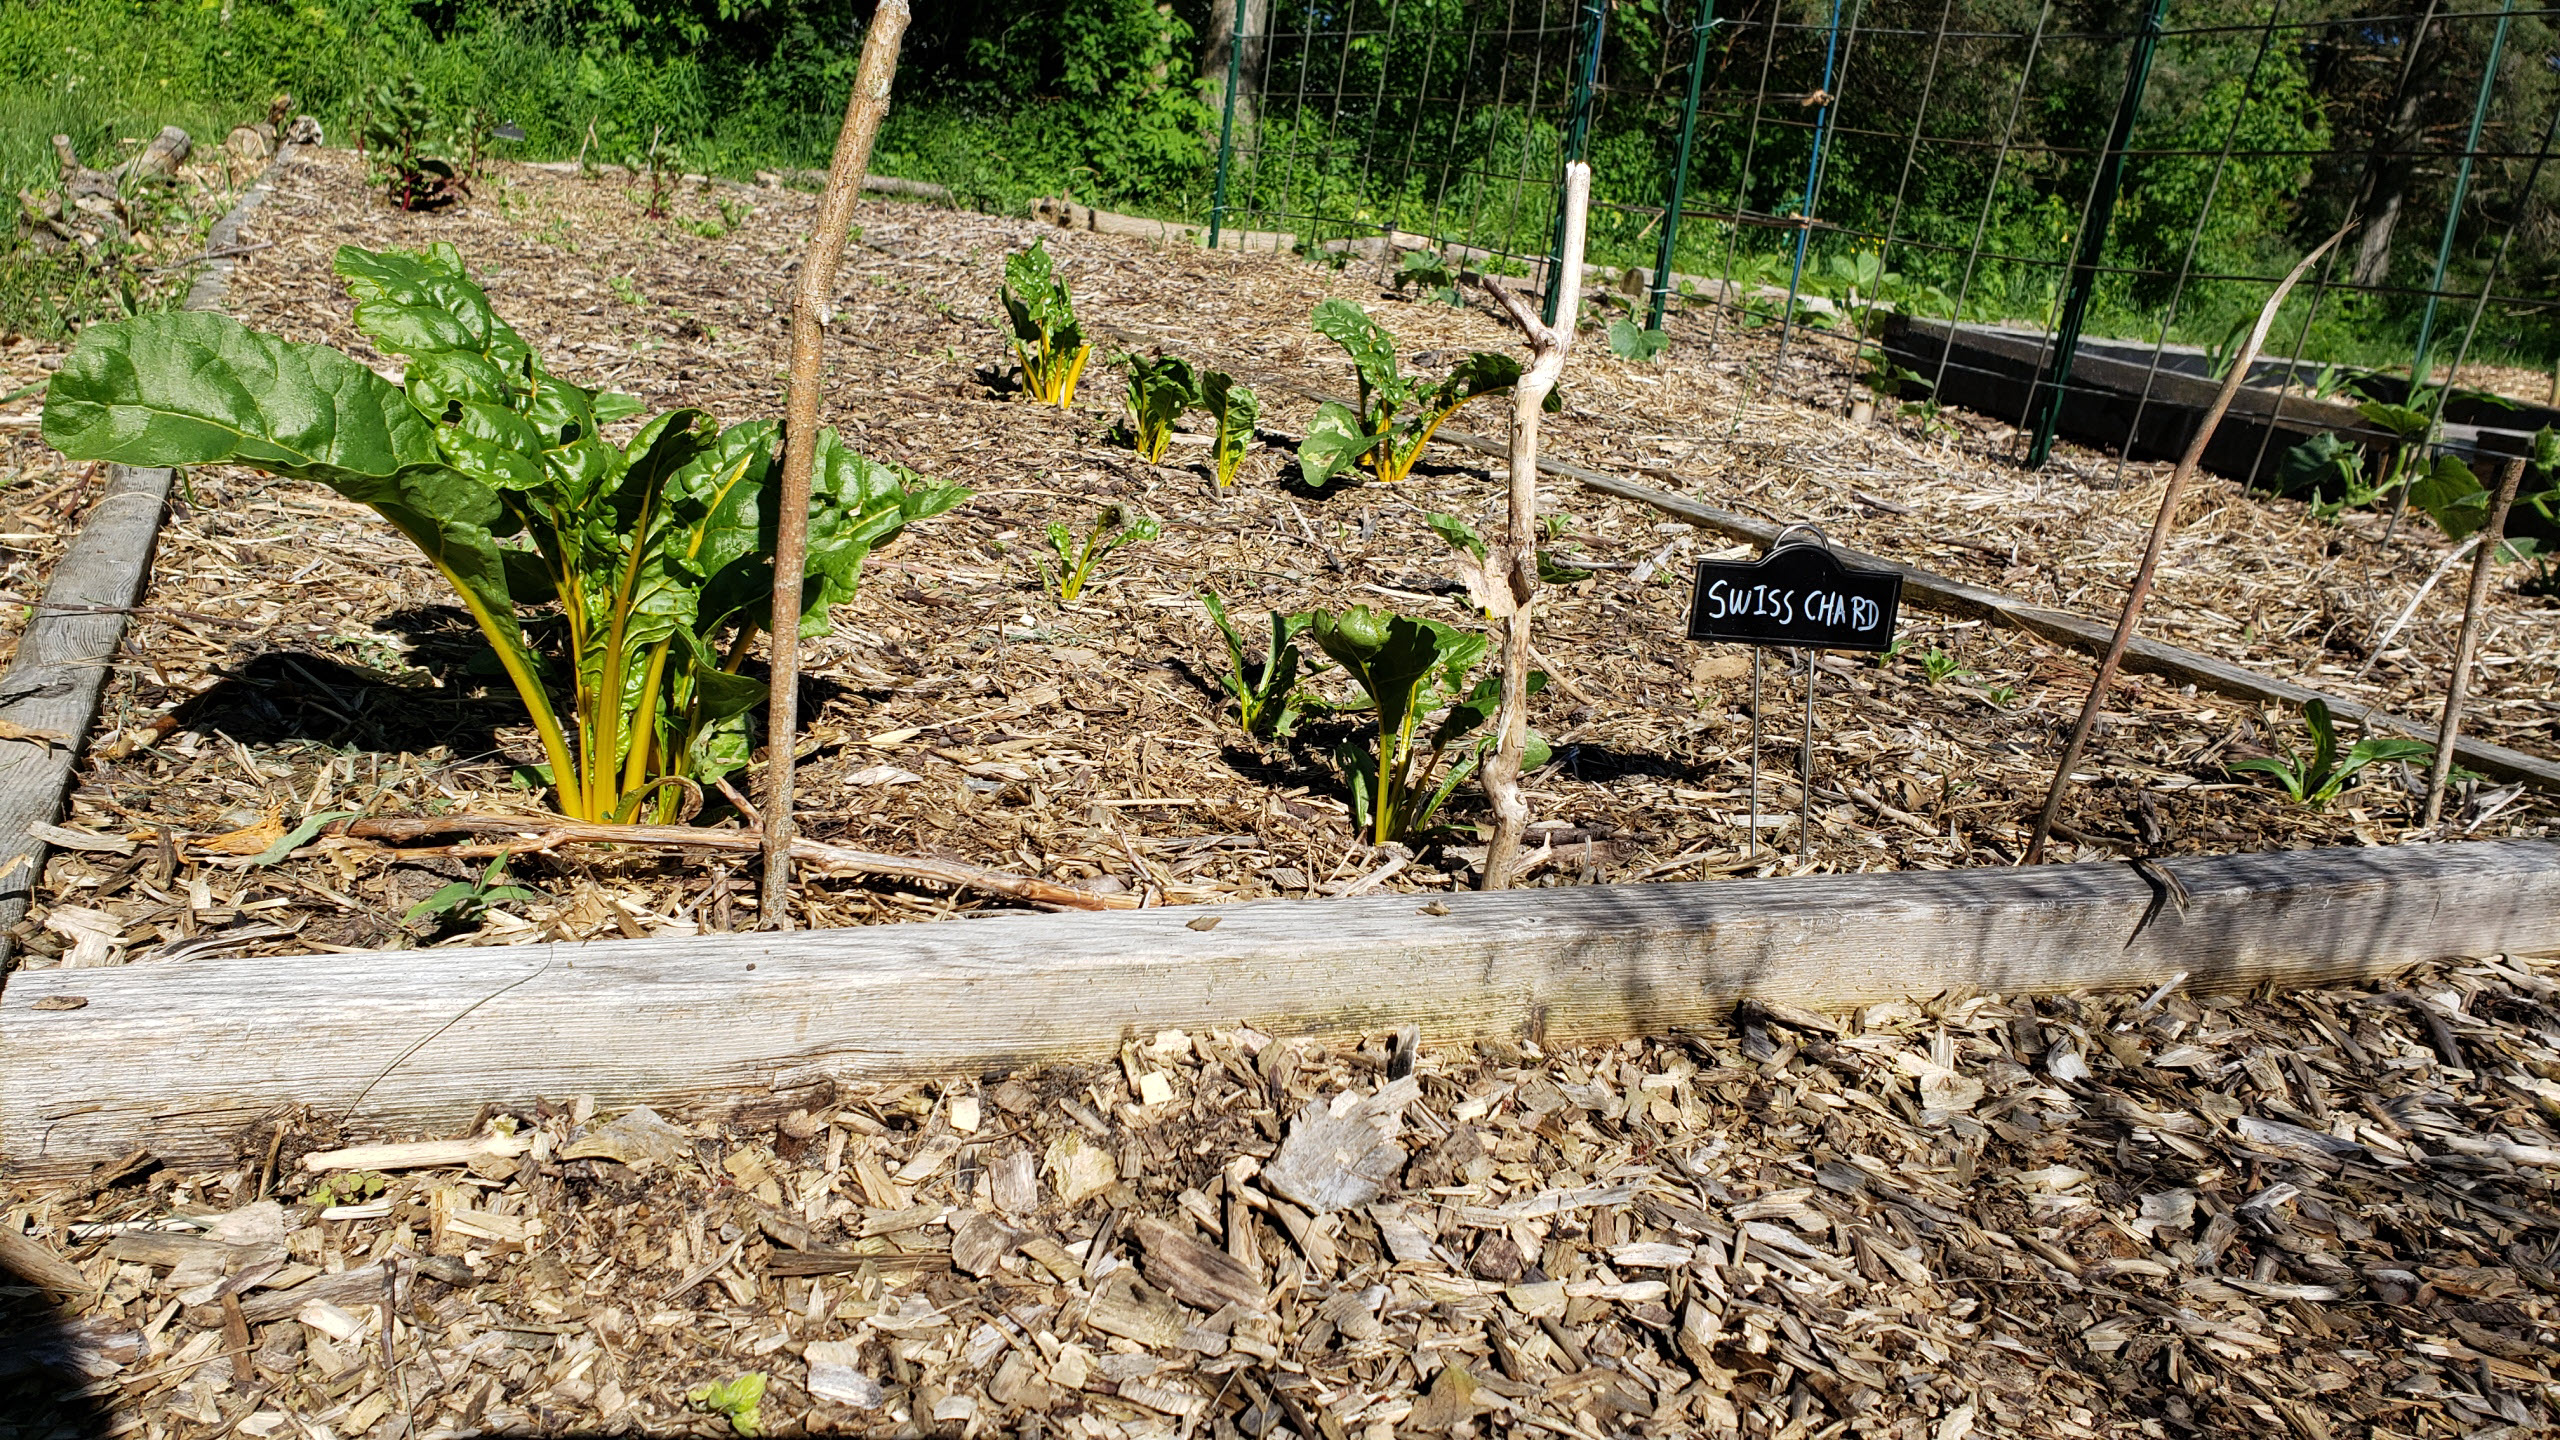 |
I always plant Swiss Chard. Once they are established, I just keep cutting them. |
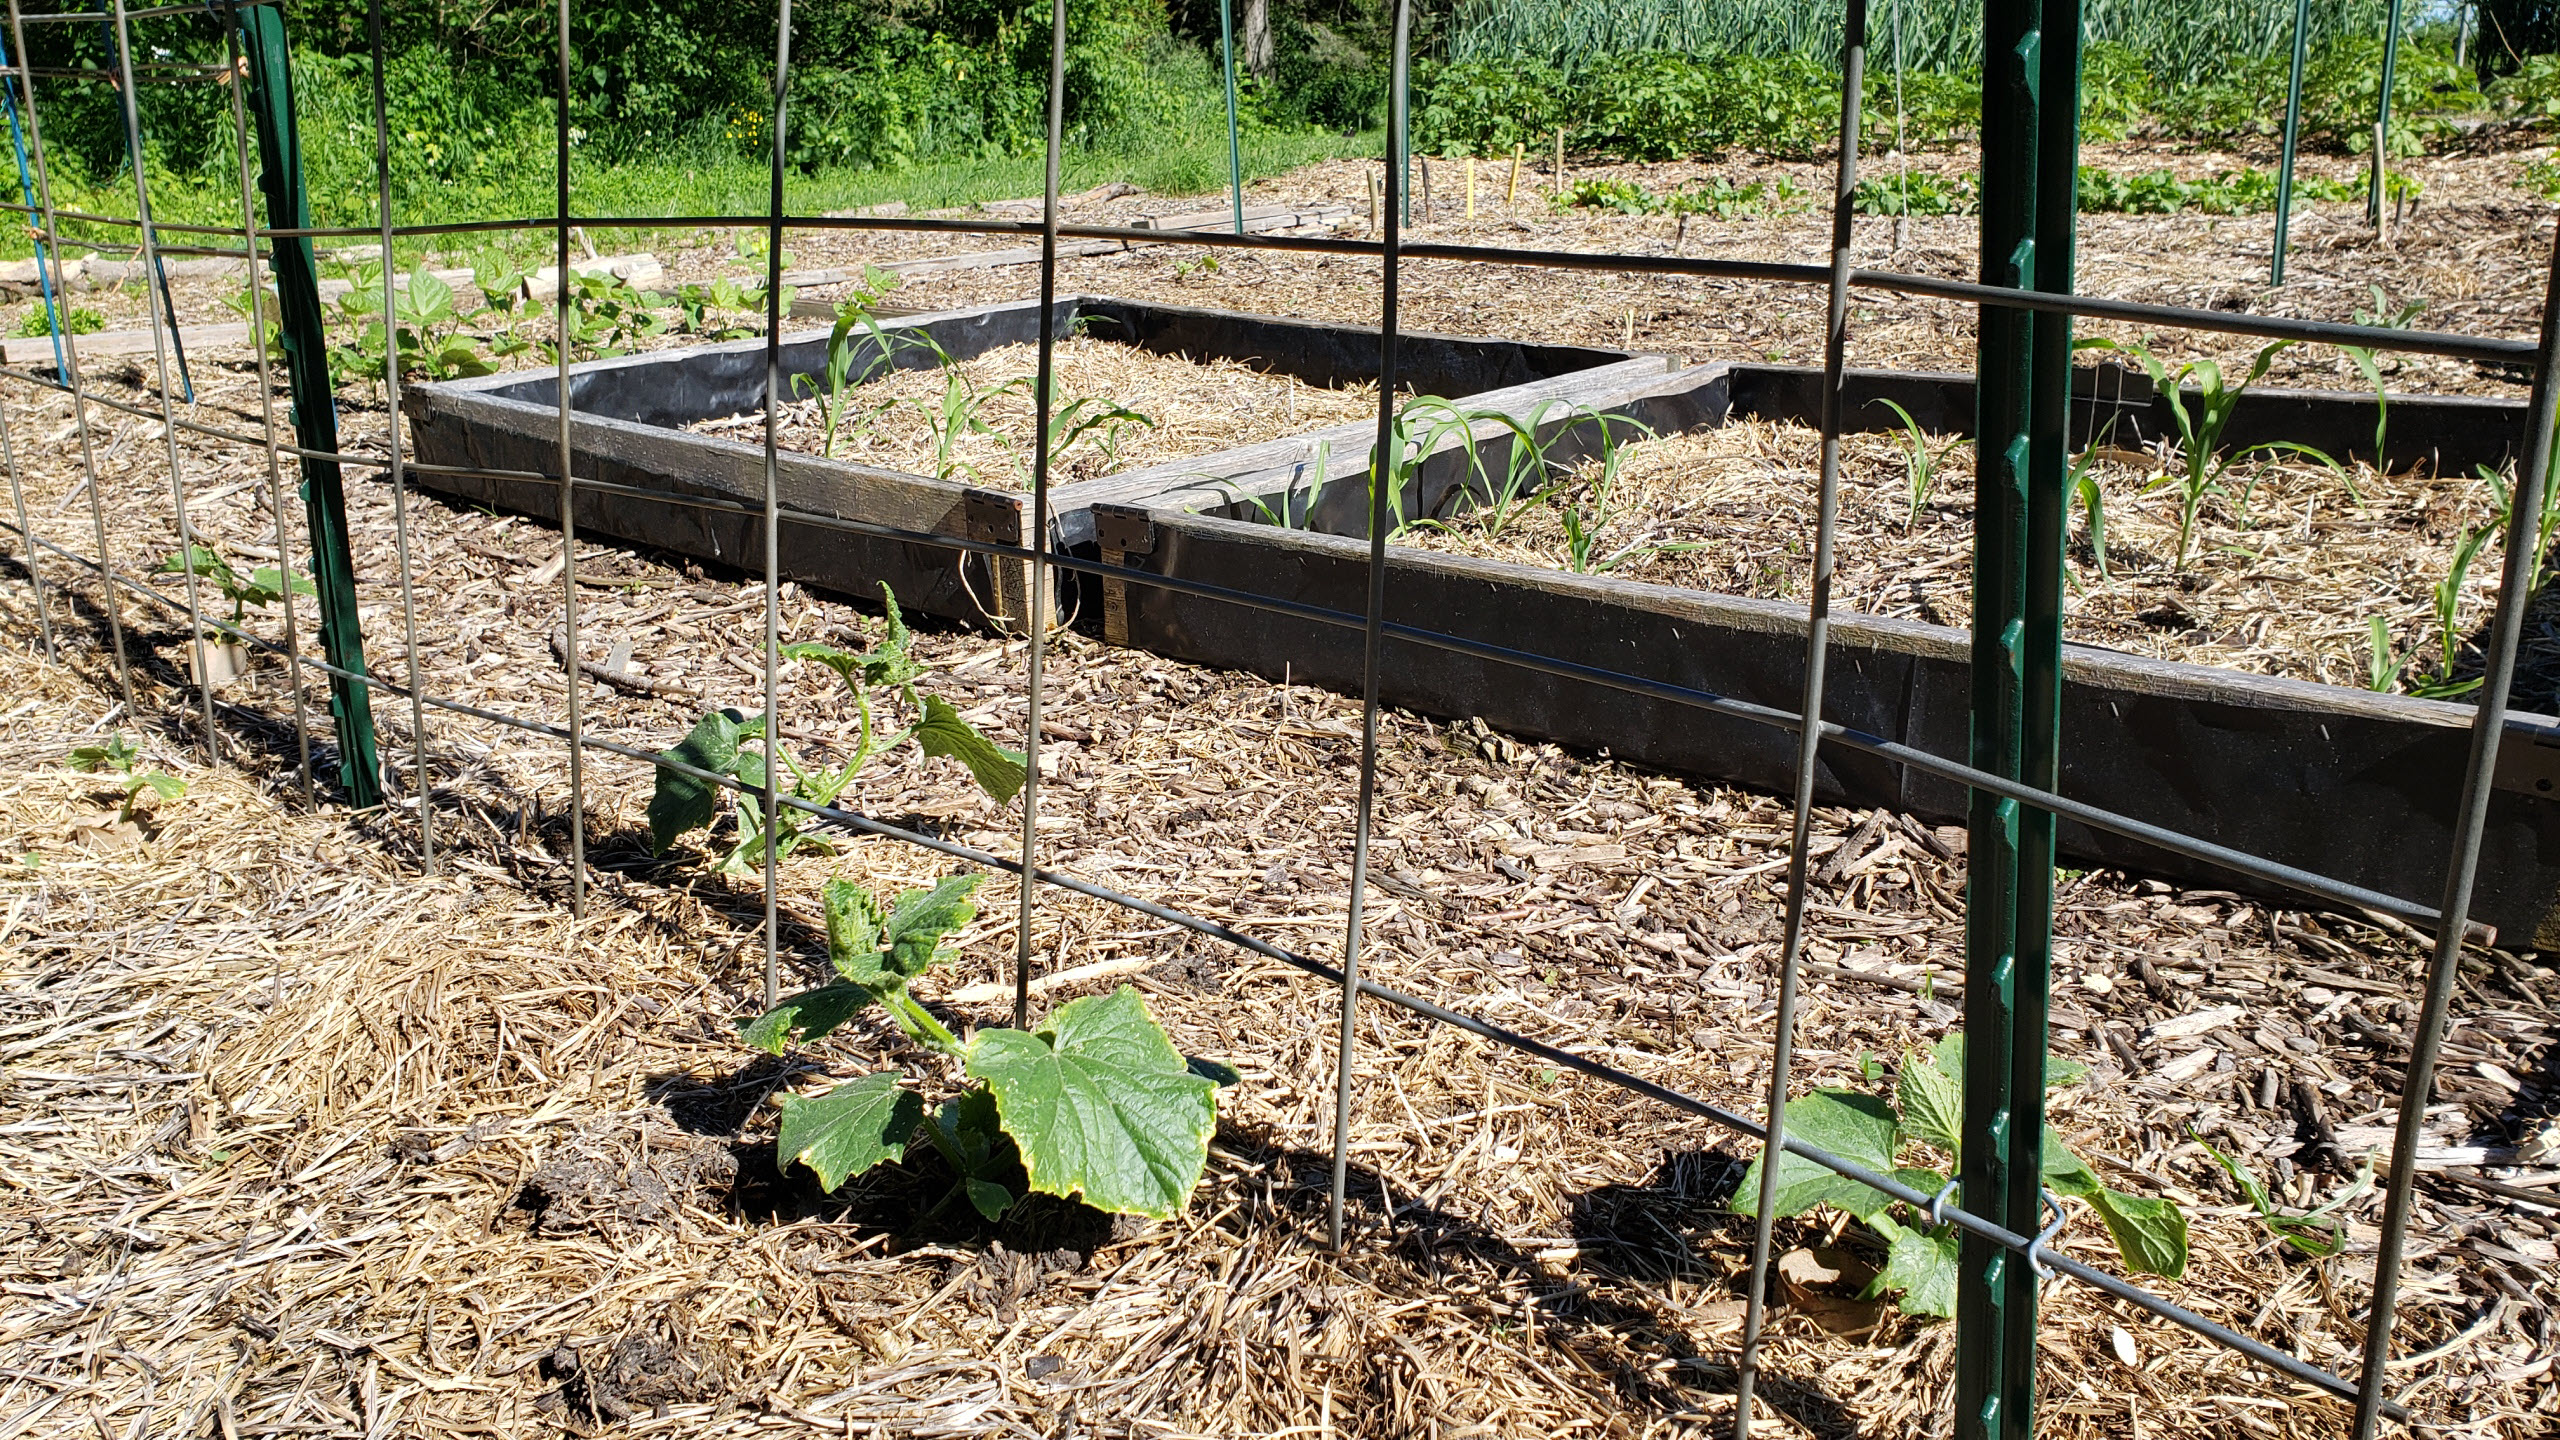 |
Cucumbers. |
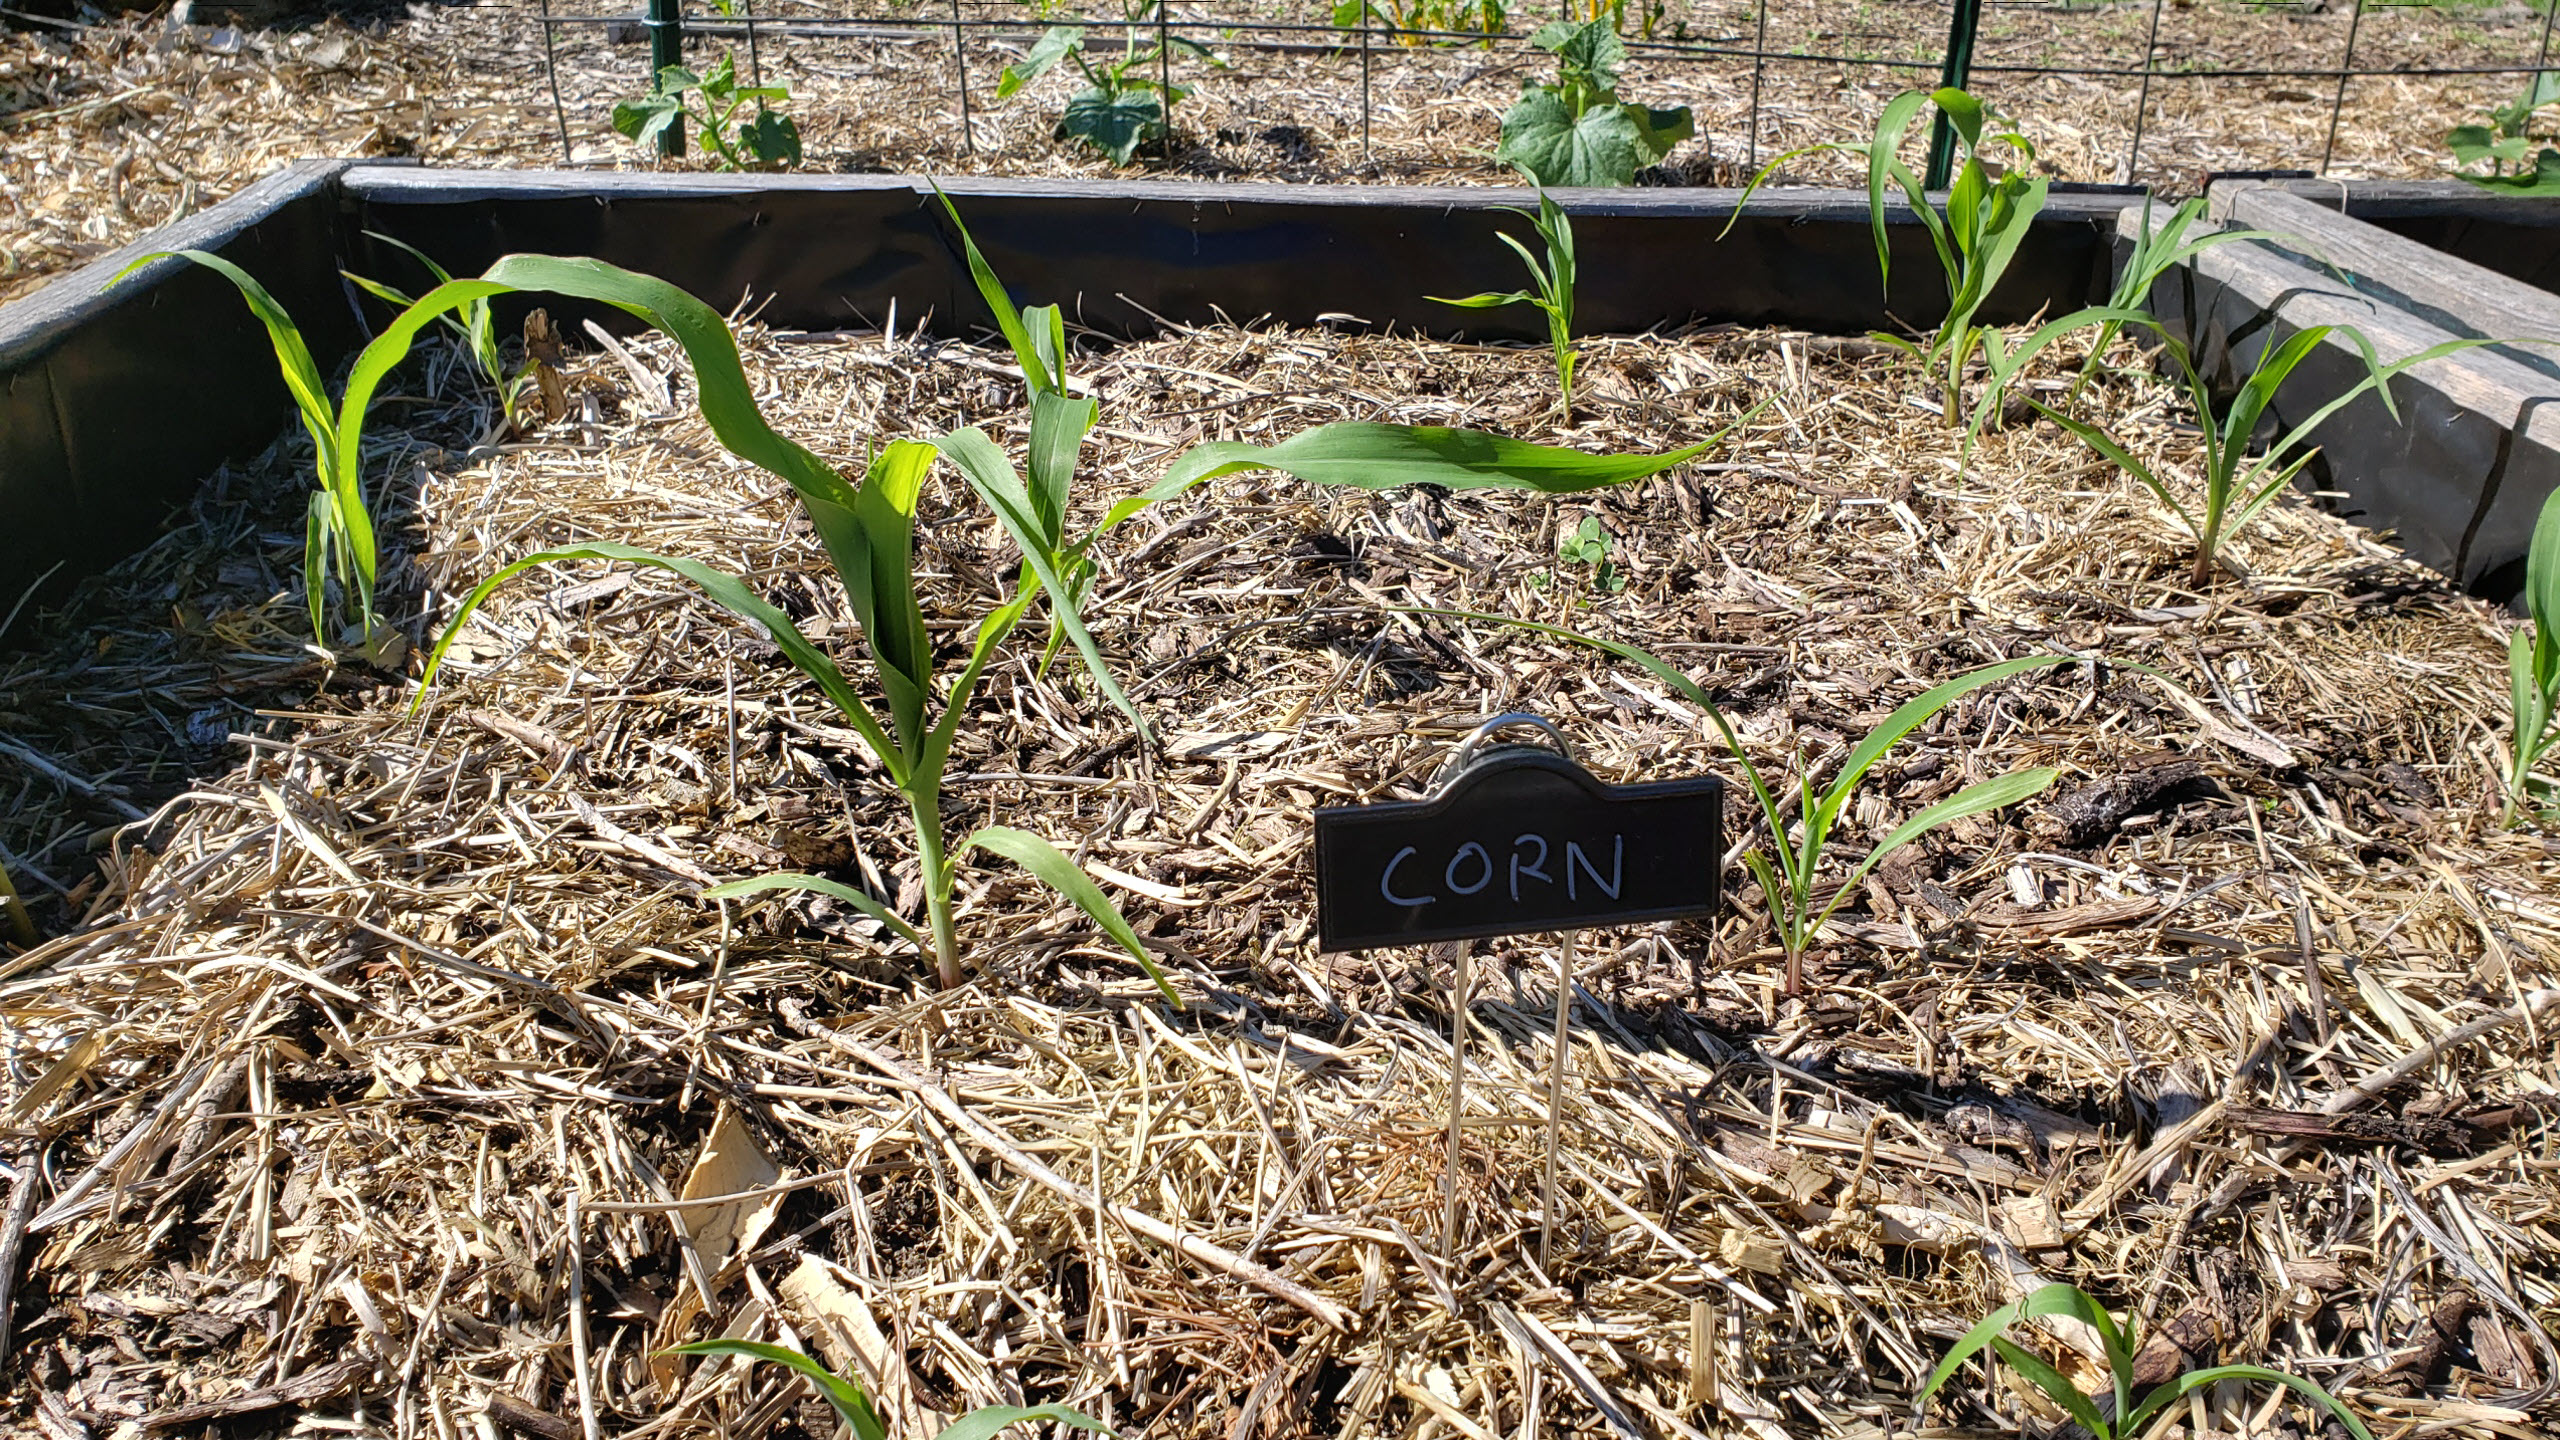 |
Golden Bantam corn. |
 |
Beans. I have planted 3 successive plots, each separated by 2 weeks. |
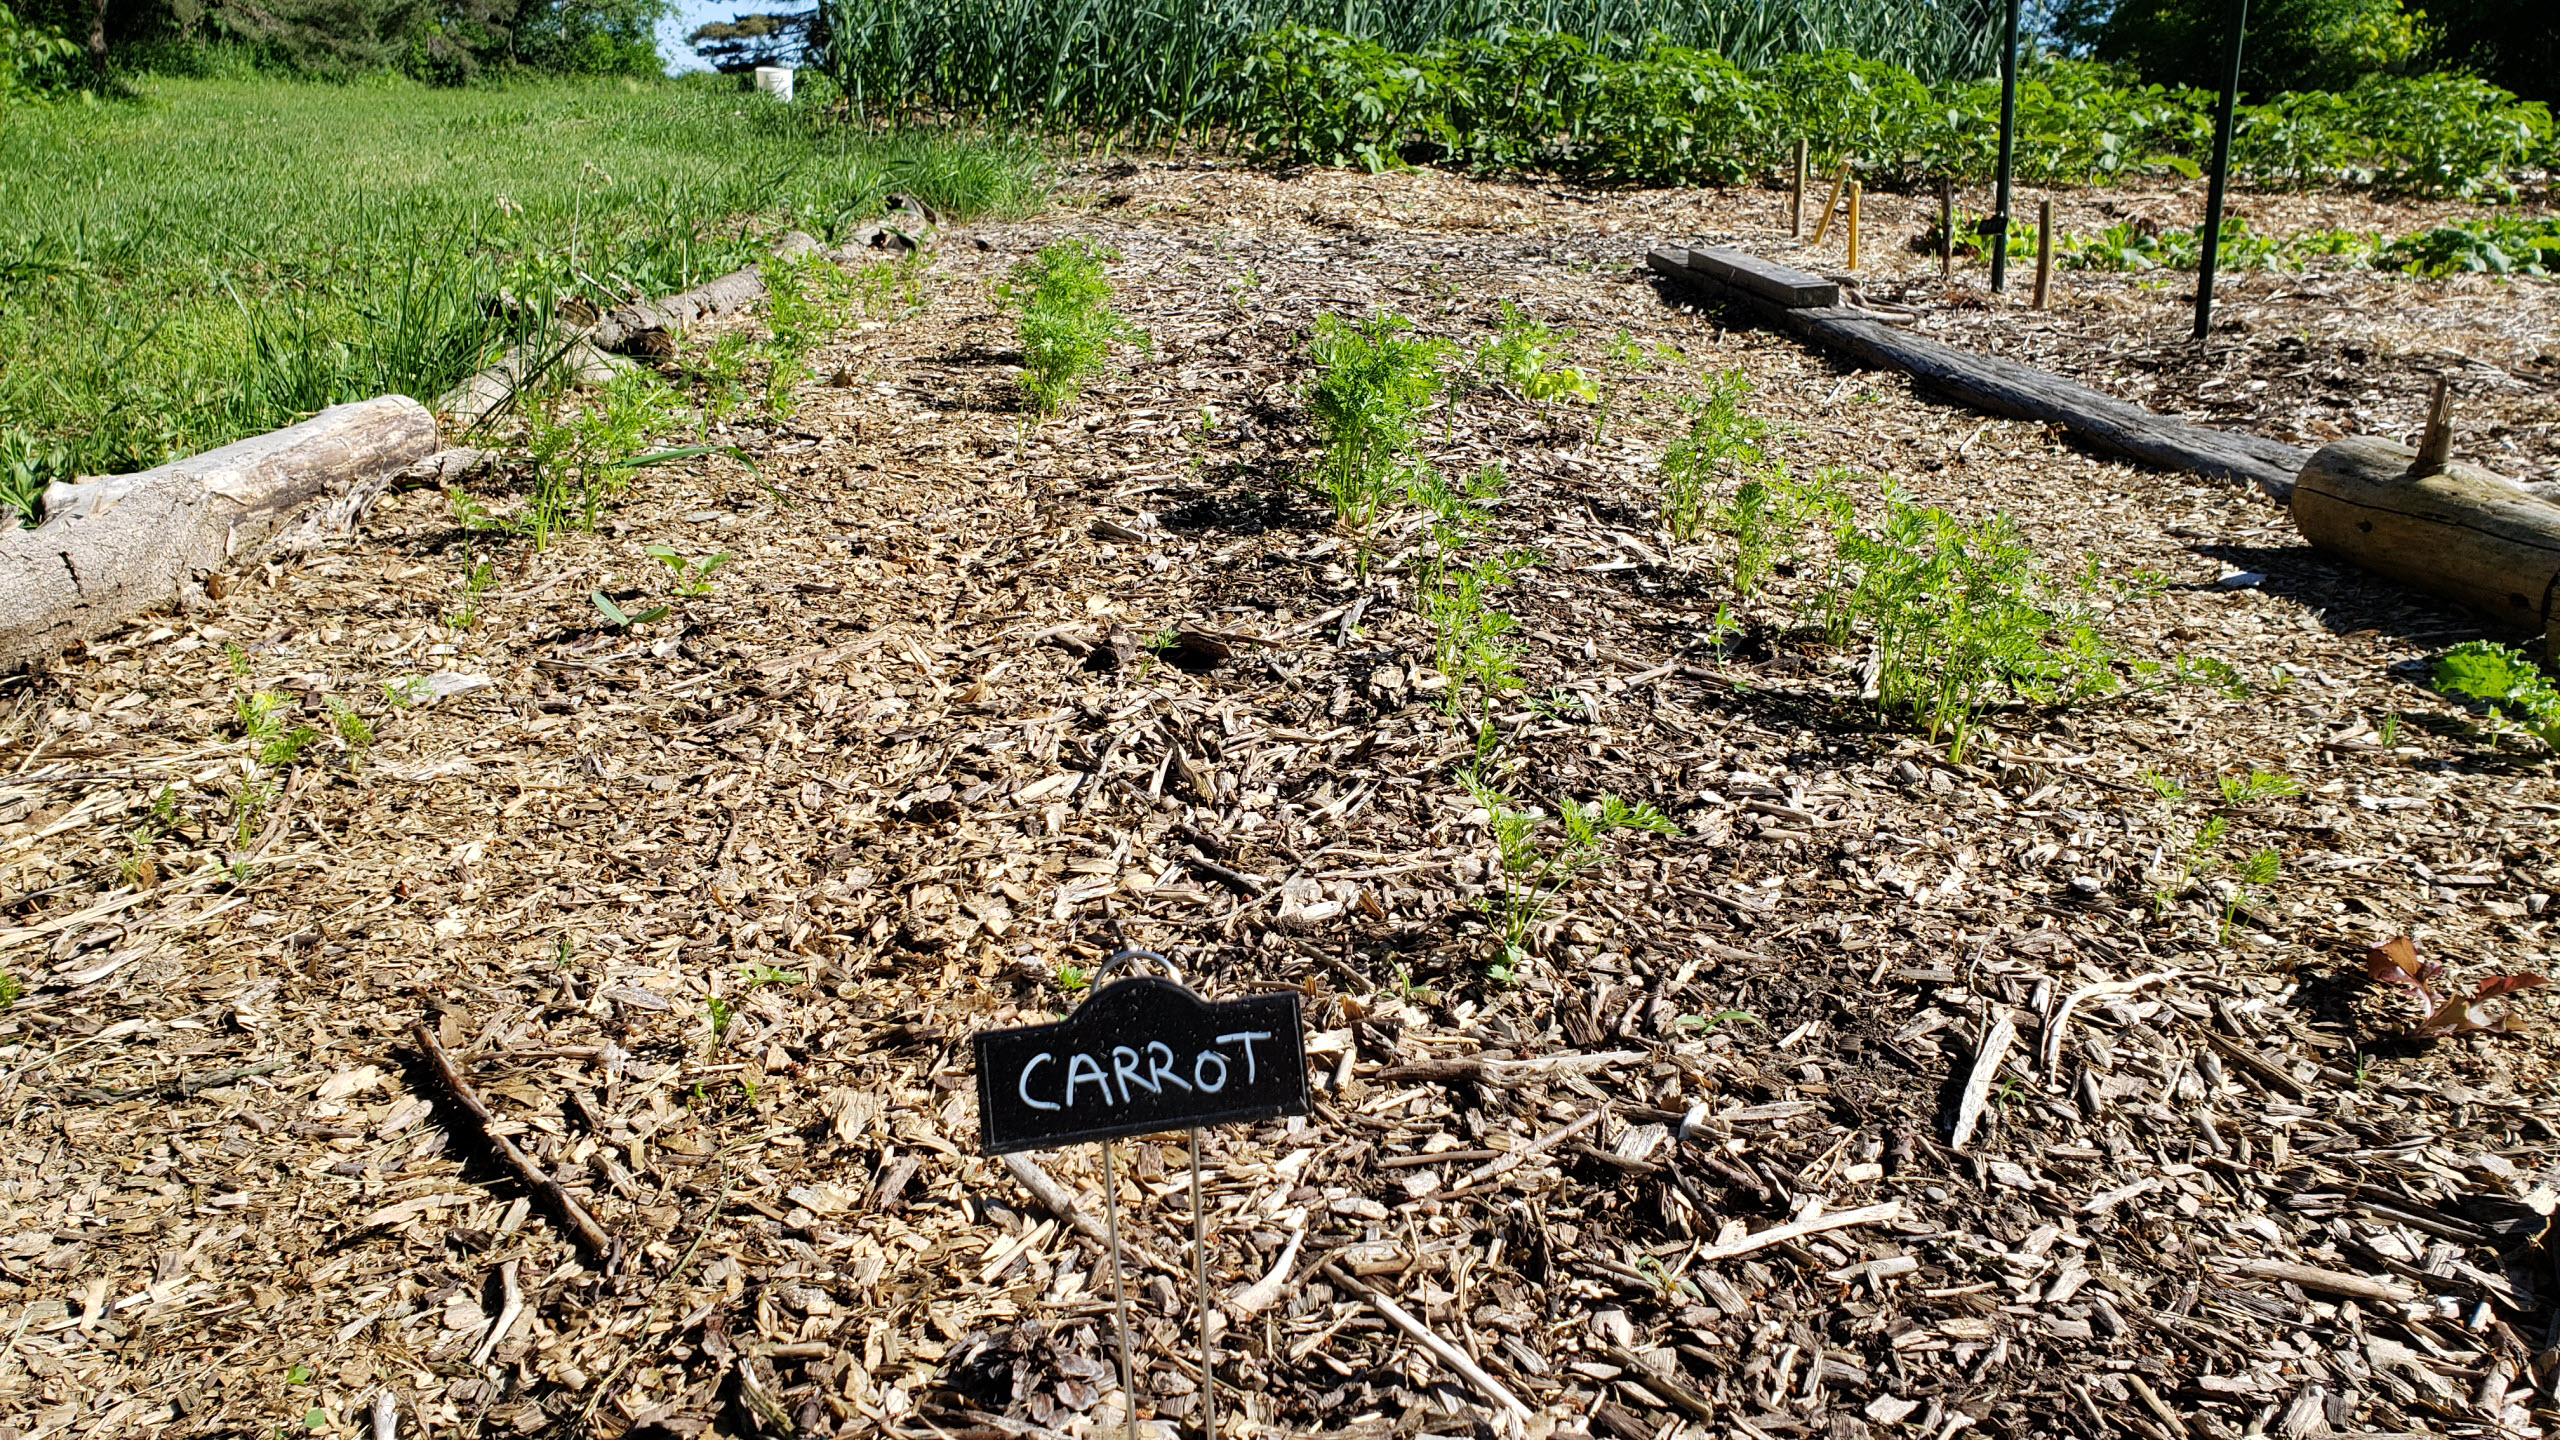 |
Carrots. |
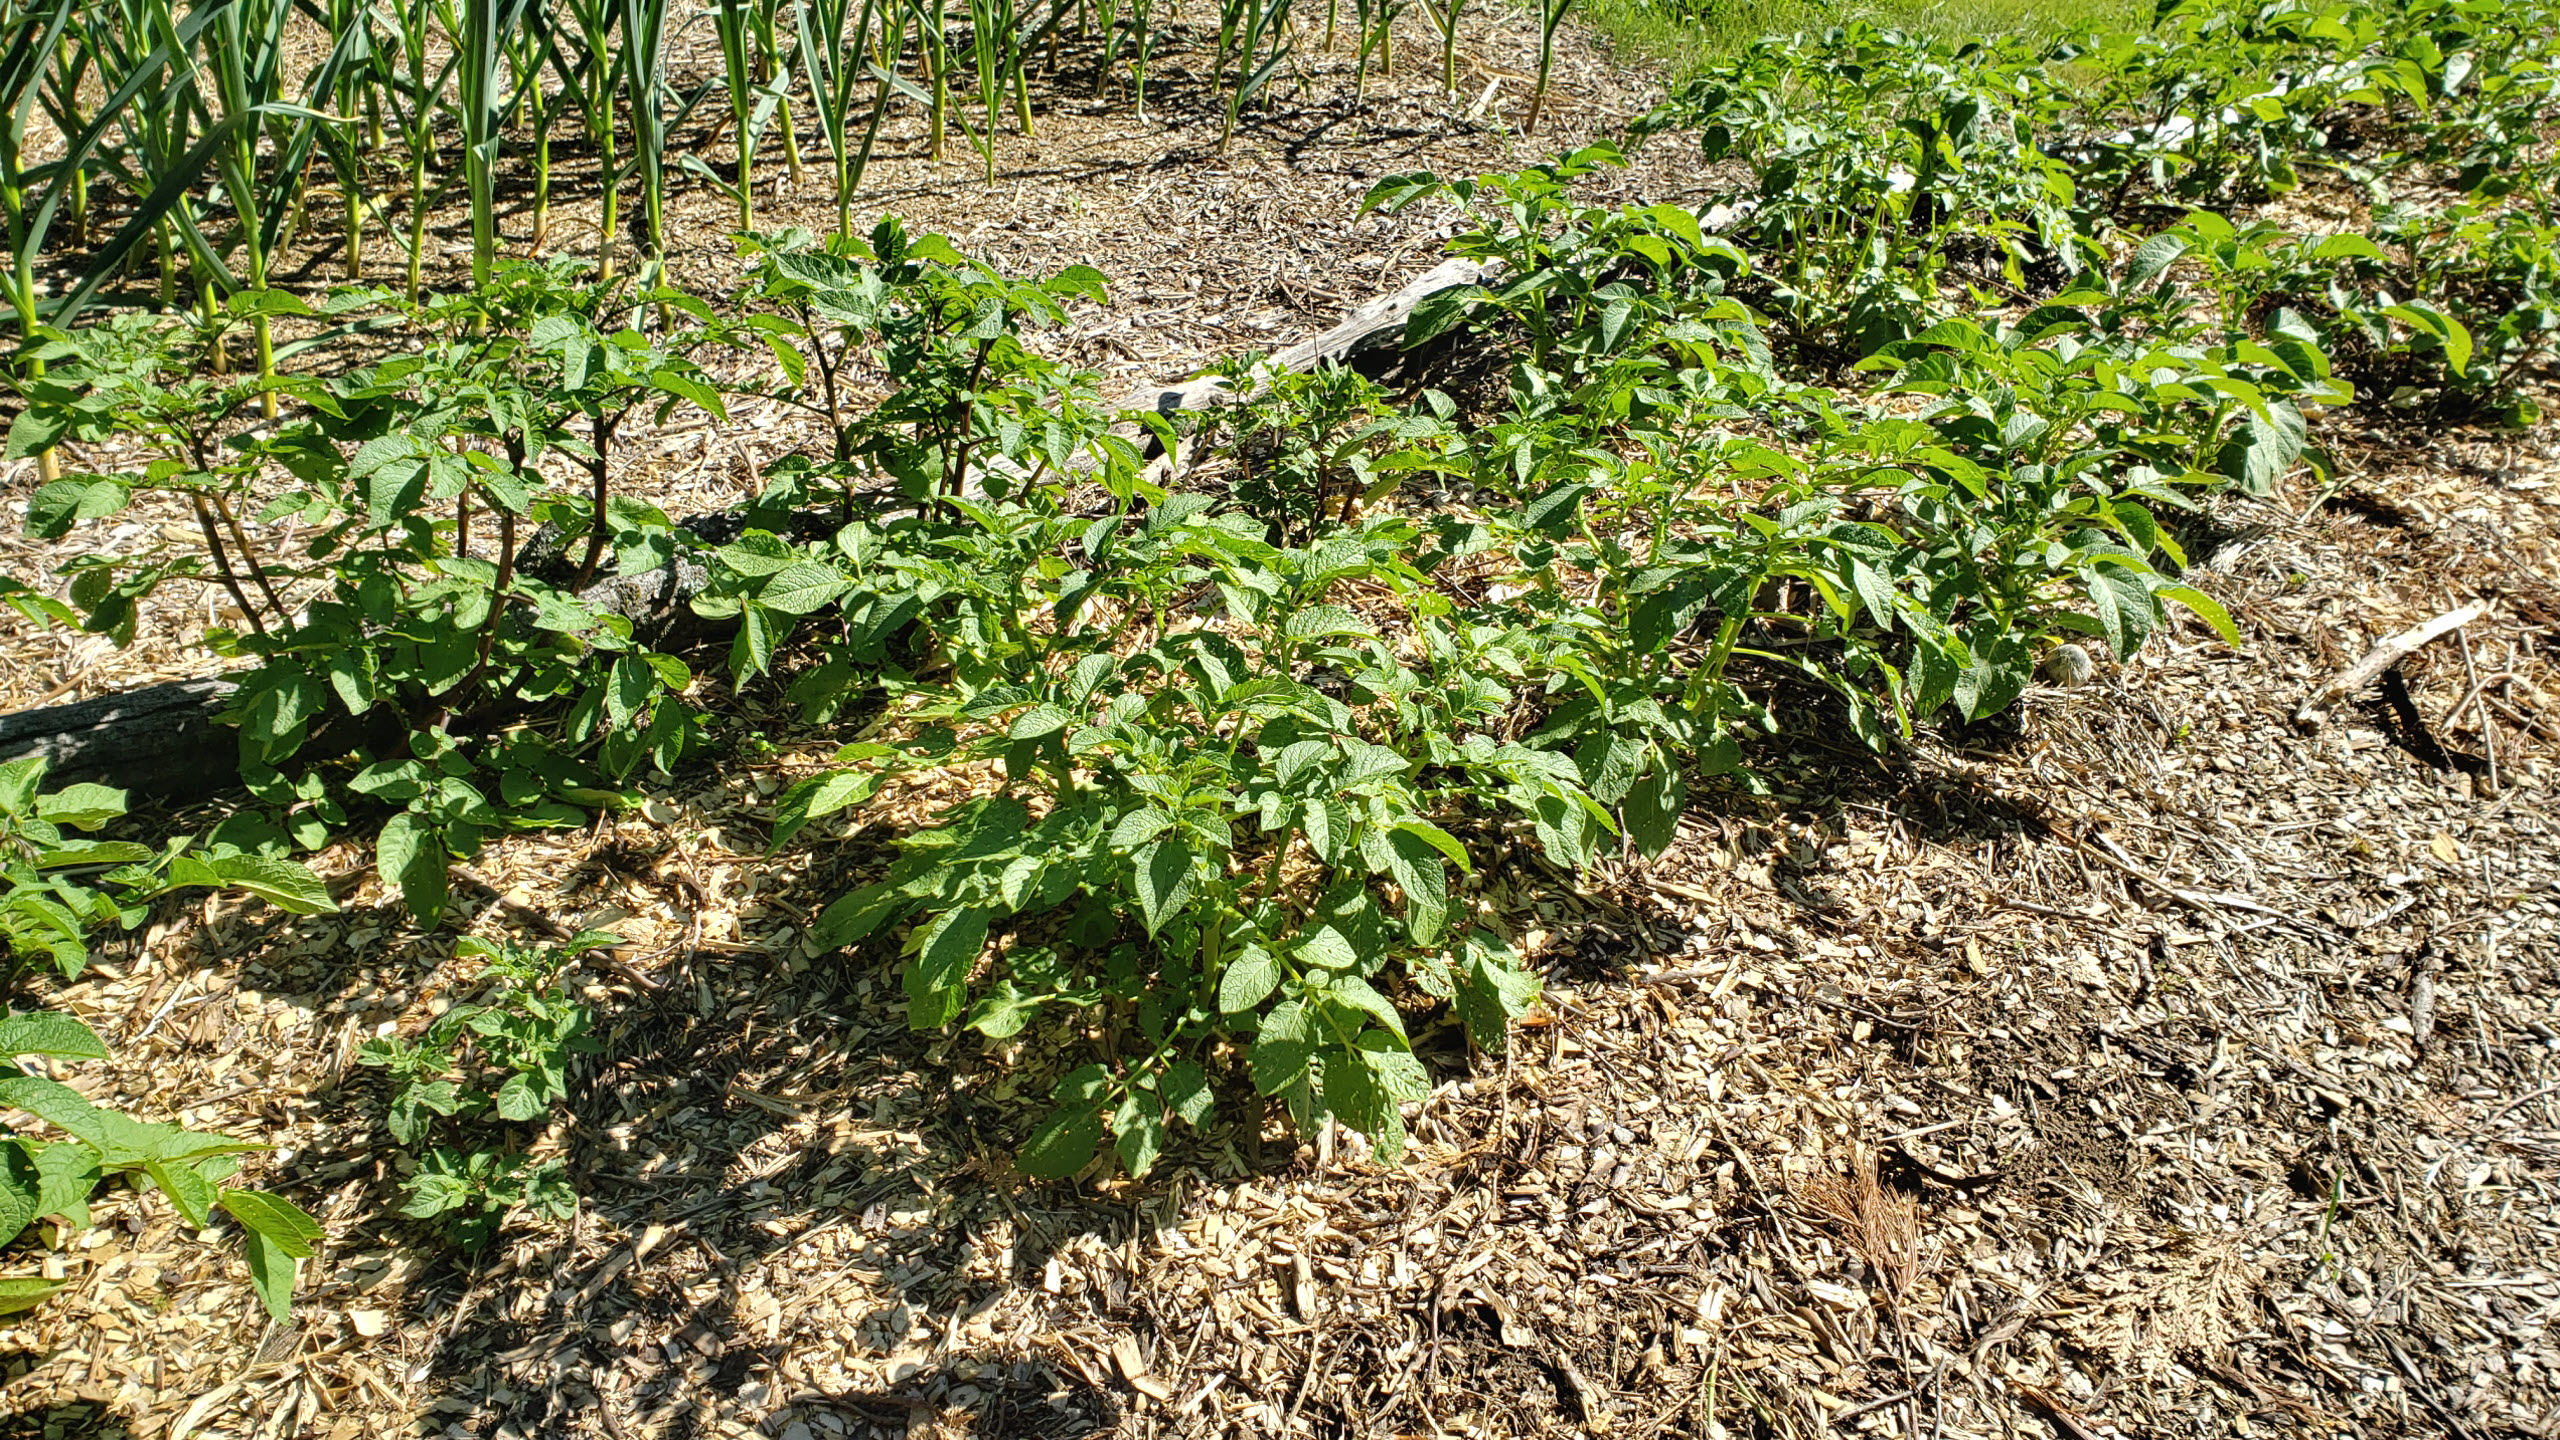 |
Potatoes have been growing fairly quick this year. |
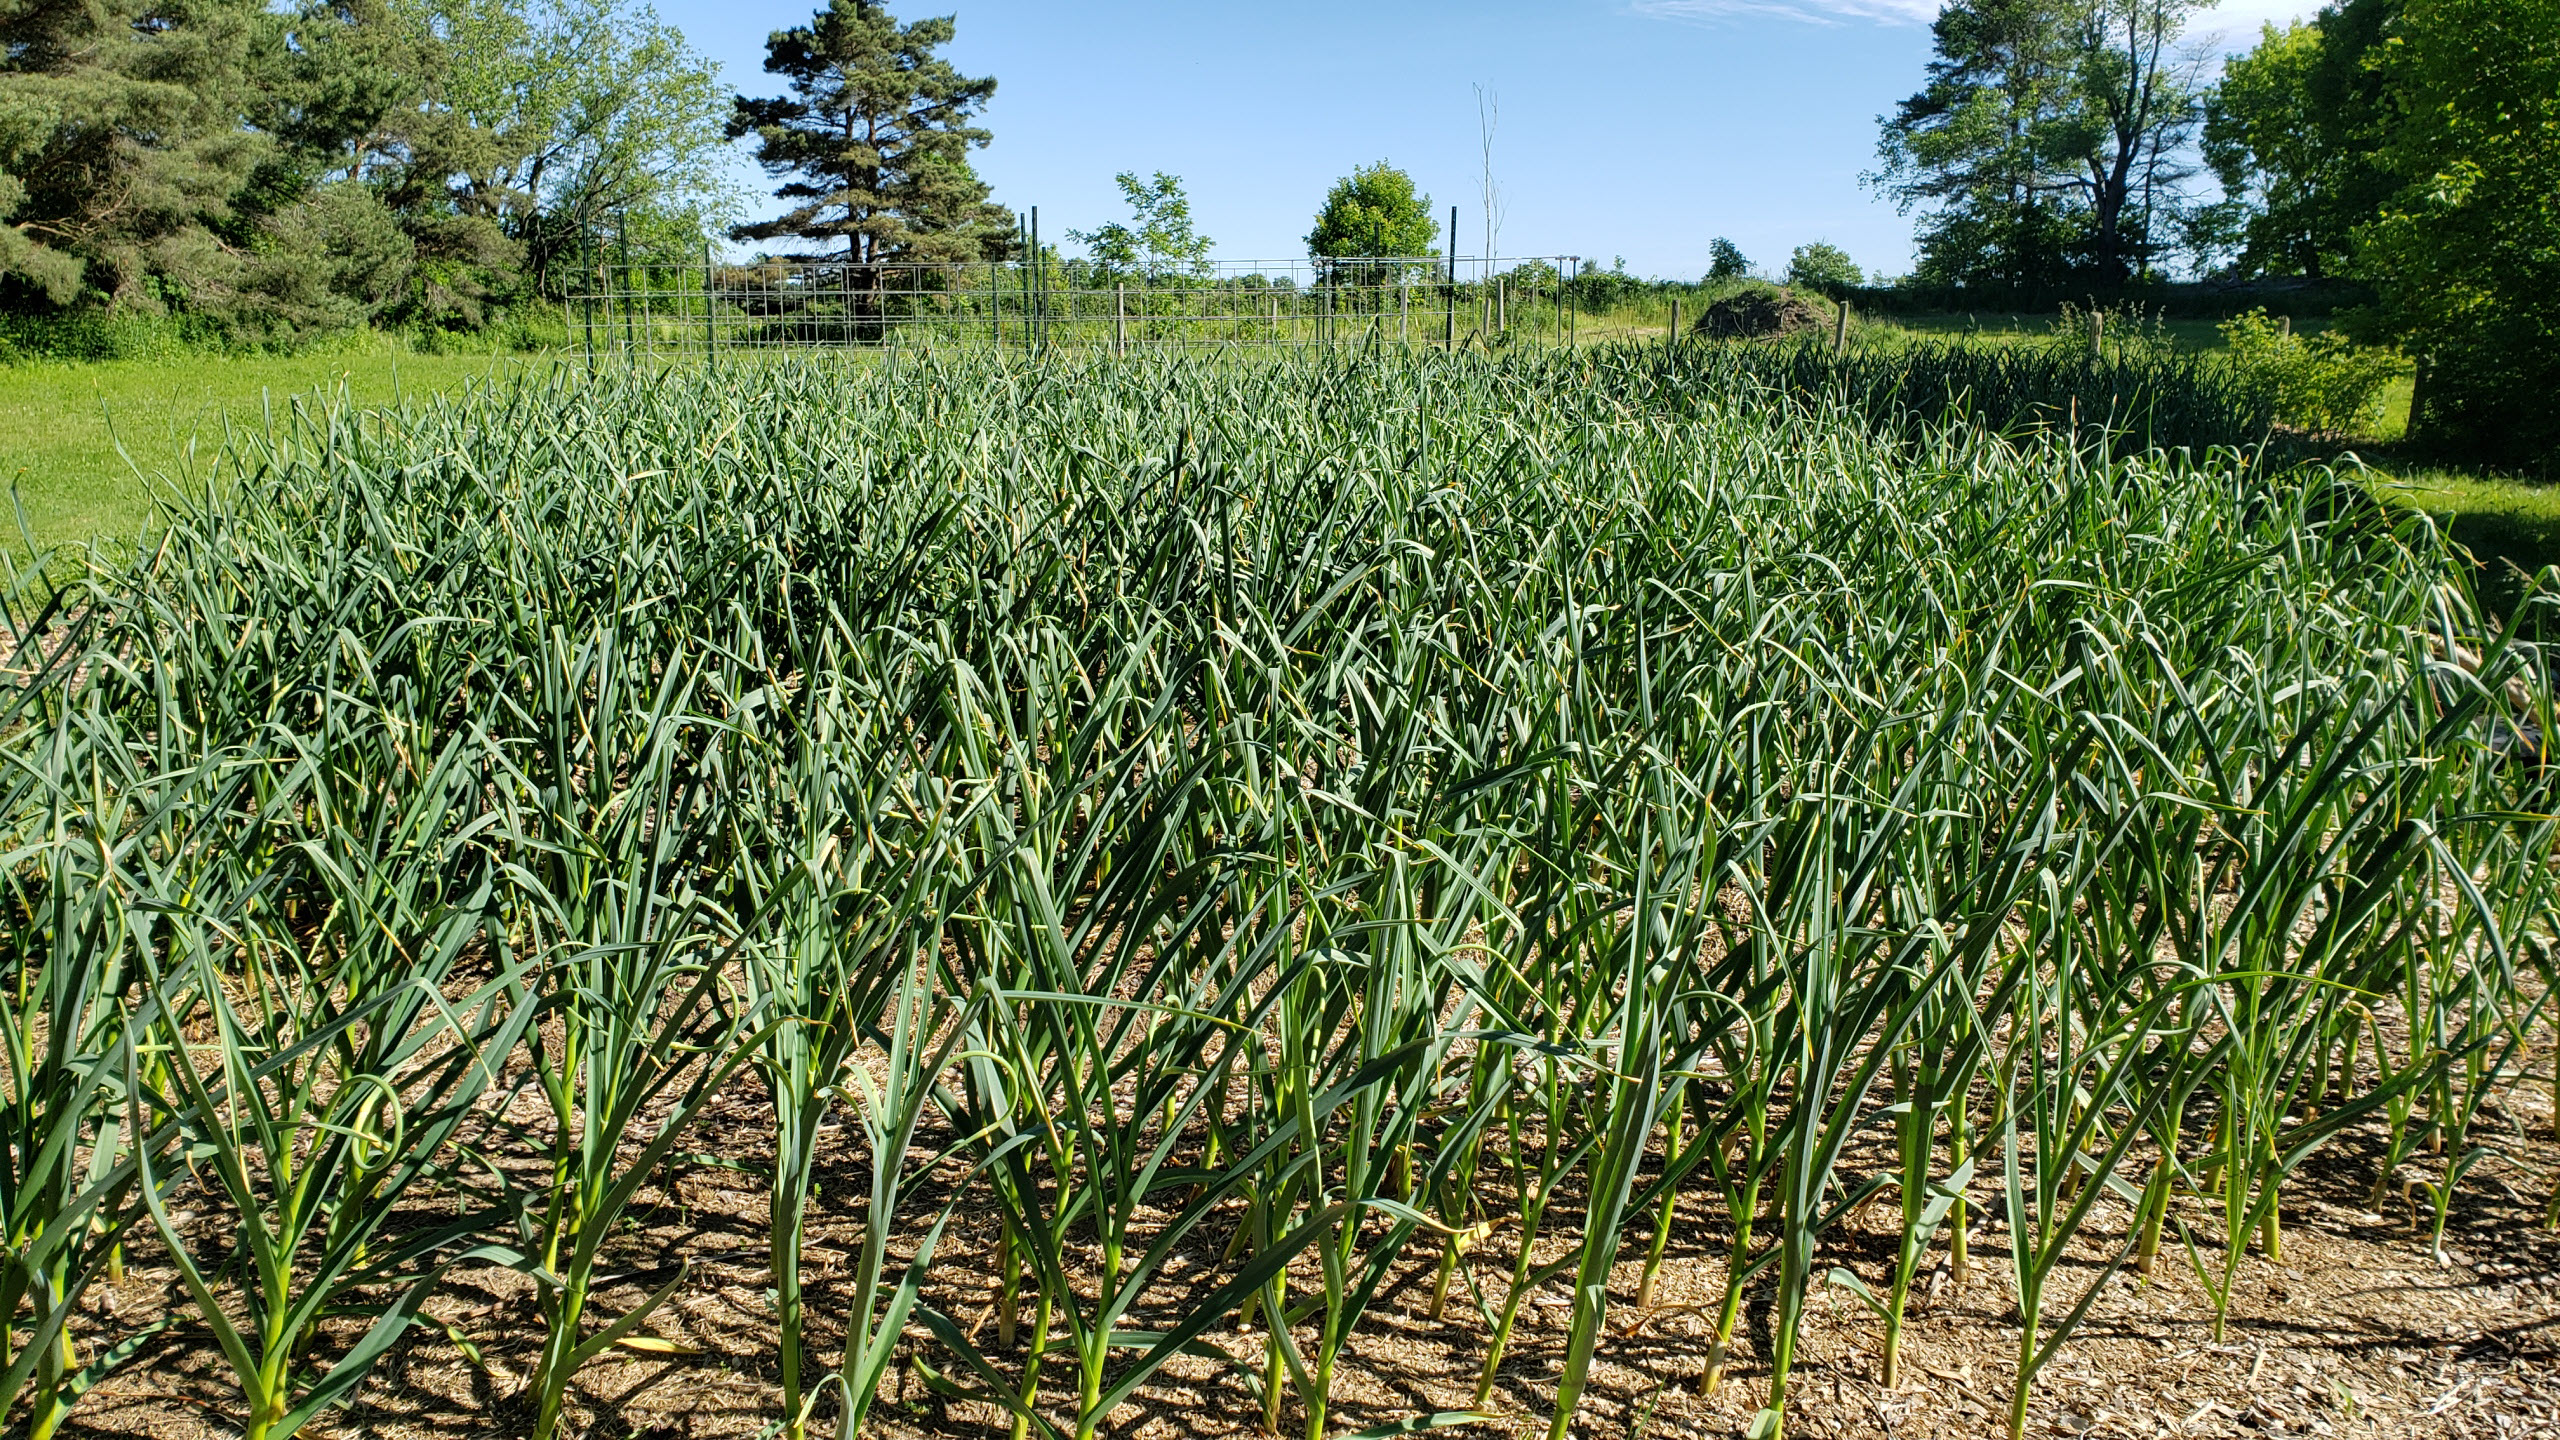 |
1000 garlic plants. |
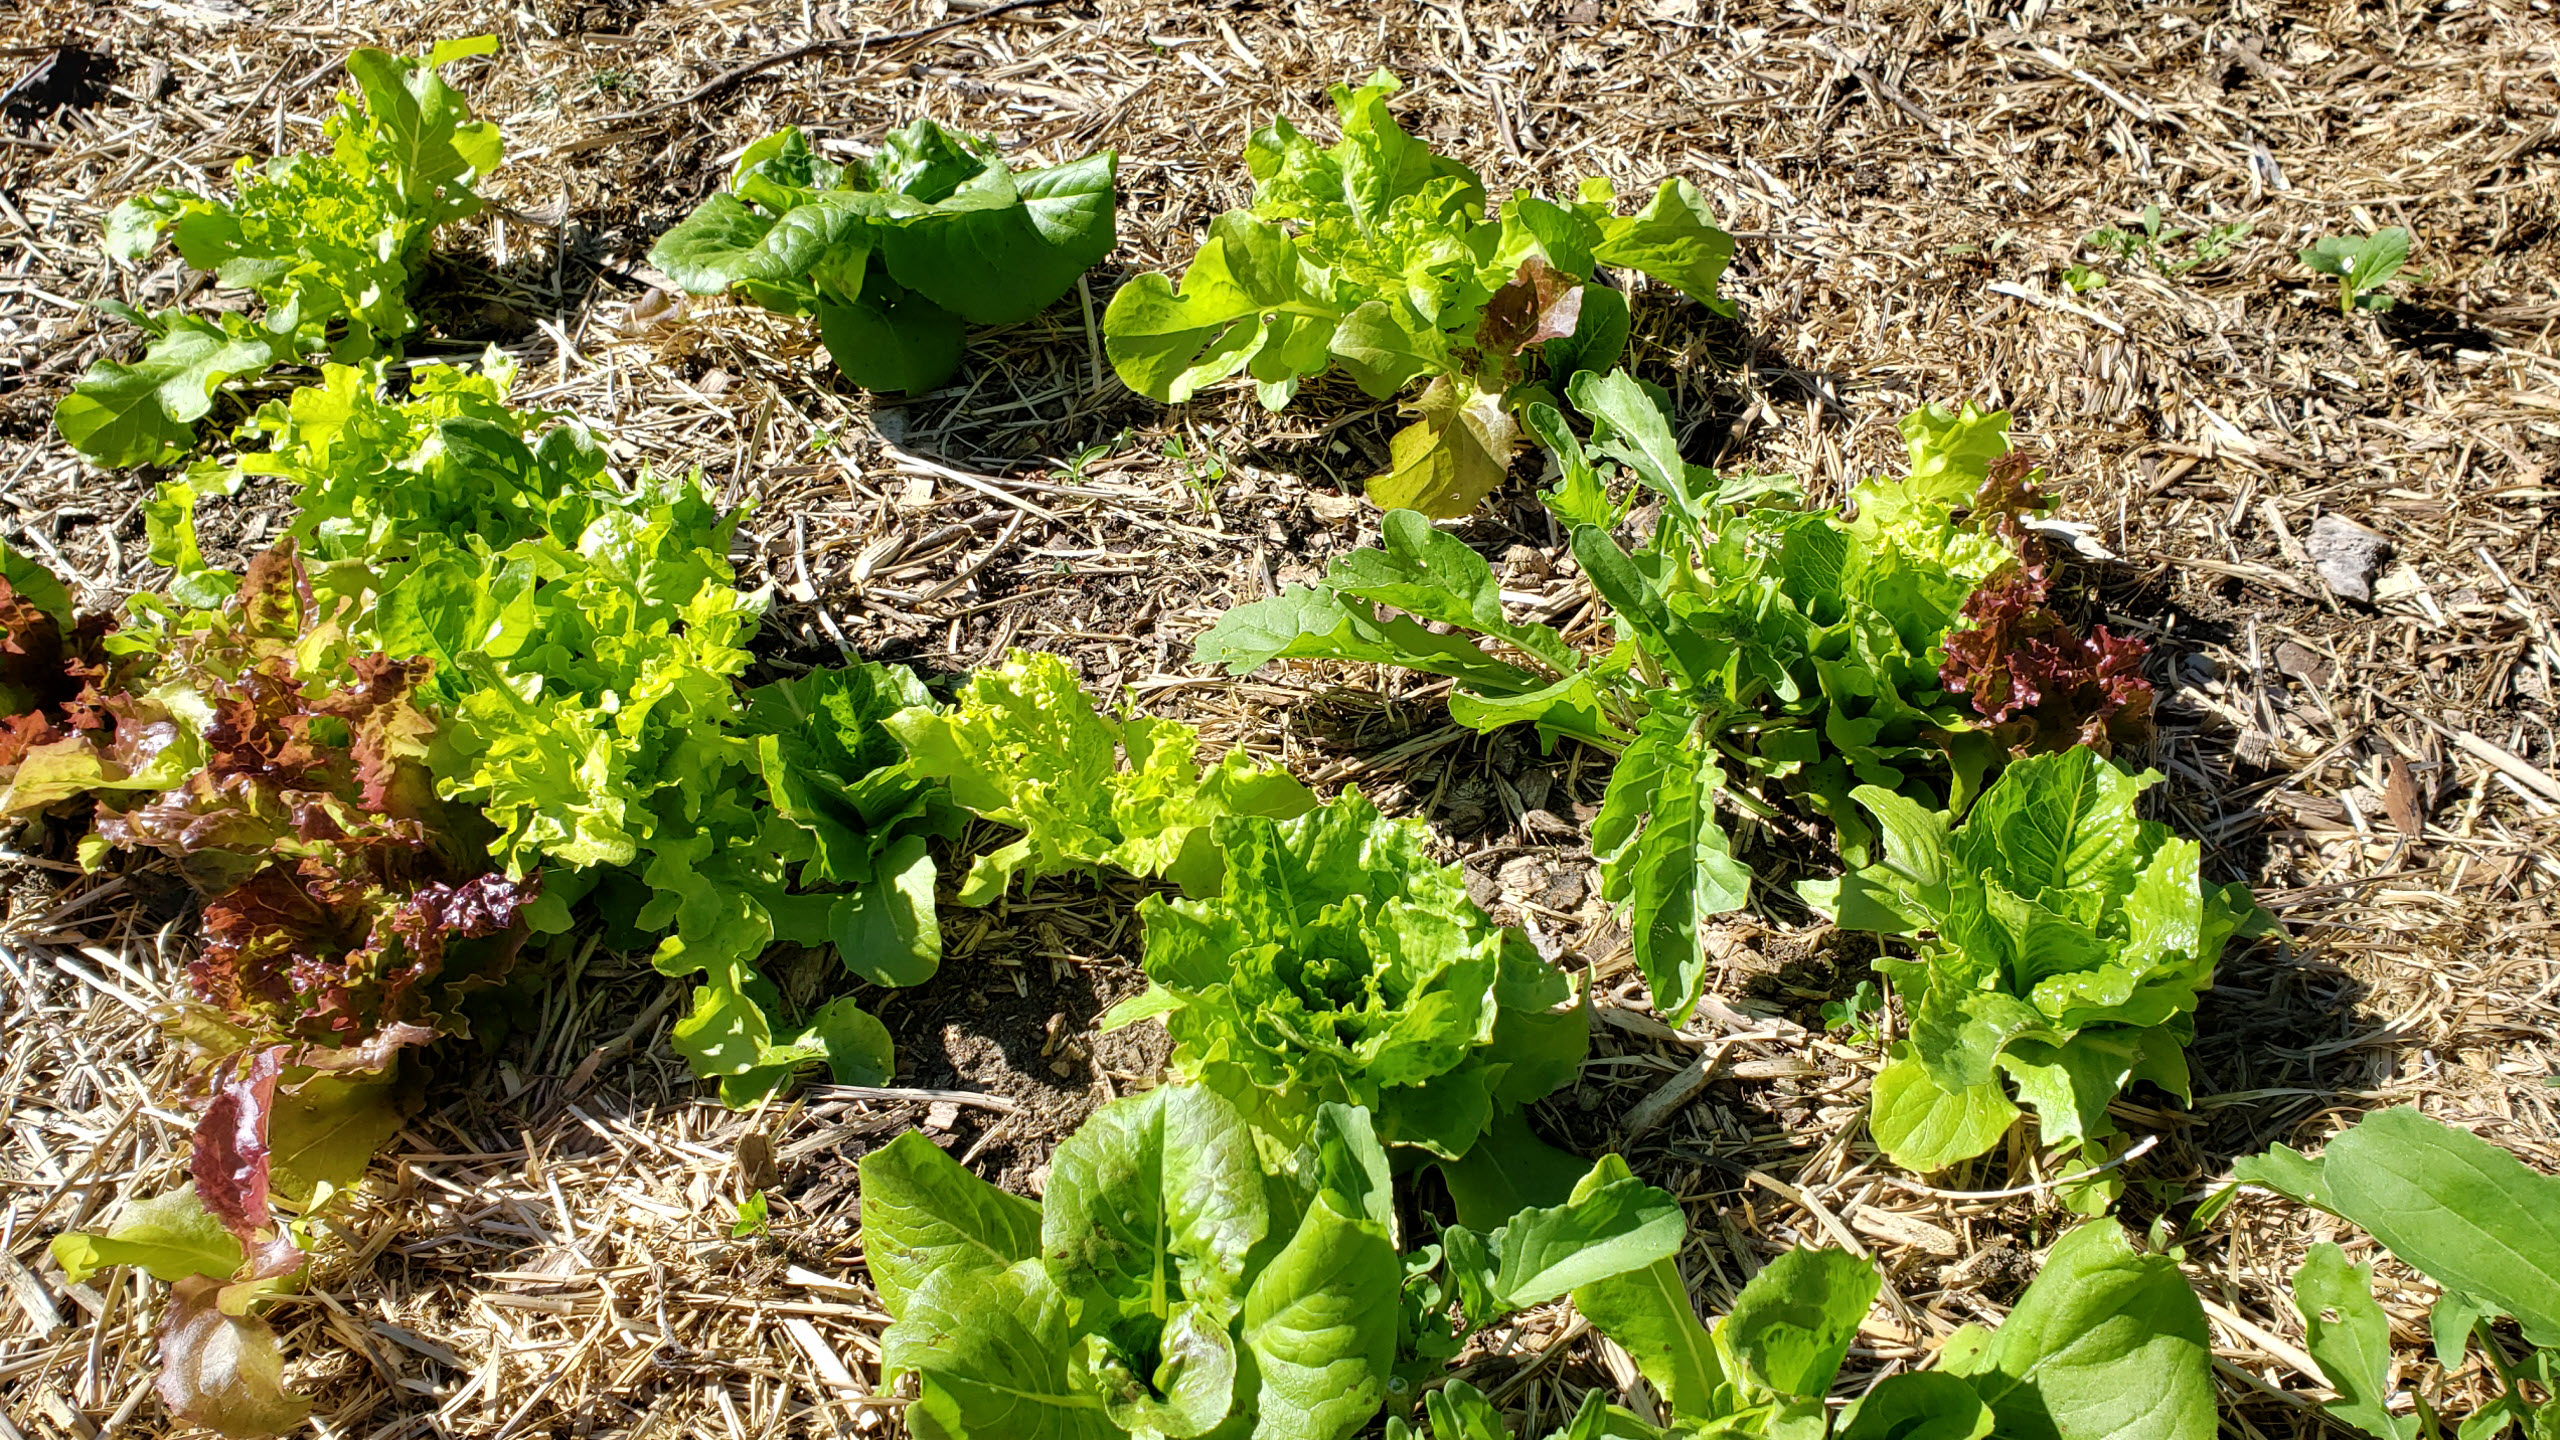 |
Lettuce. I planted less this year because we cannot keep up with their growth! |
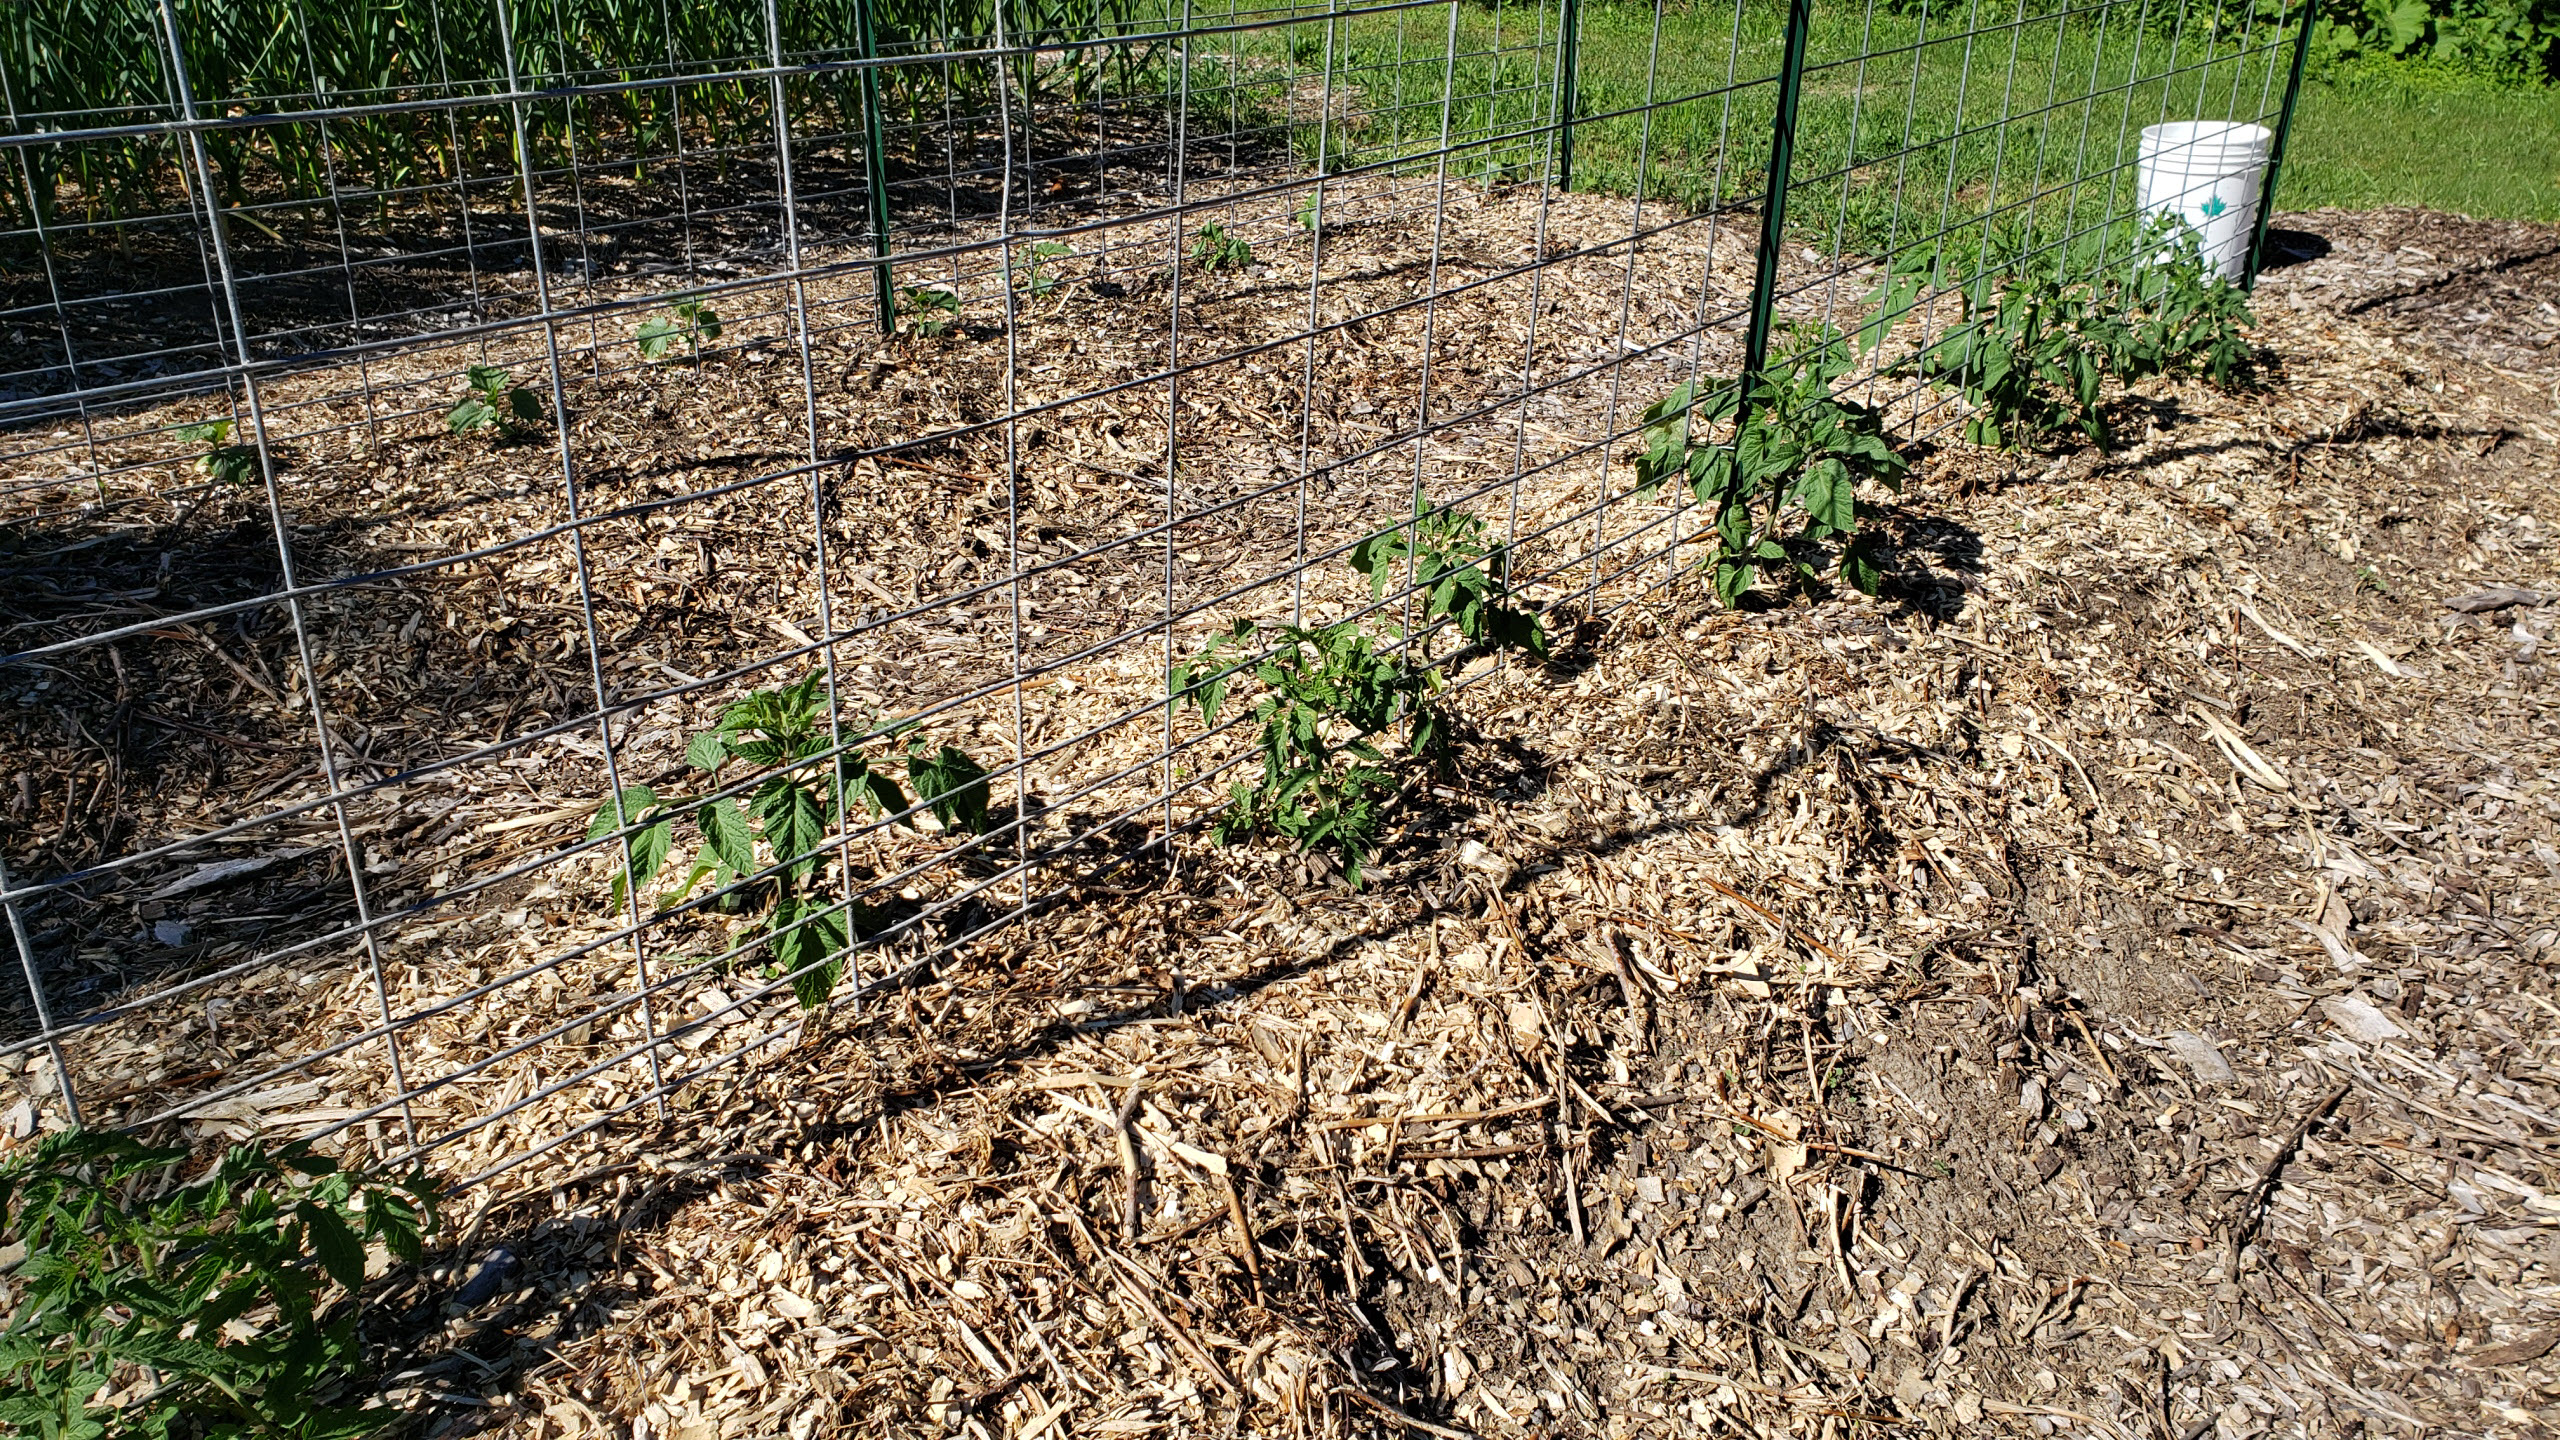 |
Tomatoes. This year I built trellis using galvanized cow panels this year because vertical strings failed to hold the massive tomato plants last year. |
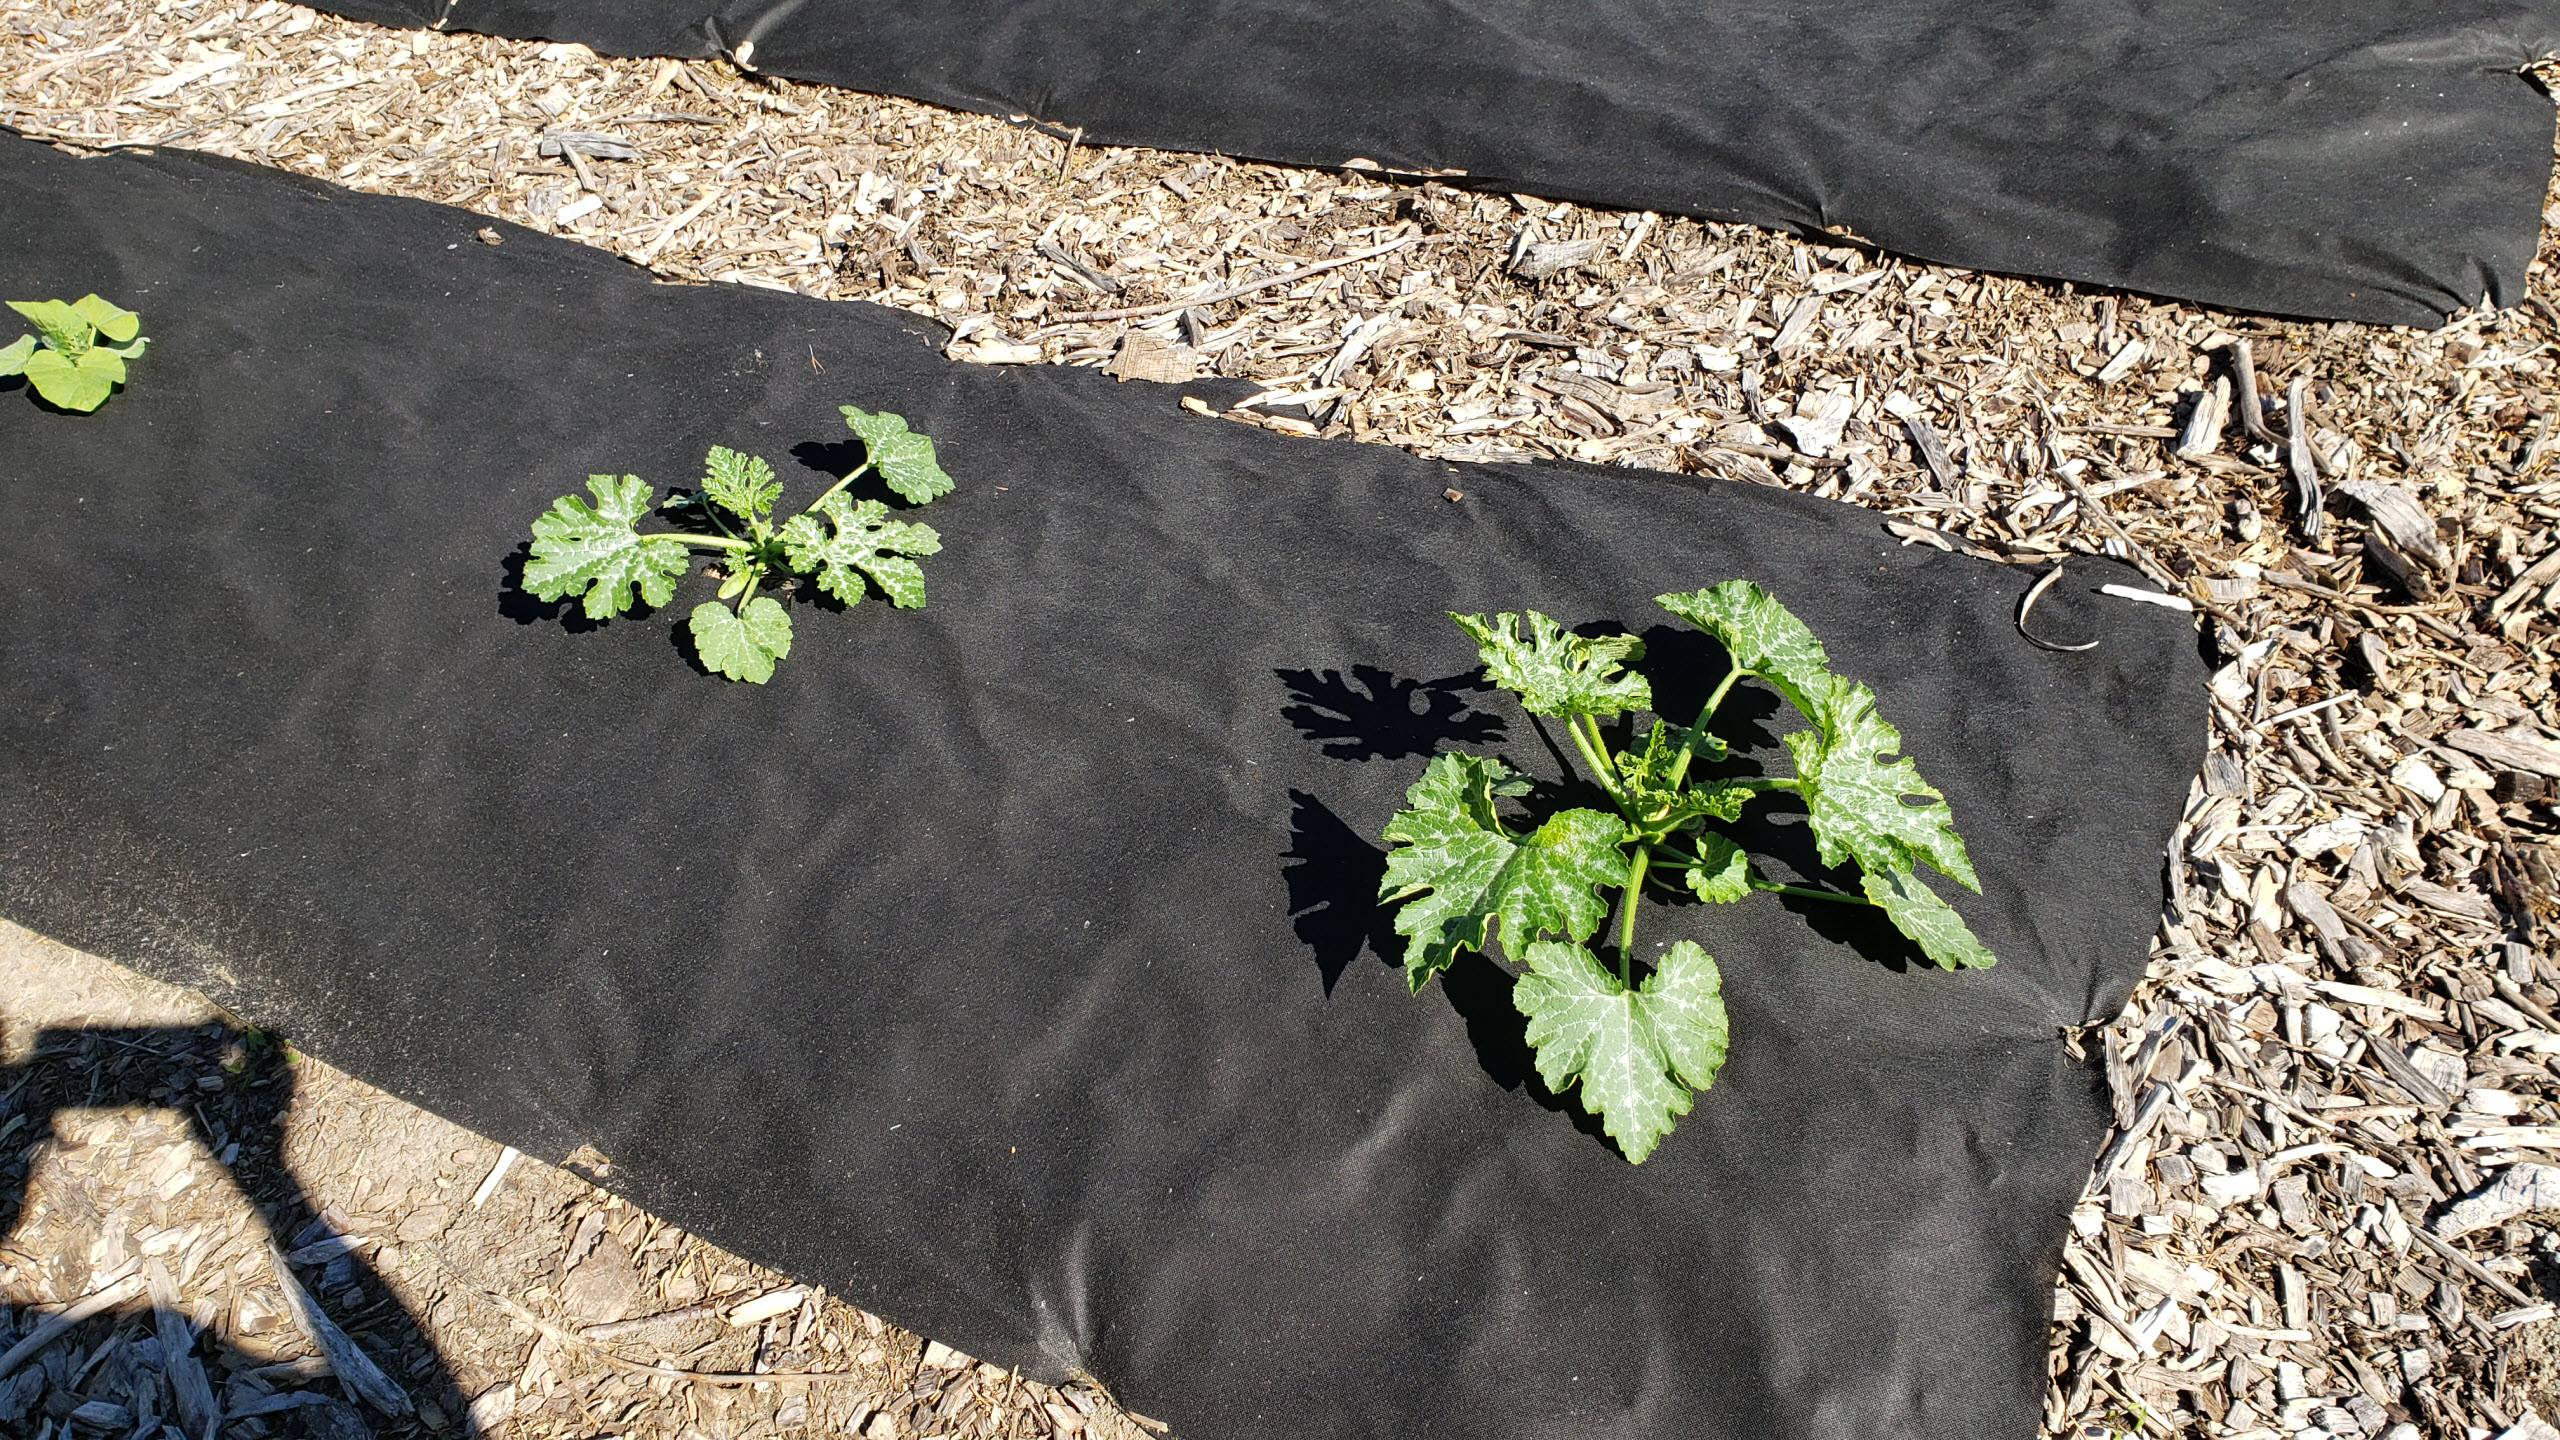 |
Zucchini with weed barrier beneath to suppress bindweeds. |
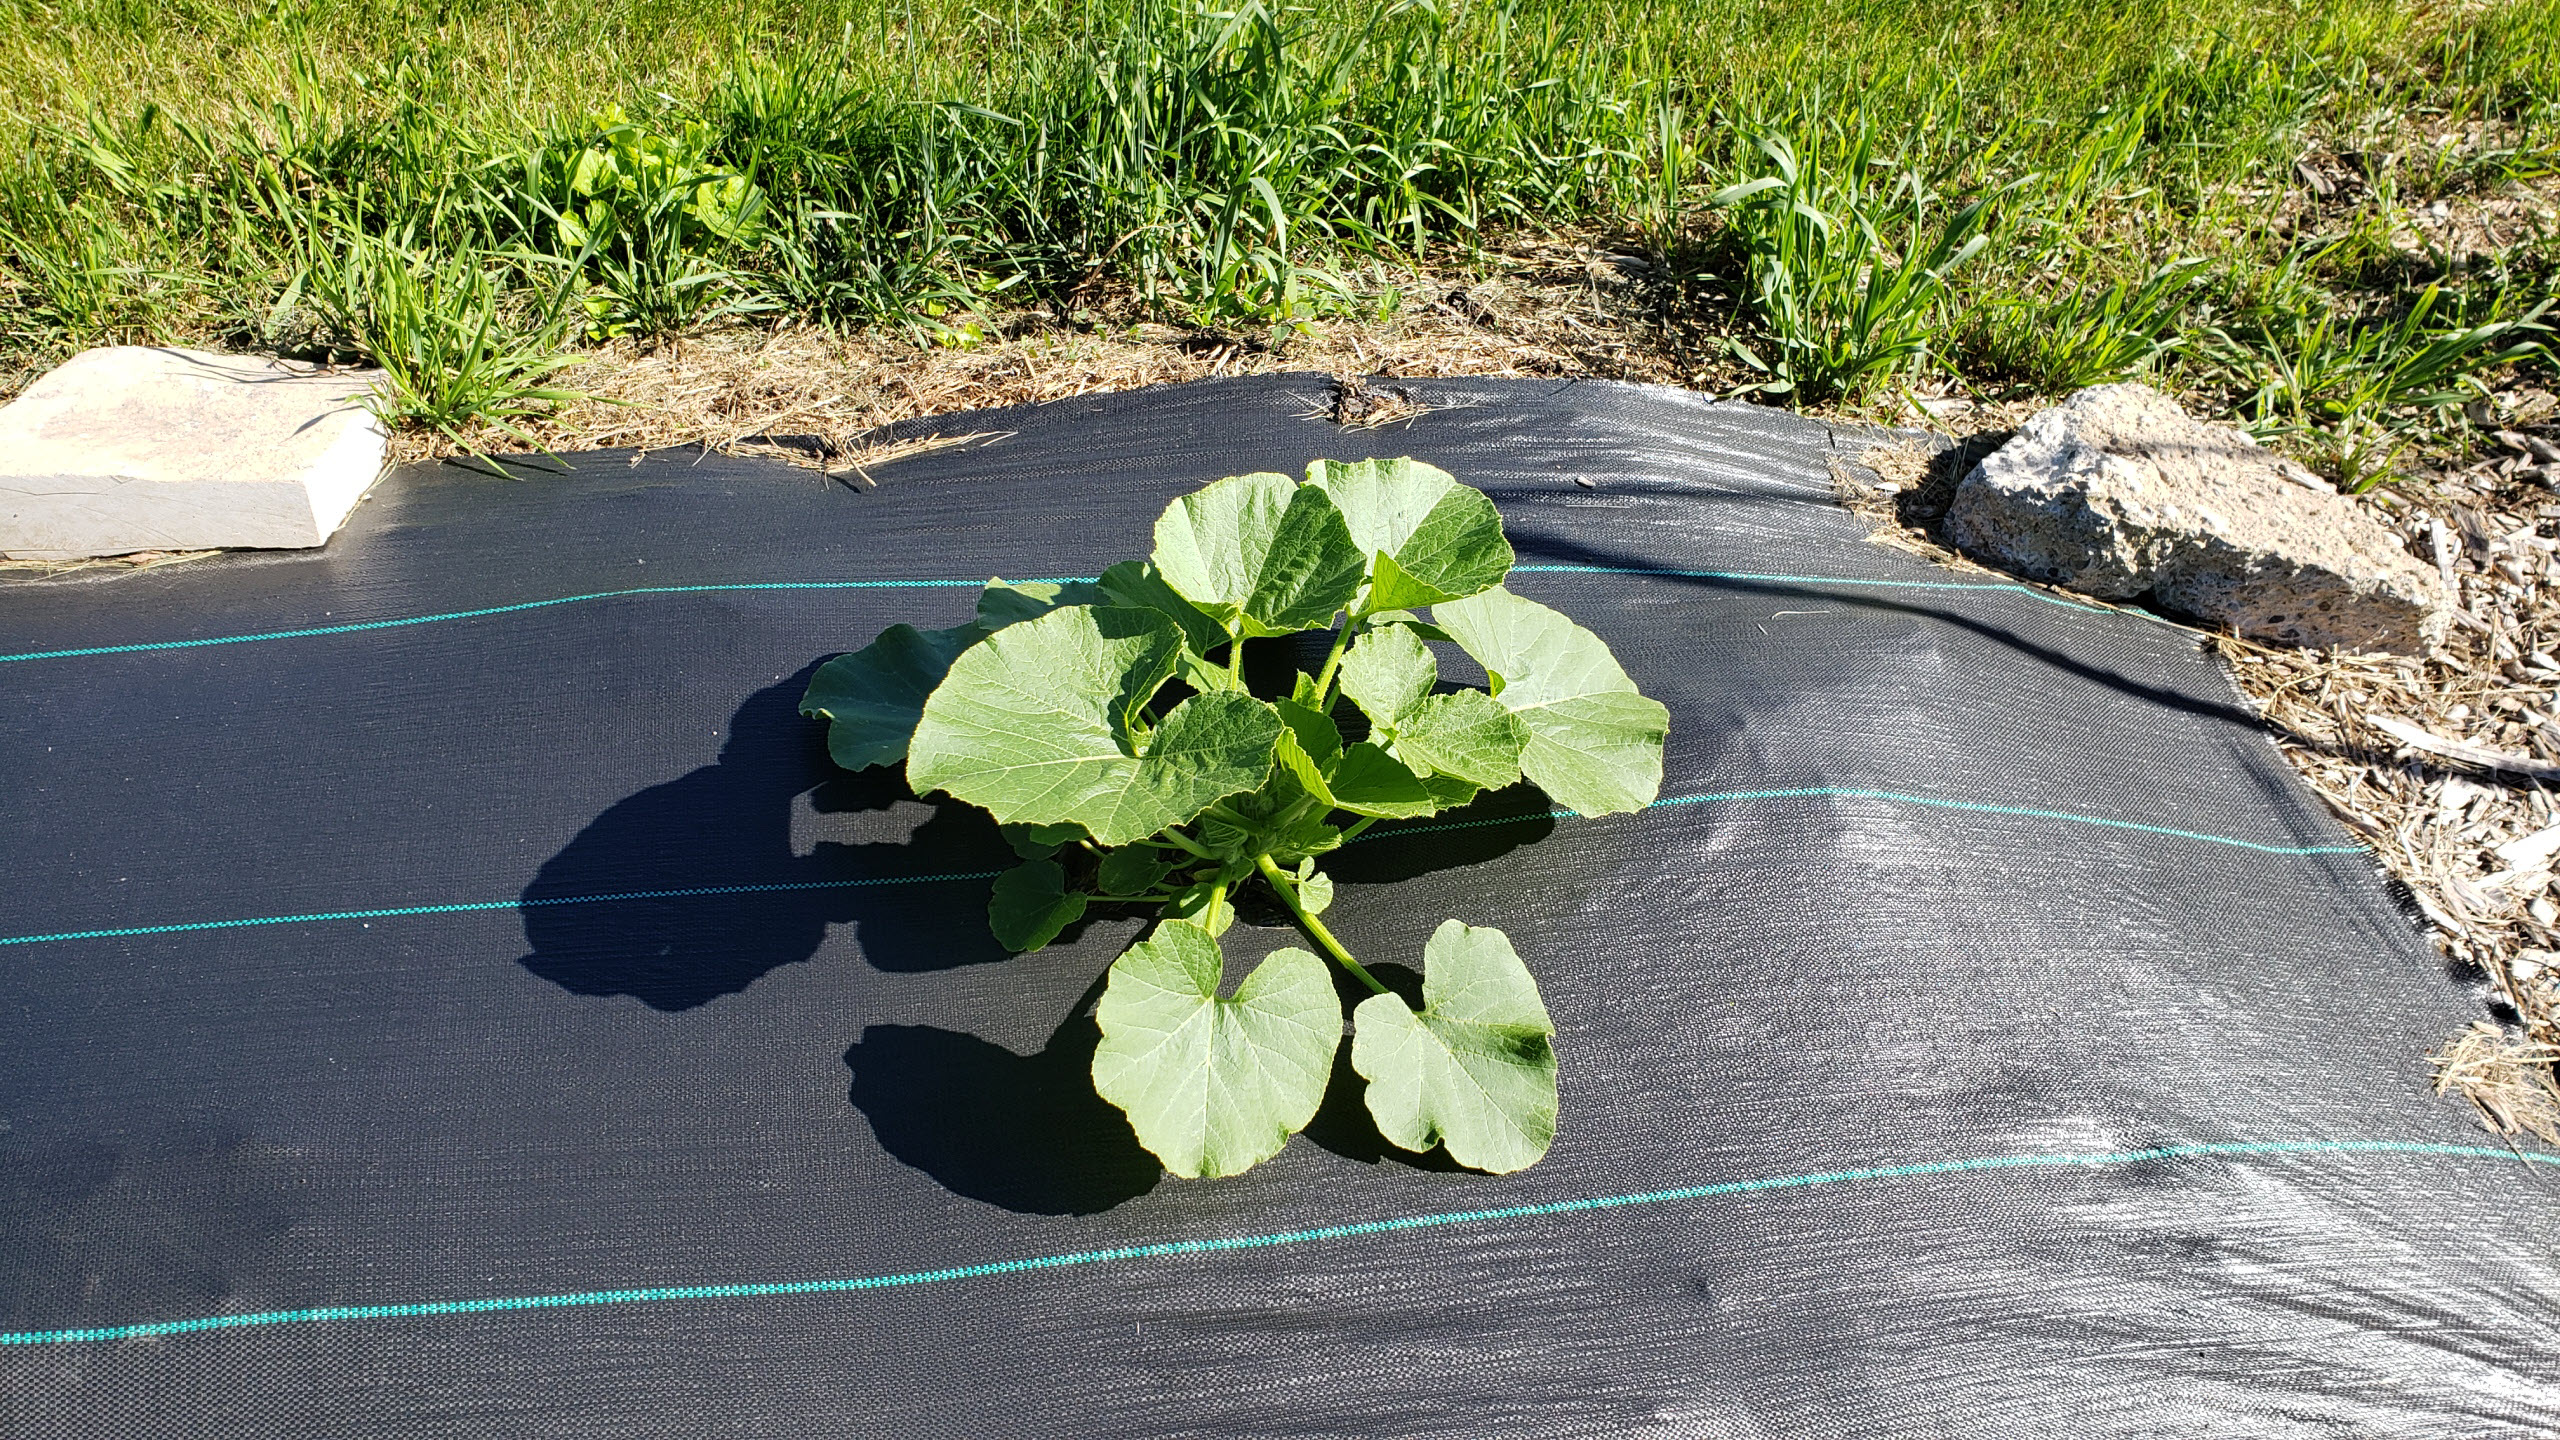 |
Mama squash. |
 |
Snow peas on vertical strings. |
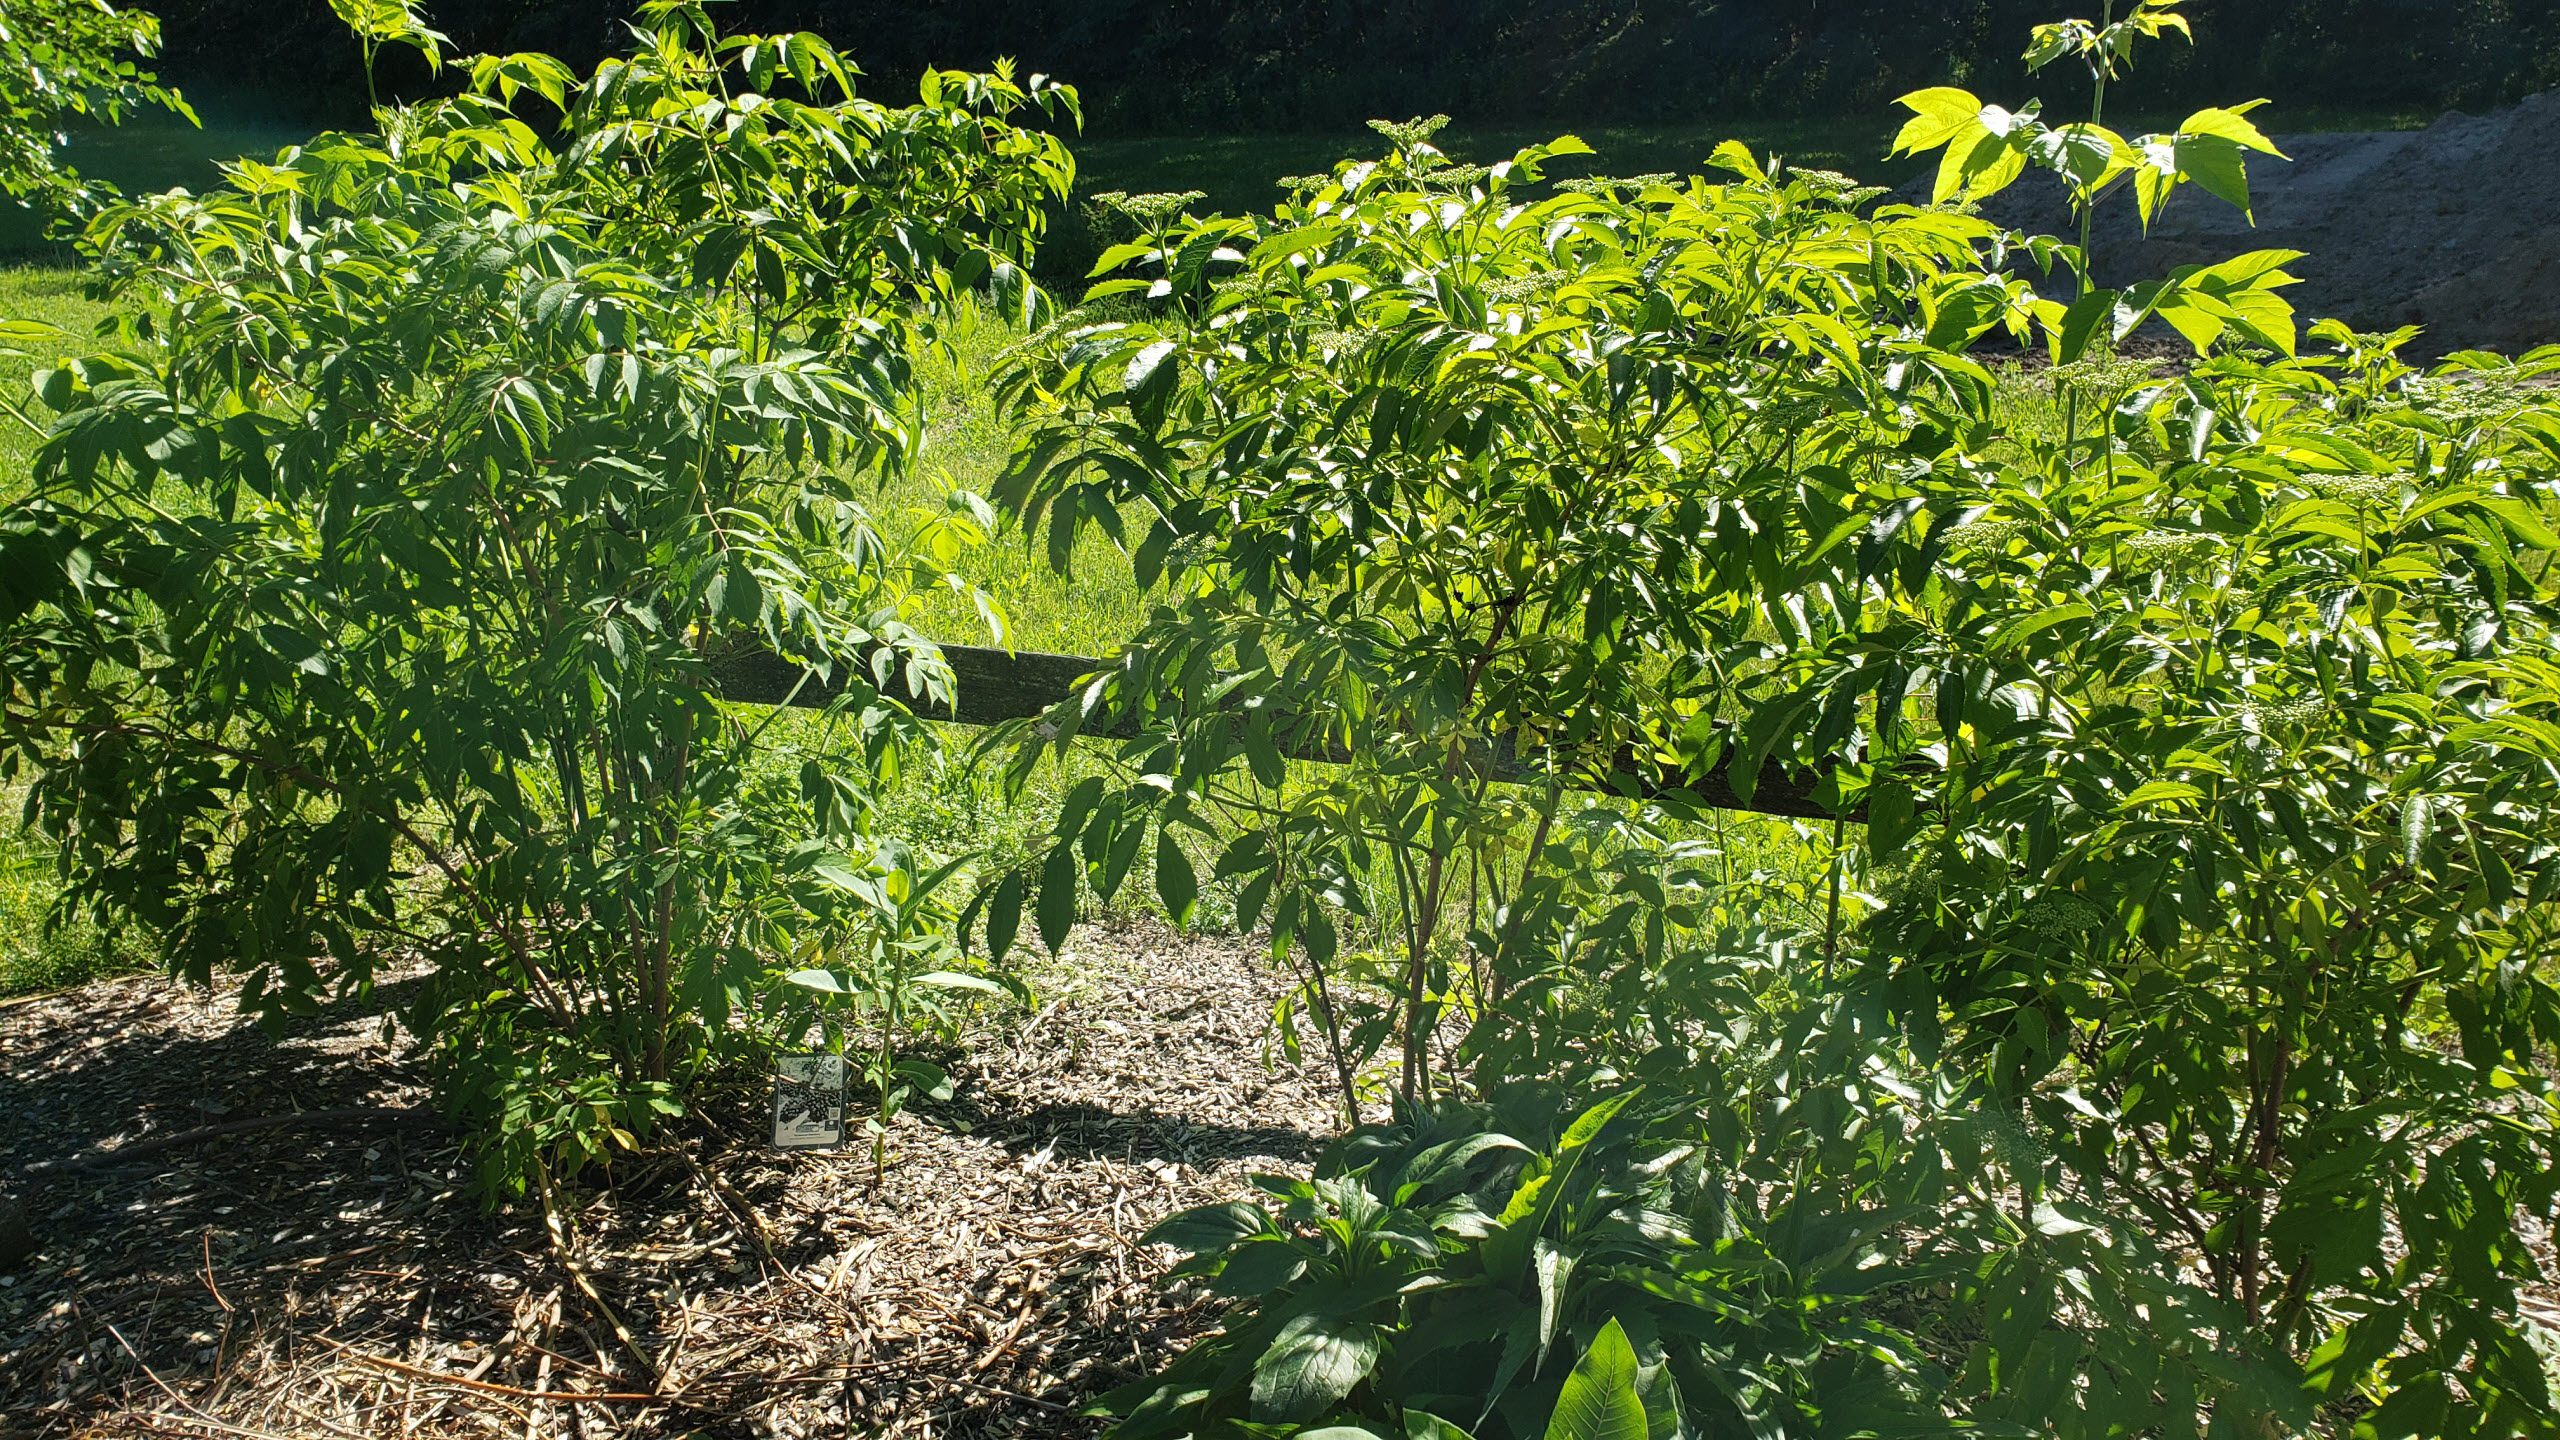 |
Elder berries love sandy soil. |
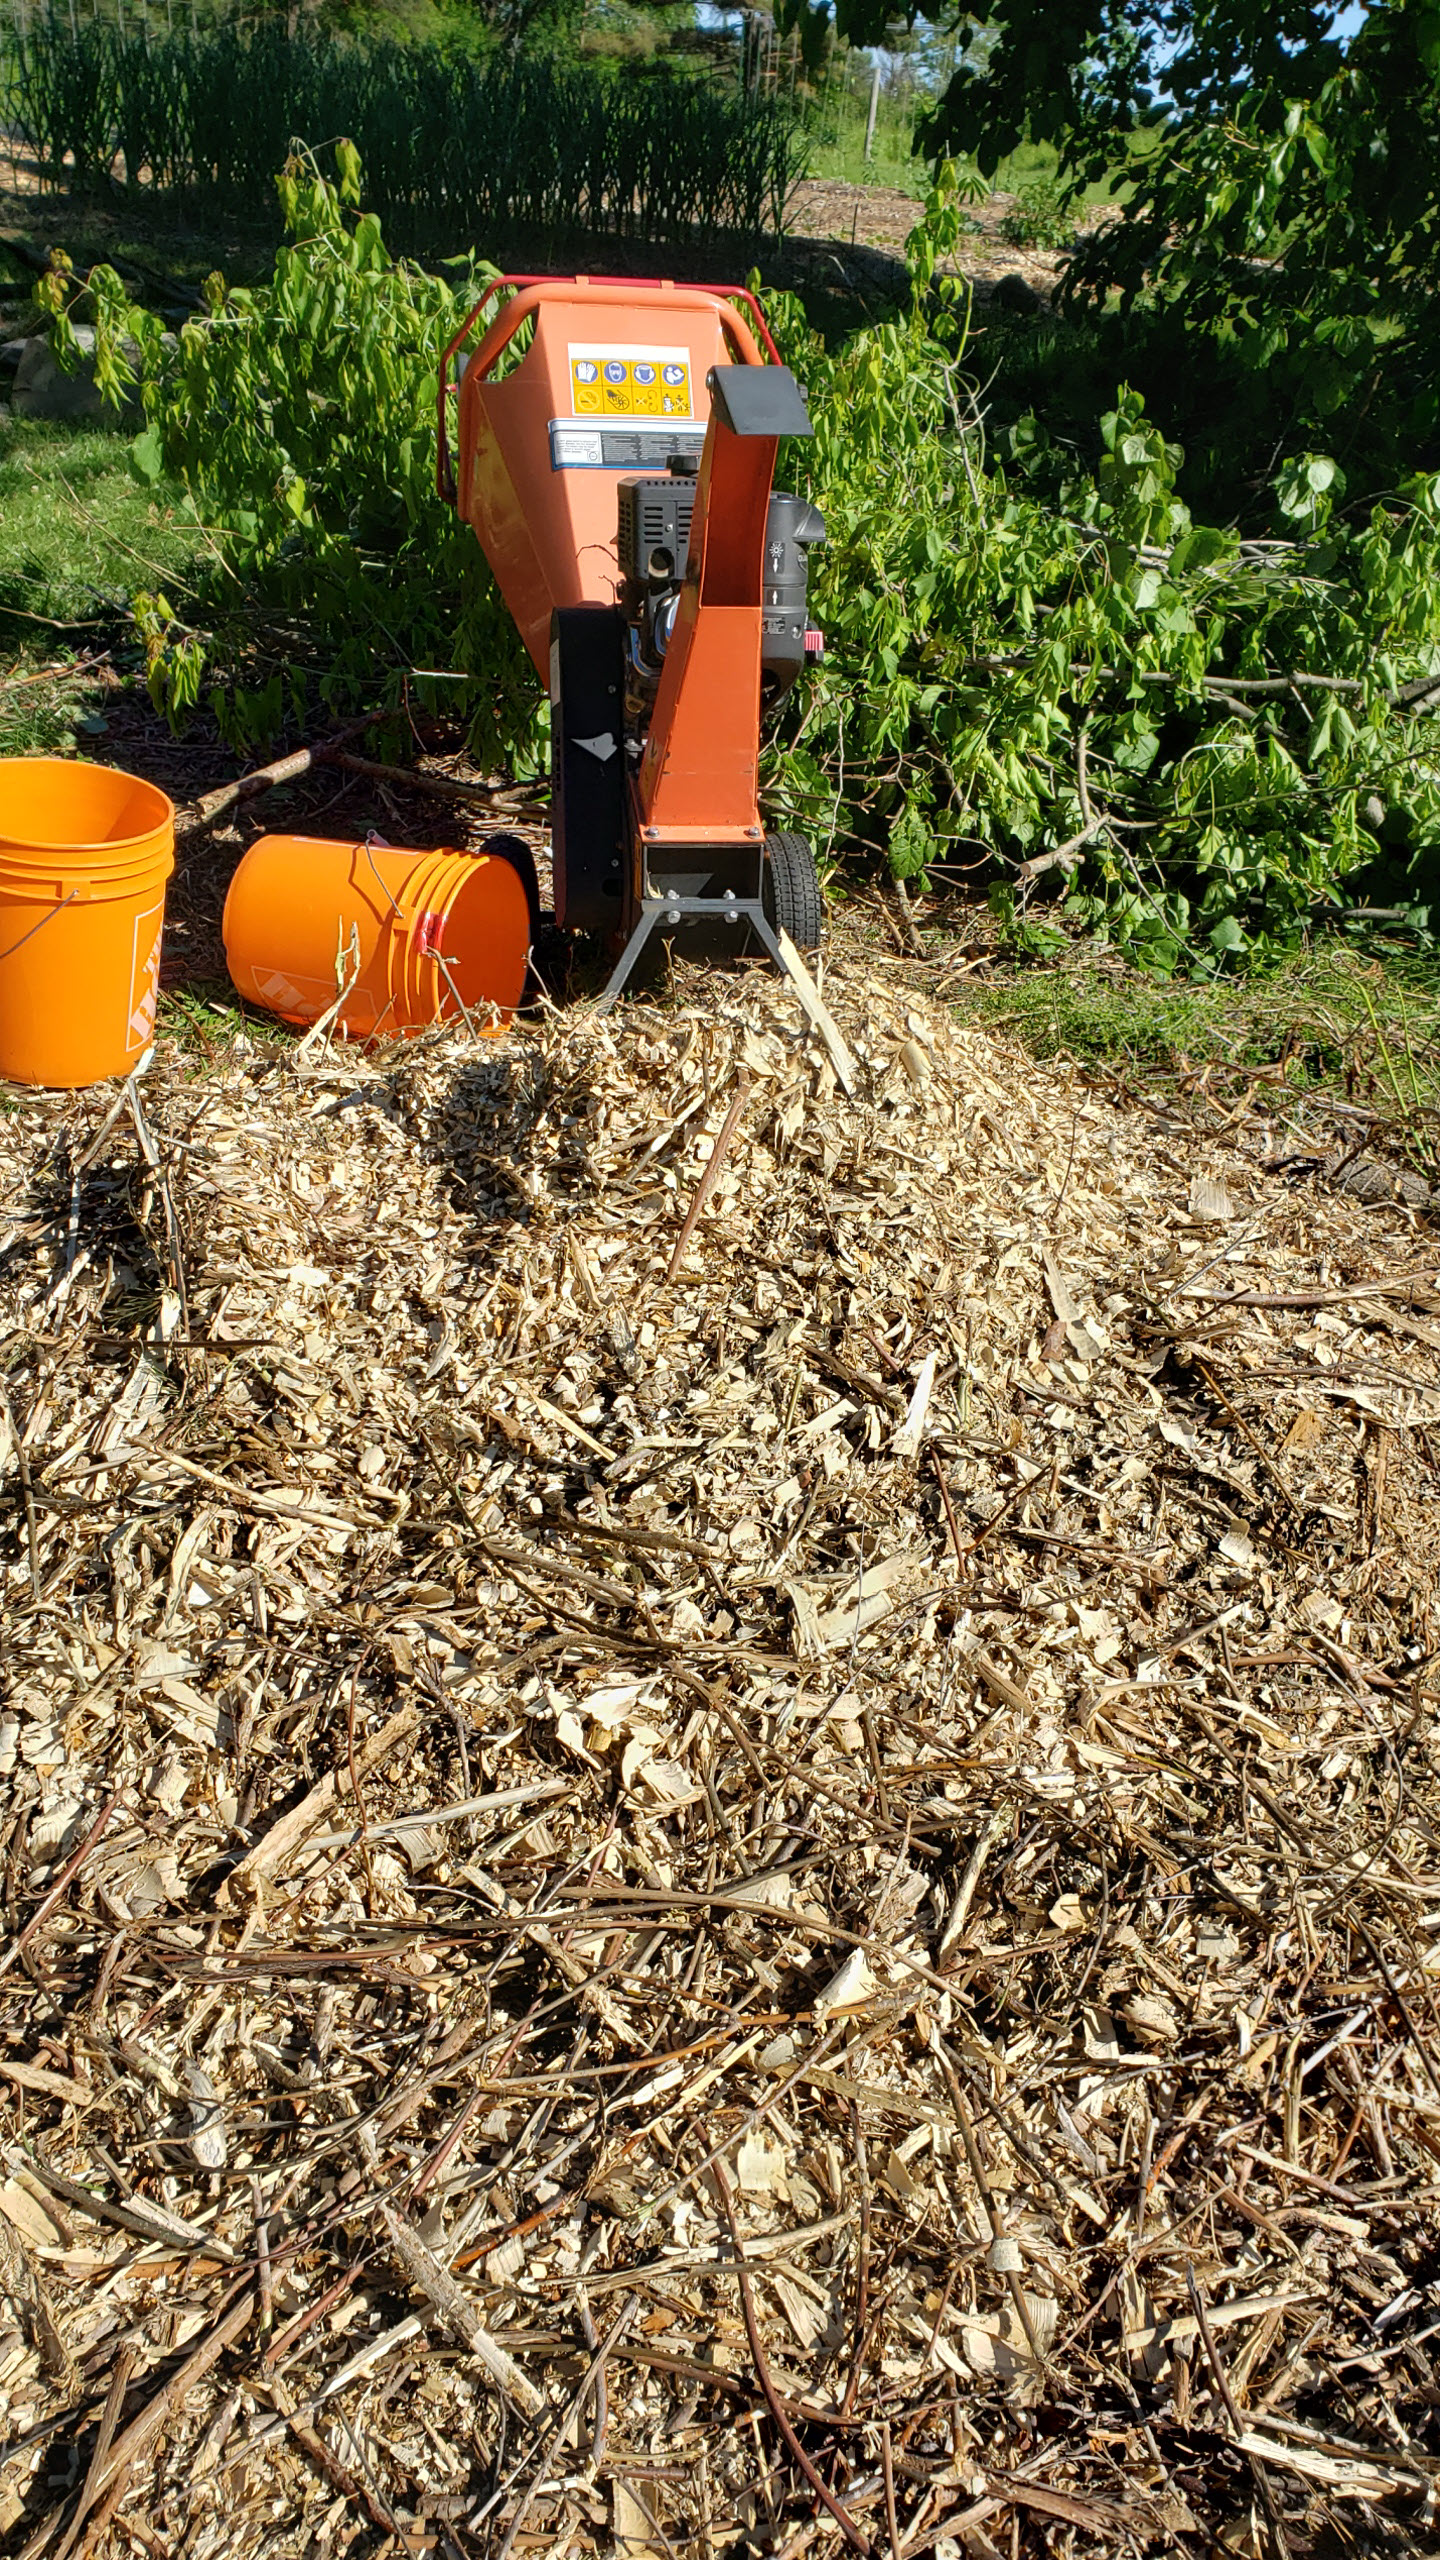 |
I have enough trees to produce wood chips. But it takes a lot of effort to cut and feed through the chipper. |
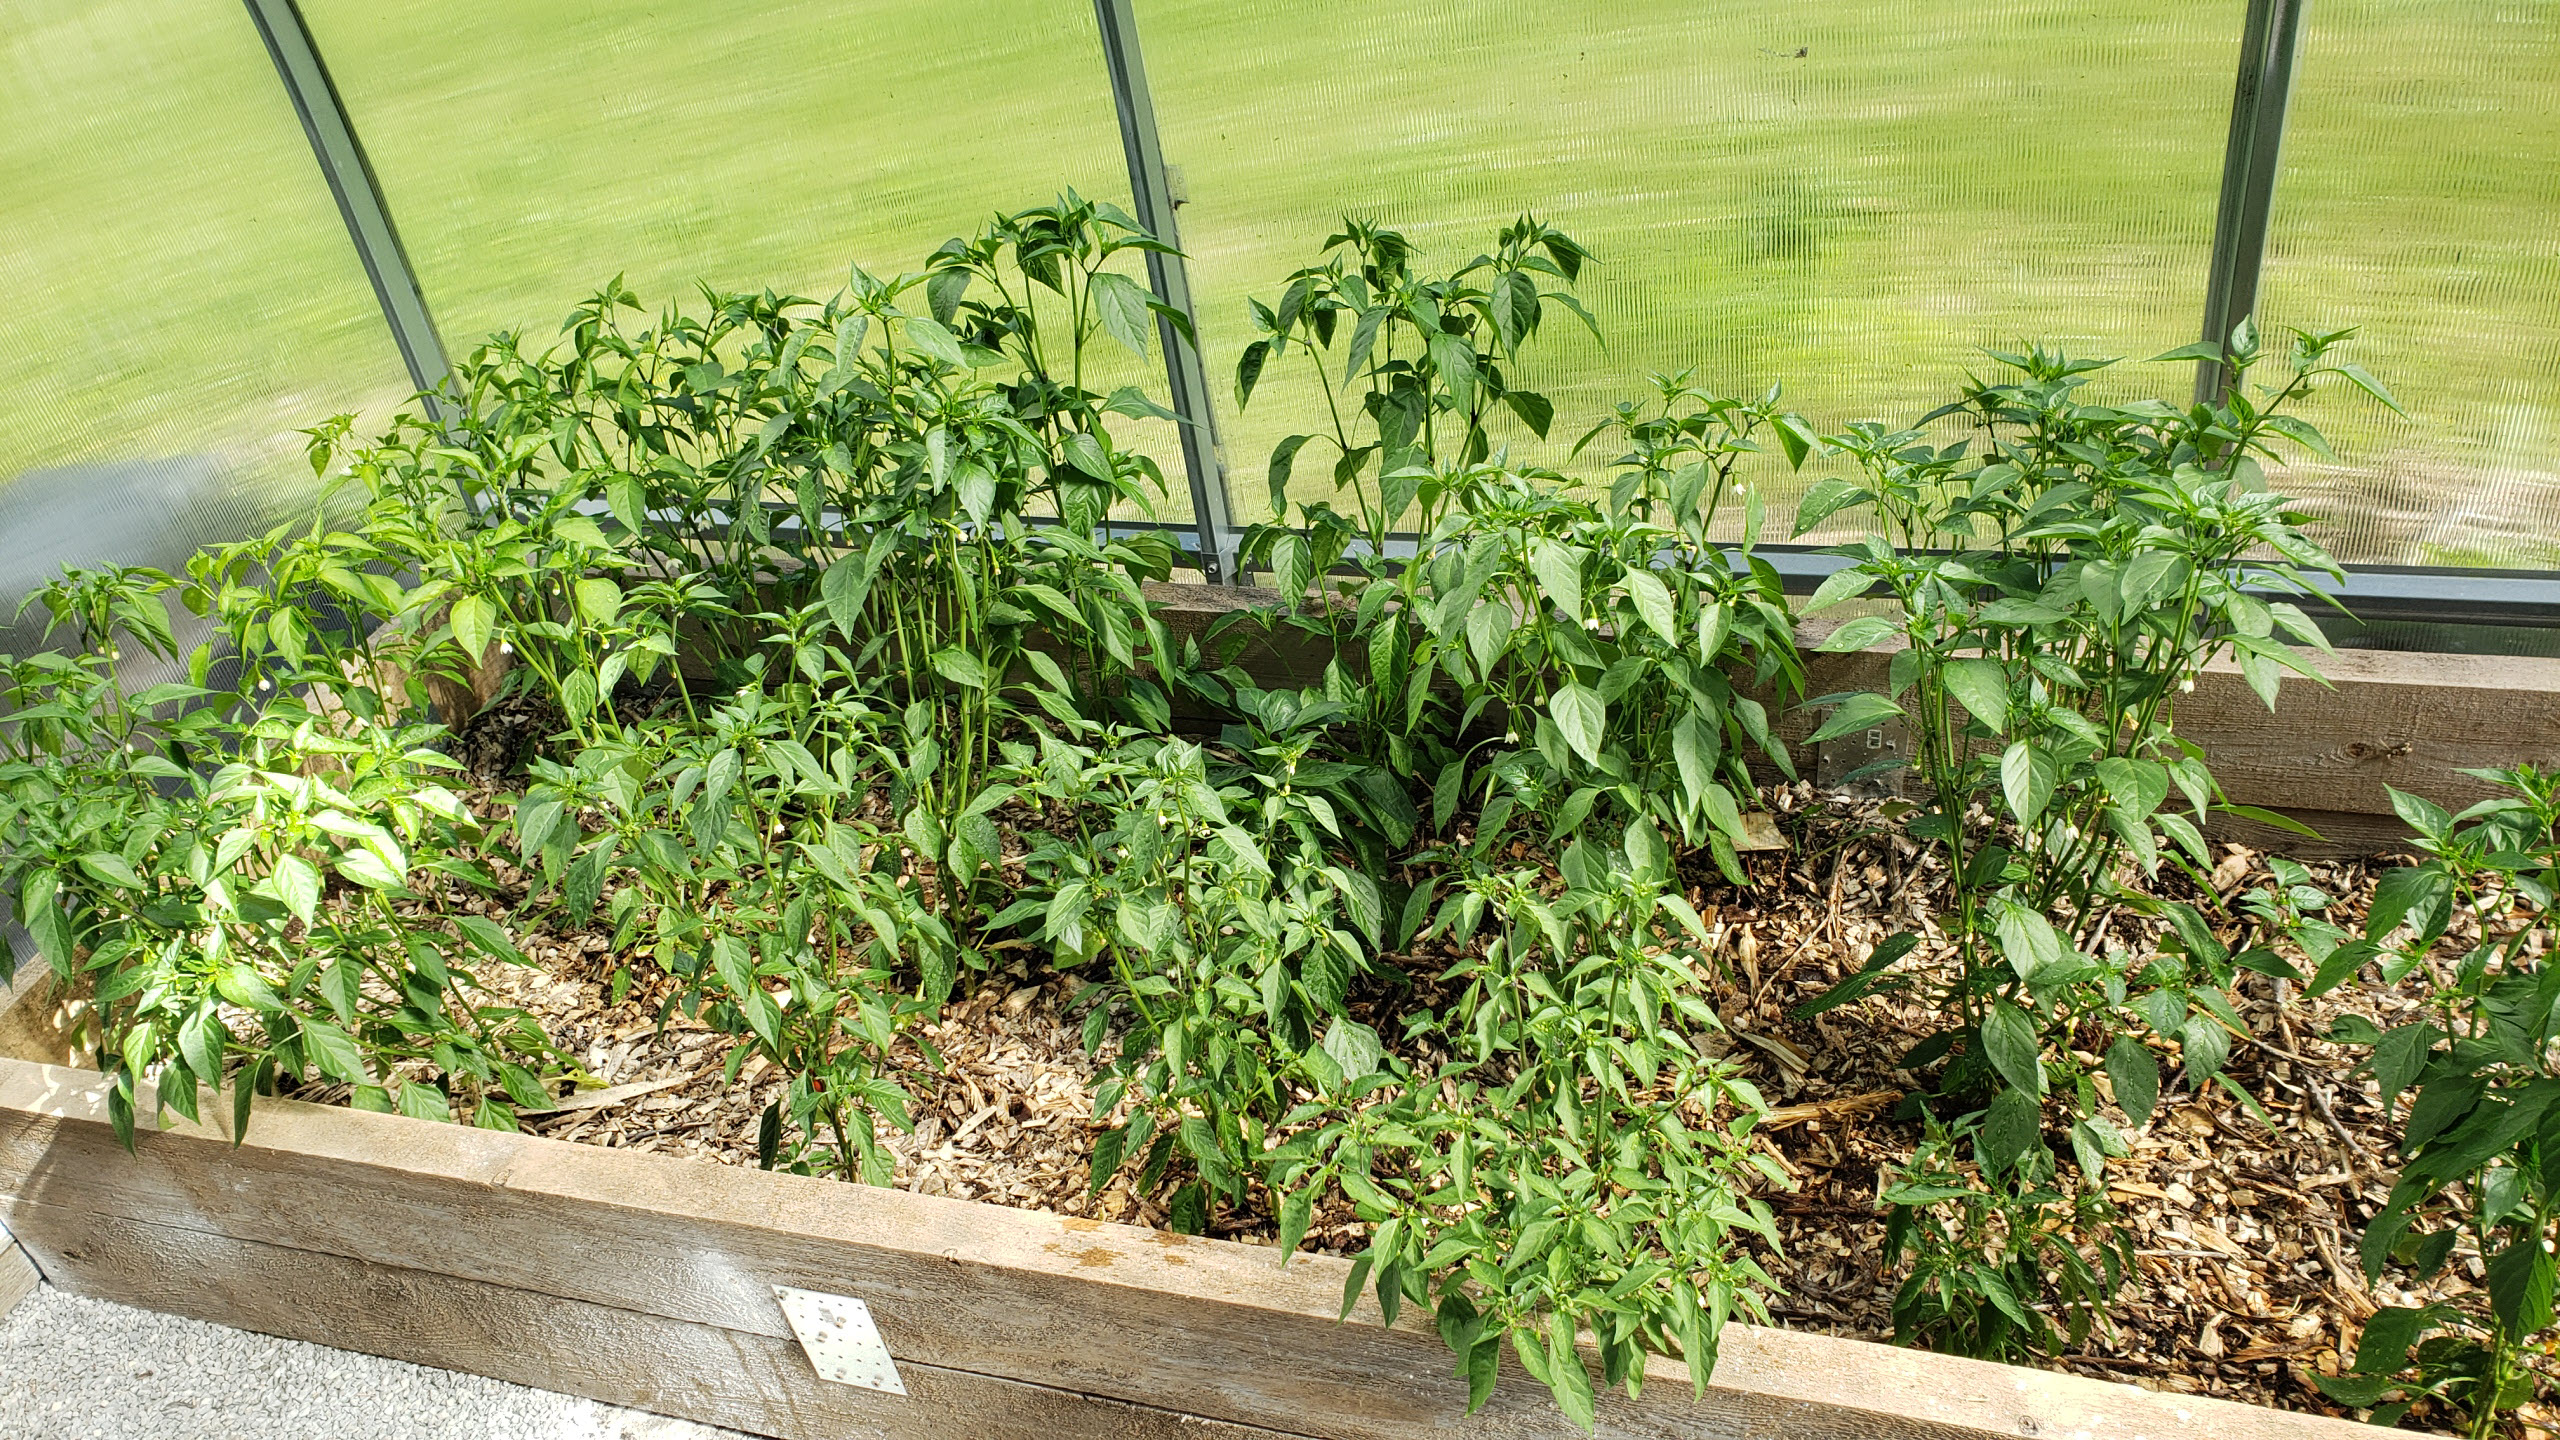 |
I transplanted peppers in mid-April into the greenhouse and they have been growing very well. |
 |
Sweet potatoes in greenhouse. |
Surprisingly we had a new lamb born in January, which is not ideal. The best time to have lamb is spring because of warmer weather and the new growth of grass on the pasture. Granted, commercial sheep farmers with heated barn have lambs all year round, but for a small homestead like us, we prefer to work with nature as God intended.
Thank God that we had a relatively mild winter in Ontario this January. 2 years ago 3 lambs were born but we lost 2 of them during winter because of the bitter cold. We took the remaining lamb inside the house before the wood fireplace and hand fed her for a month. We named the ewe Cedar.
Well, our latest addition, Friska, is the daughter of Cedar!
I have always wanted a properly built greenhouse to start seeds indoors before spring and to extend the growing season for heat loving veggies. I thought about building a hoop style greenhouse with polytarp cover, however, the polytarp needs to be replaced every 2 or 3 years because of wind and UV. A more costly upfront expense but much less maintenance alternative is to build a steel frame polycarbonate greenhouse.
I decided to go with Sigma 10′ x 20′ greenhouse. The kit was shipped within a week and I enlisted my 2nd daughter and sons to help put it together. After watching the instruction videos repeatedly, we were able to build the greenhouse from the ground up.
The process was not difficult, but it was tedious and time consuming because of all the tiny nuts and bolts. Anyhow, I am glad that it is up and running.
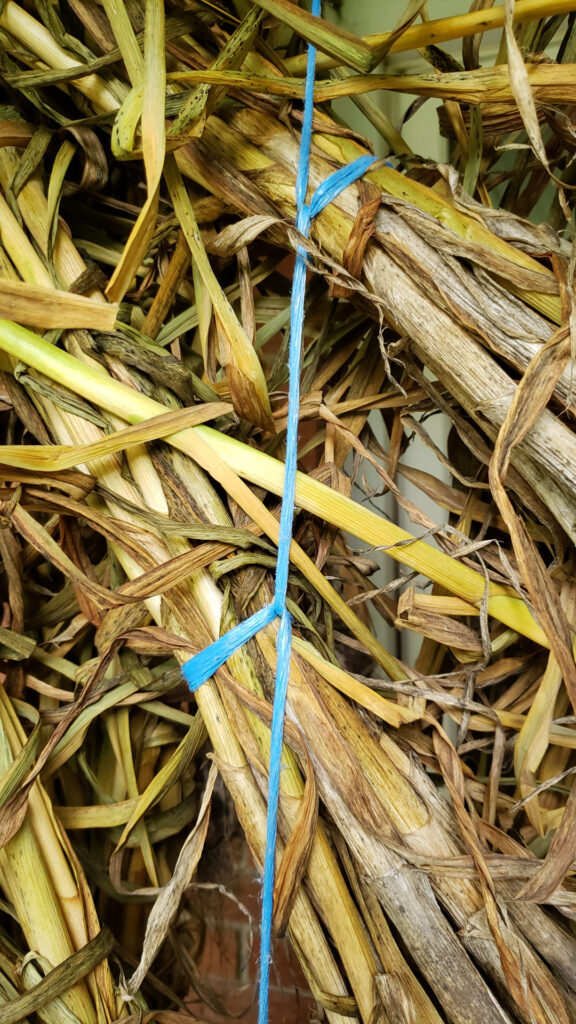
This year, we have grown more than 600 bulbs of garlic. I used to hang them on ab ABS pipe at our old place. I need to find a better way to cure the garlic occupying minimum space so I build a very simple stand inspired by this video:
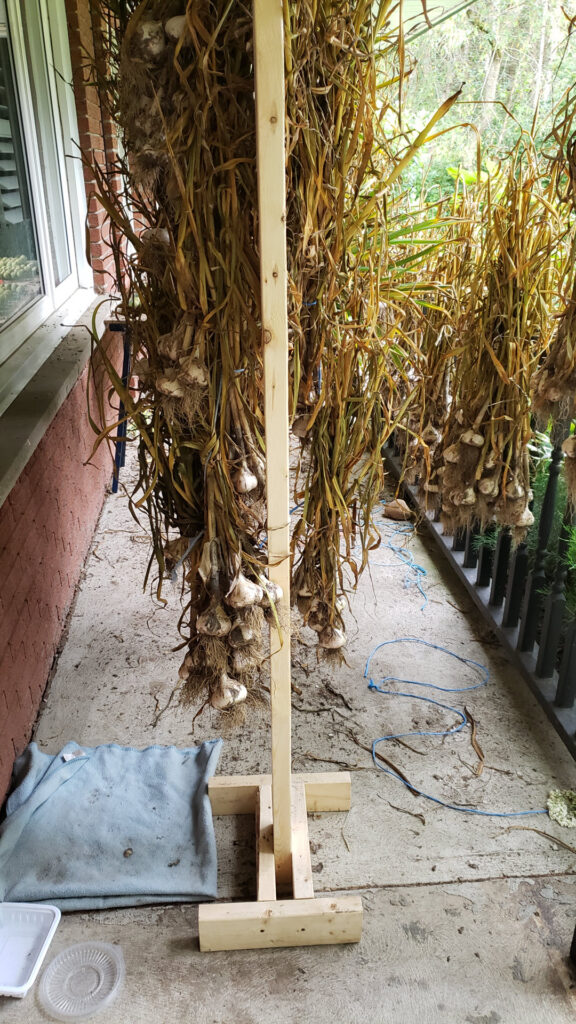 |
Side view of the stand. You just need 3 long pieces of 2x4s and 8 pieces of short 2x4s. |
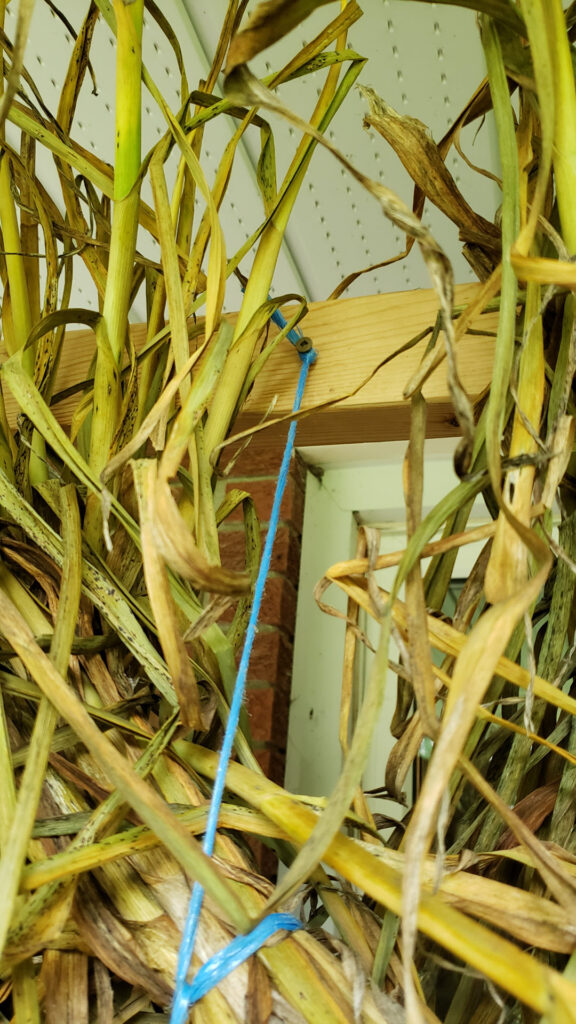 |
Using 1.5″ long deck screws, first drill a screw on one end of the top piece (front). Then screw about 8″ apart on the other side (back) of the top piece.
Continue in this front and back pattern along the top piece. Essentially, the screws are 16″ apart on each side of the top piece. |
 |
Each piece of bale twine can hold about 50 garlic bulbs, with 10 bulbs in a bundle for each counting. |
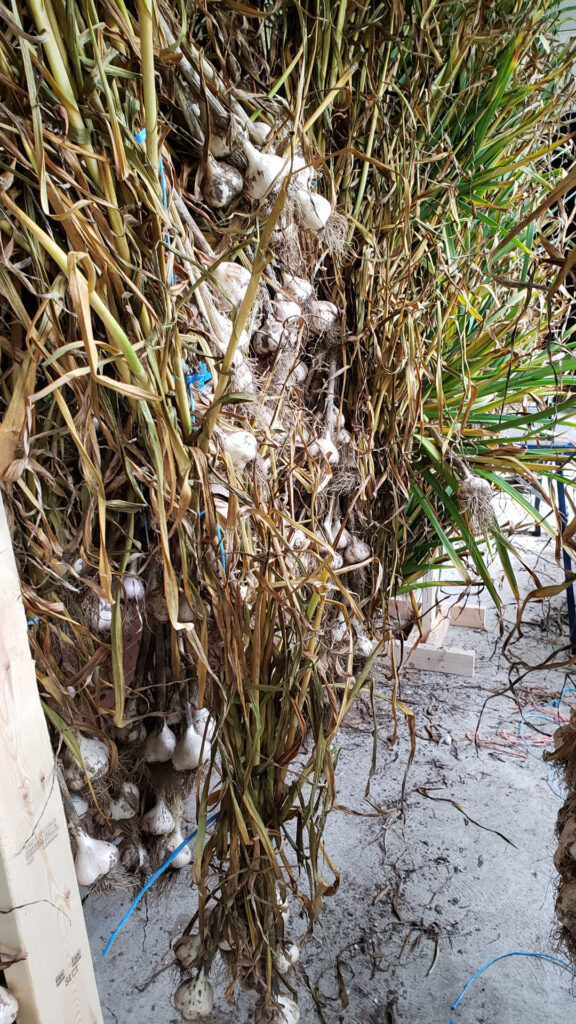 |
My stand of 8′ long top piece at a height of 7′ tall can hold about 600 garlic bulbs. |
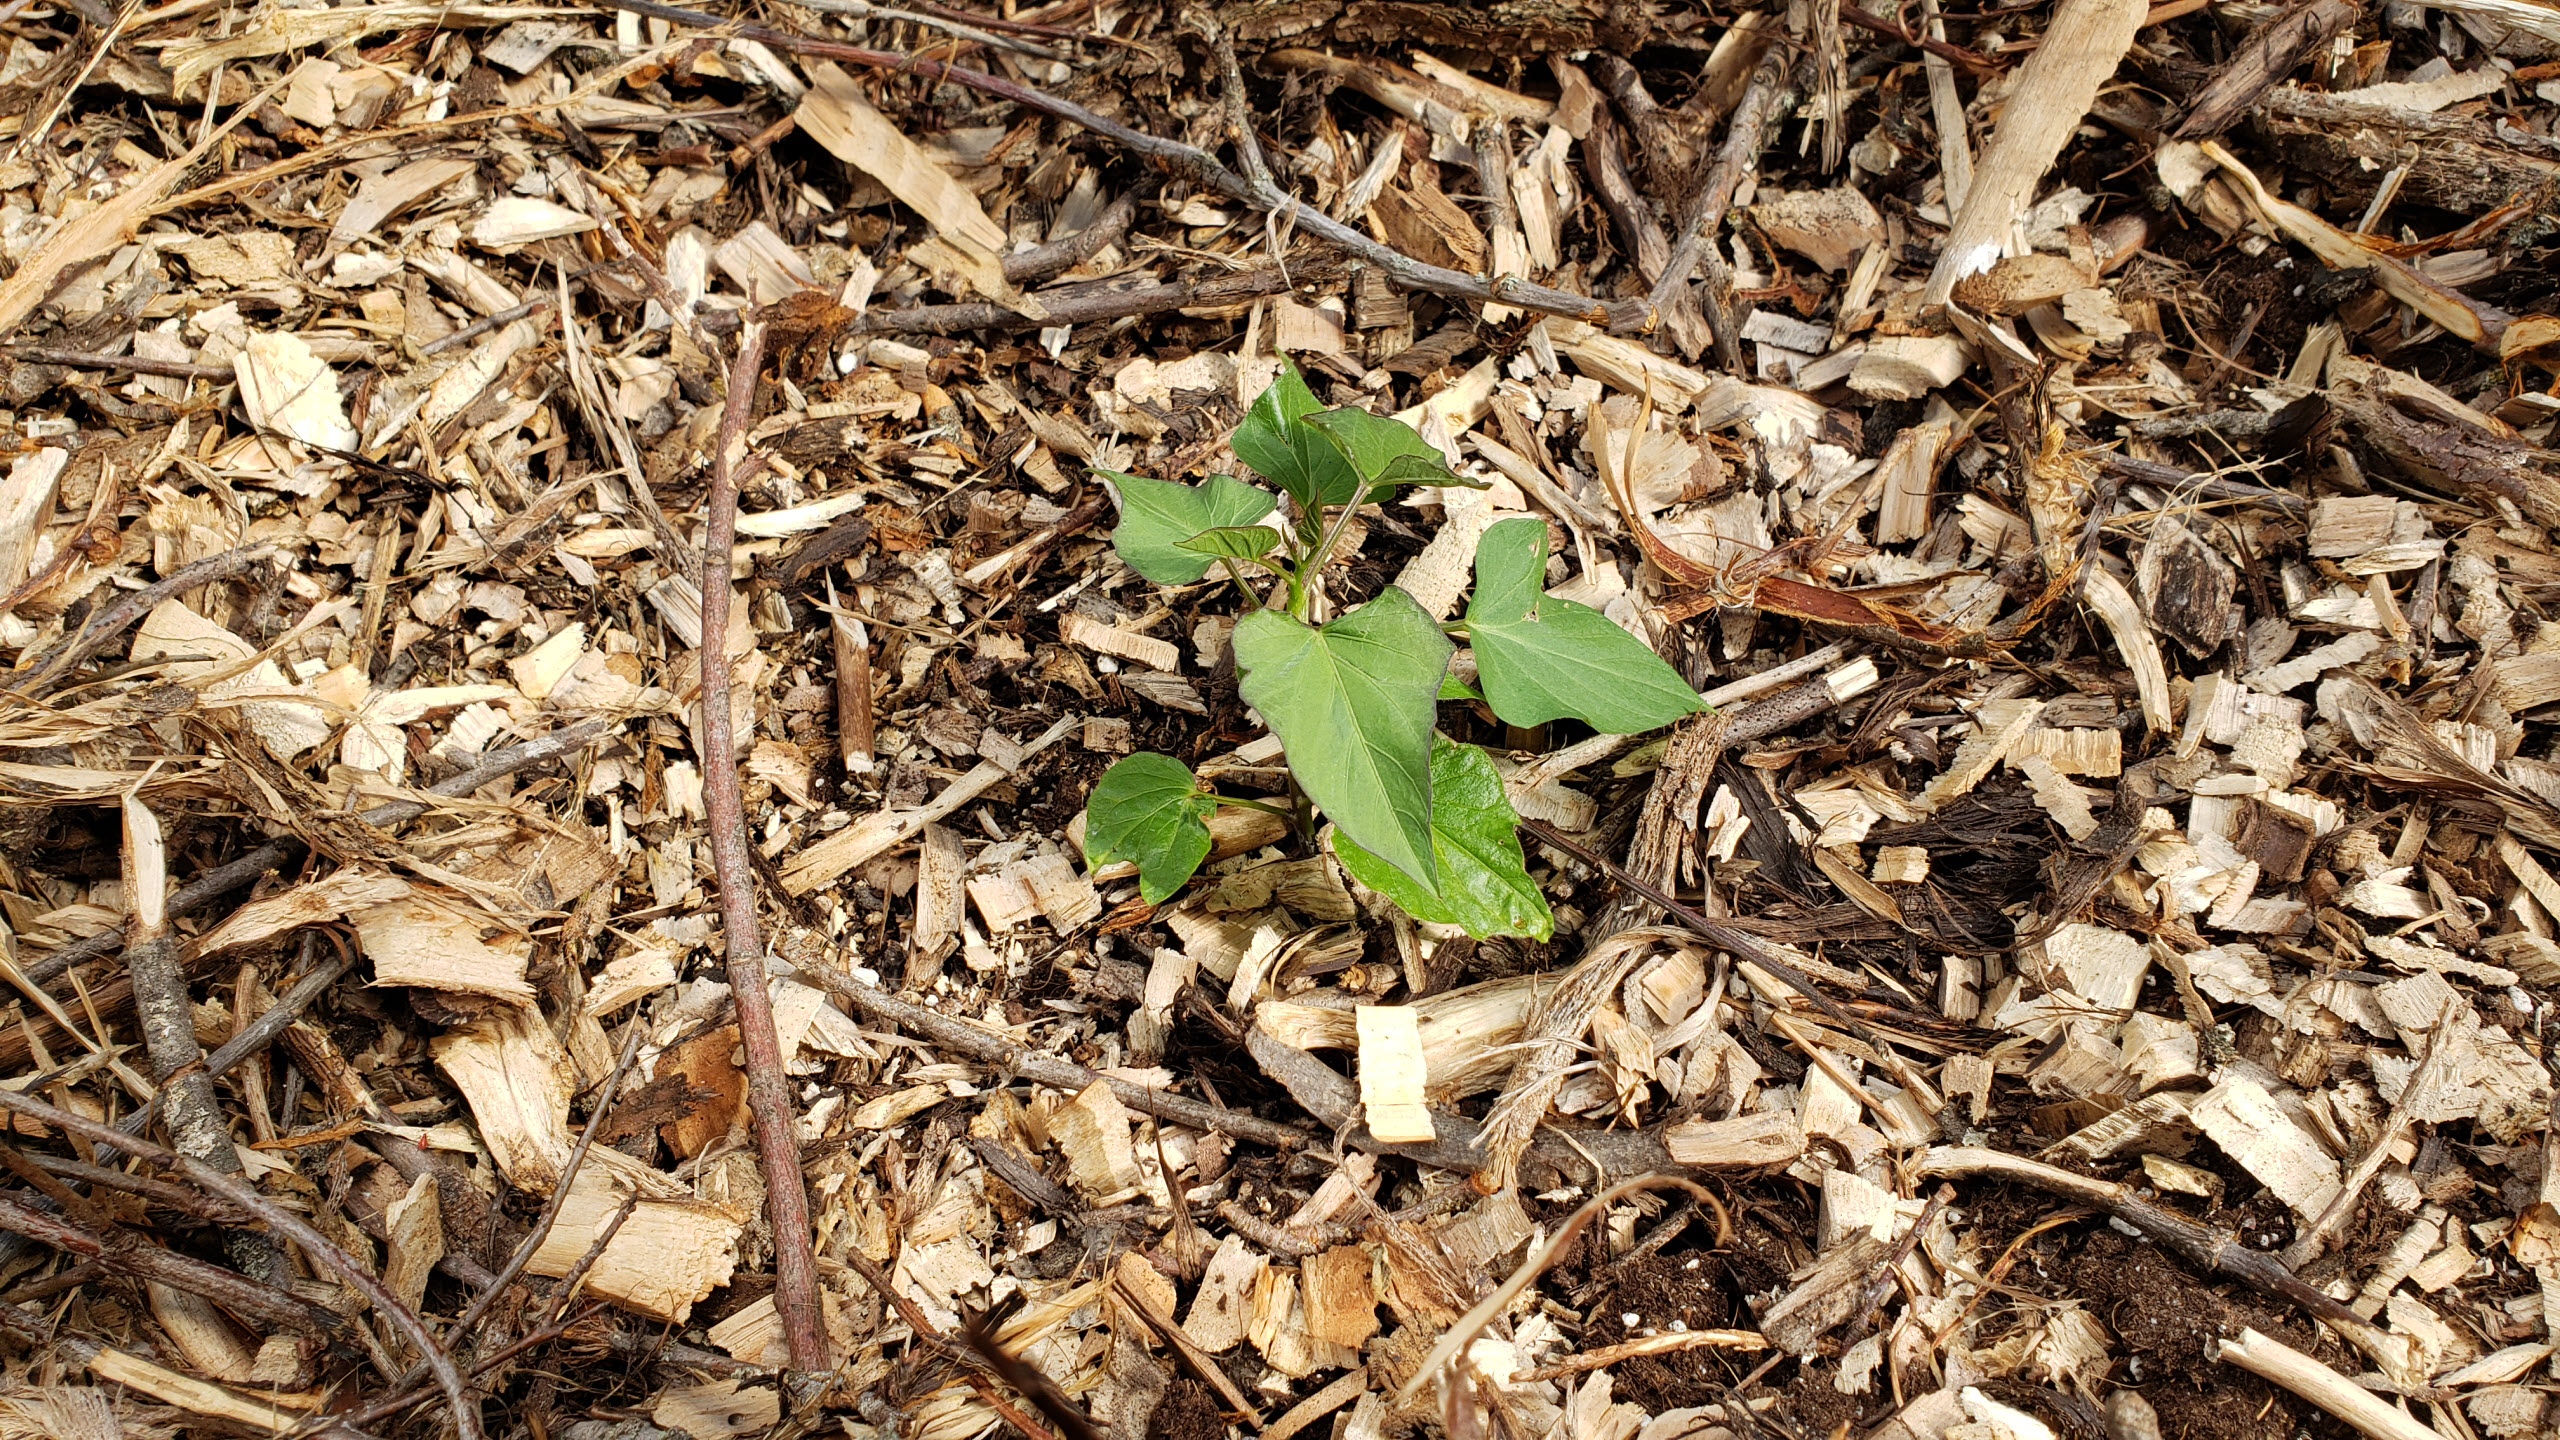
This year we expanded our garden. However, we have been struggling with bindweeds. This persistent and never-dying (almost) vine is extremely difficult to remove.  Their roots can grow to 2 feet long and yet very brittle. If you leave the broken pieces of the vines on the ground or in the soil, each broken piece can sprout a new plant!
I learn that the only way to suppress them is carefully remove the leaves, stems and roots, repeatedly. We would use a bucket to collet the weeds and burn them. After 5 or 6 hand digging at the same spot, the bindweed would seem to be weaken and finally die off.
Talk about stubbornness!
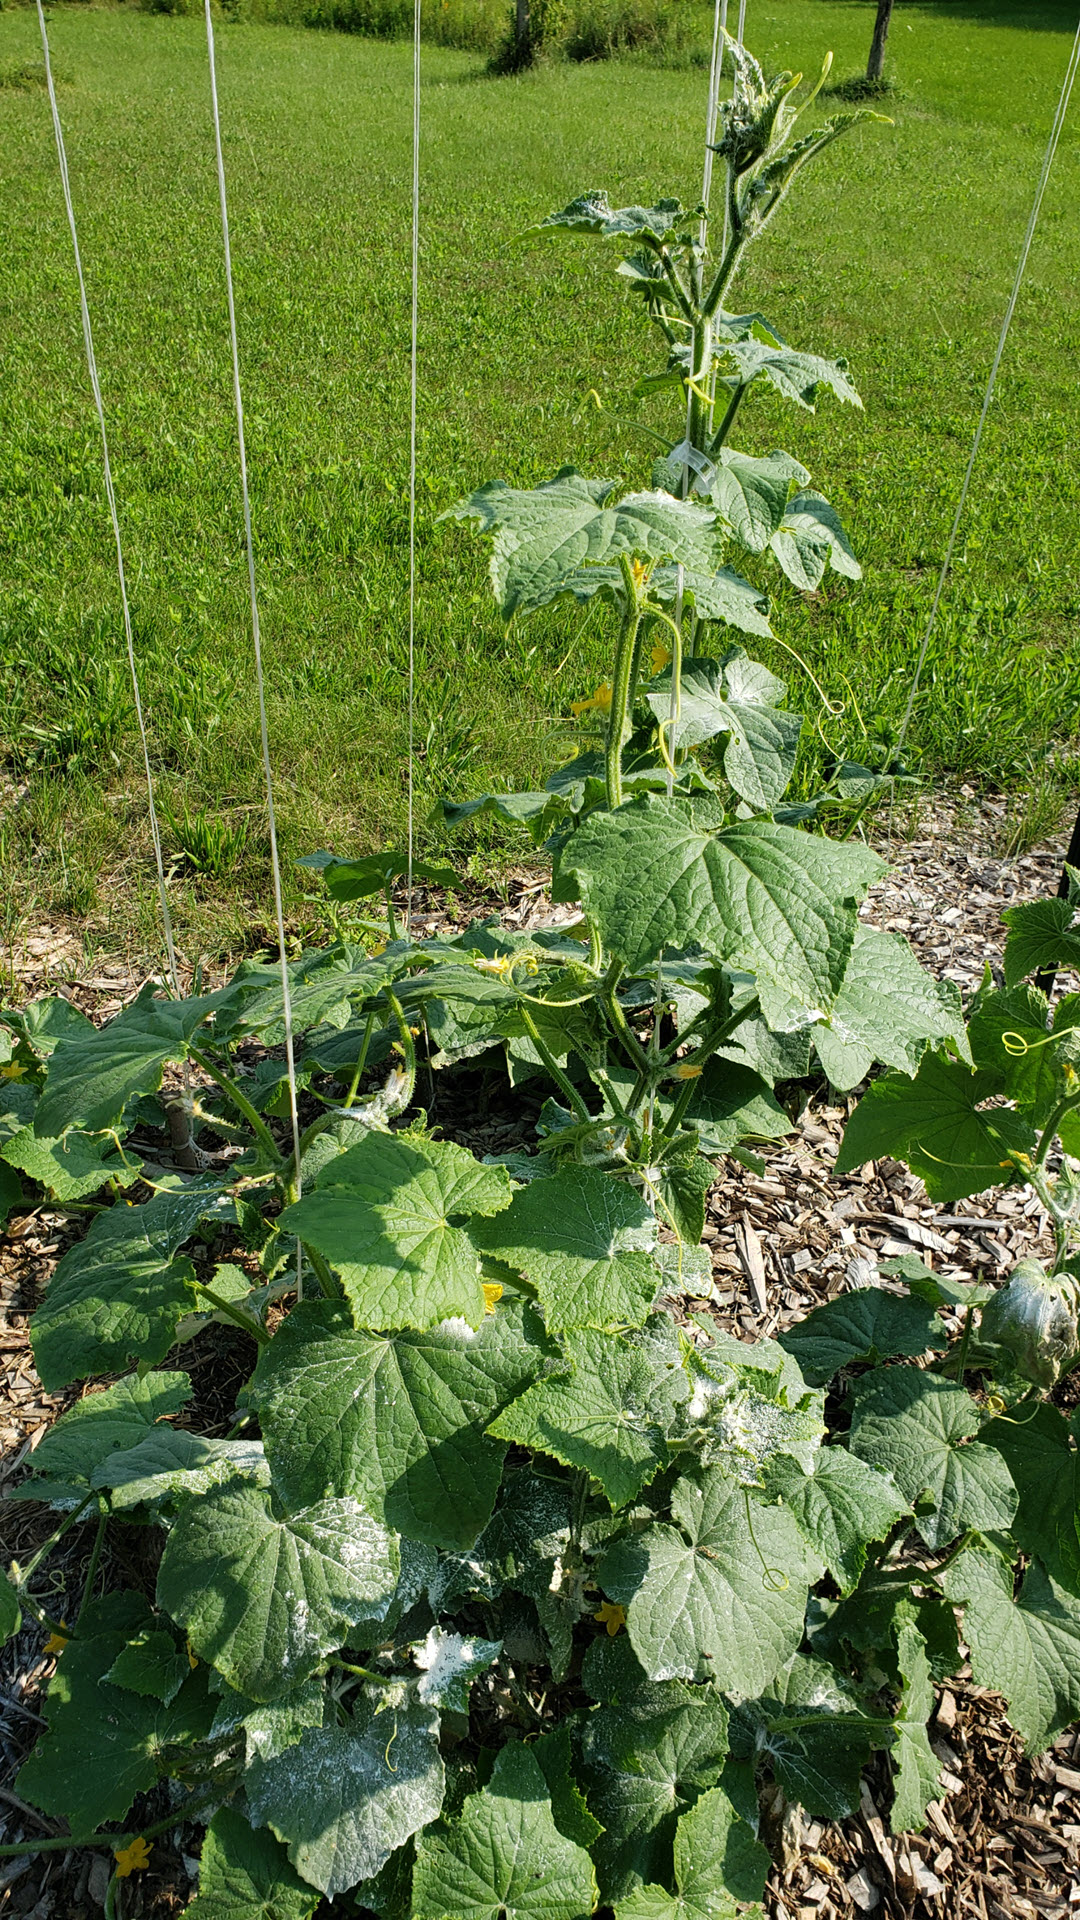 |
Cucumbers. Some of the plants are killed by wilt, which is a bacteria spread by cucumber beetles. I have been using Dr. Bronner’s soap mix to suppress them. |
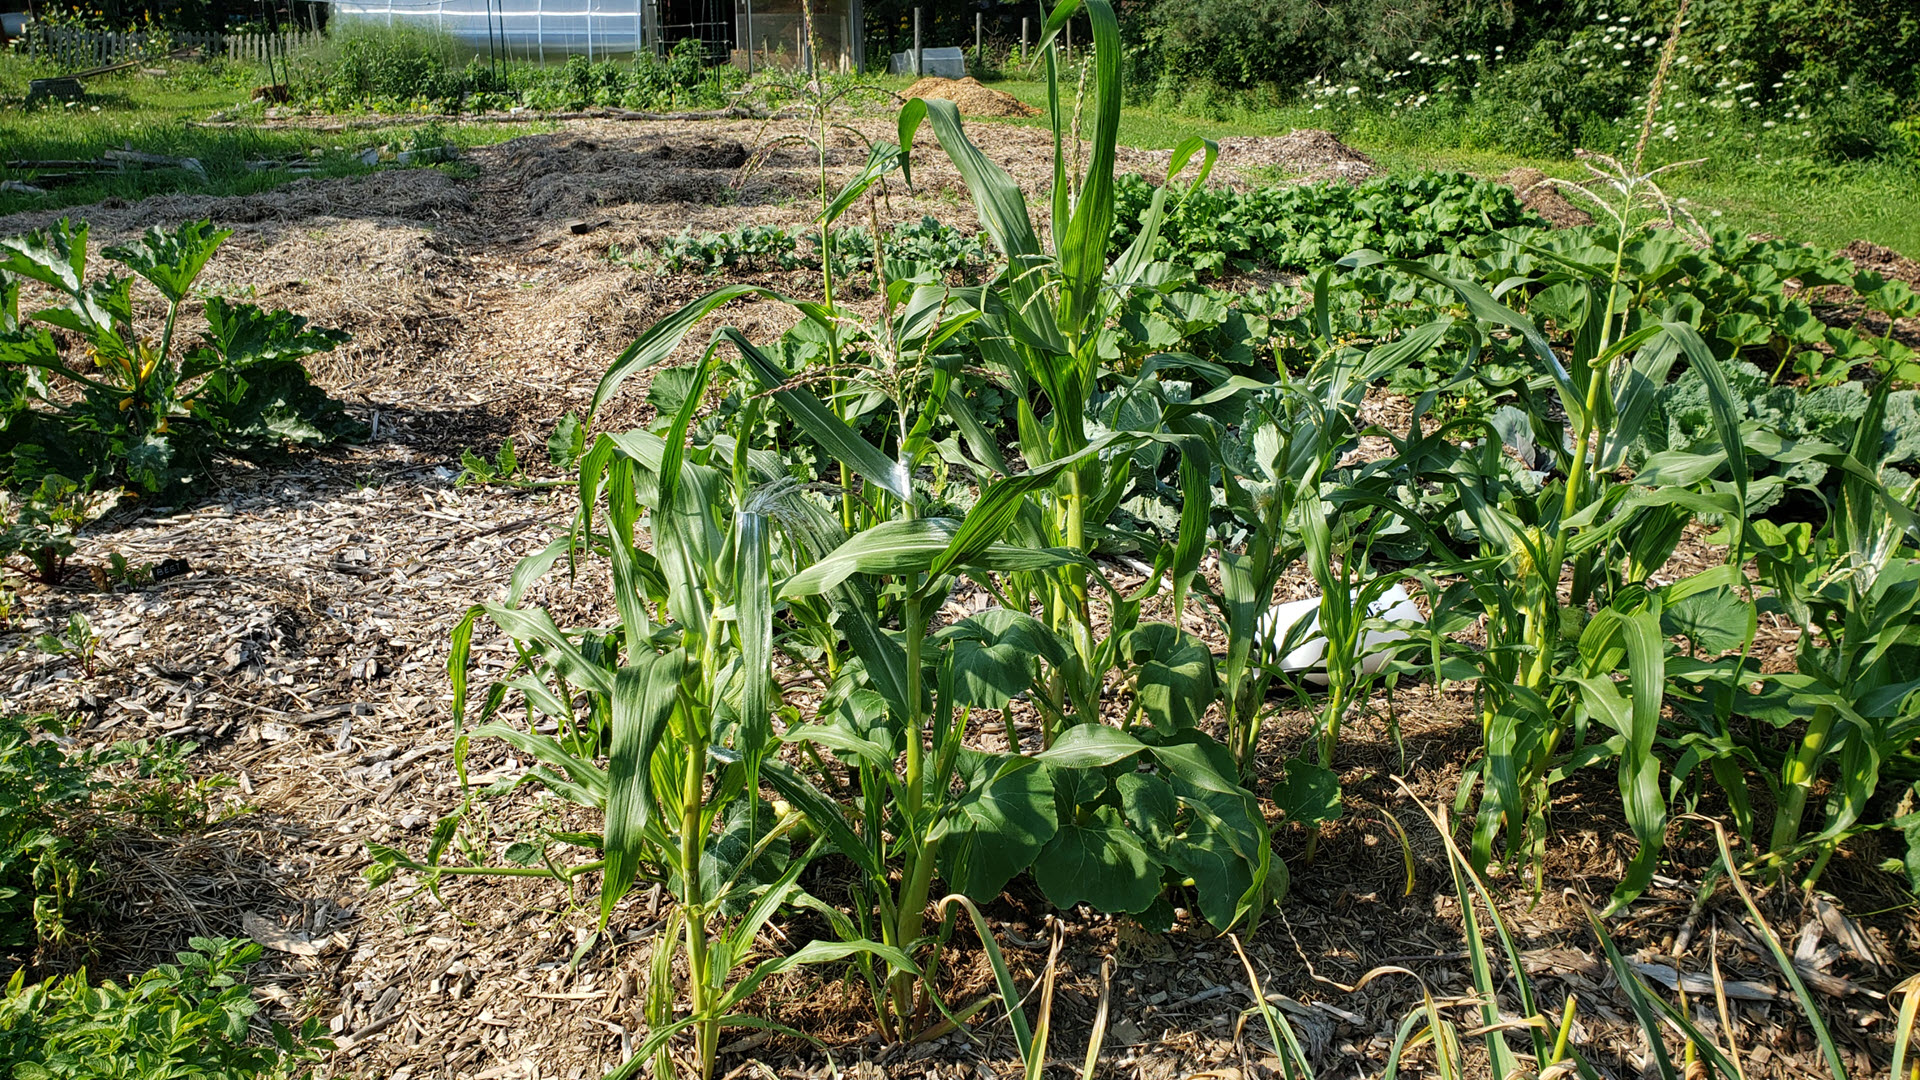 |
3 sisters patch (corn, squash, bean) planted by my youngest son Caleb. |
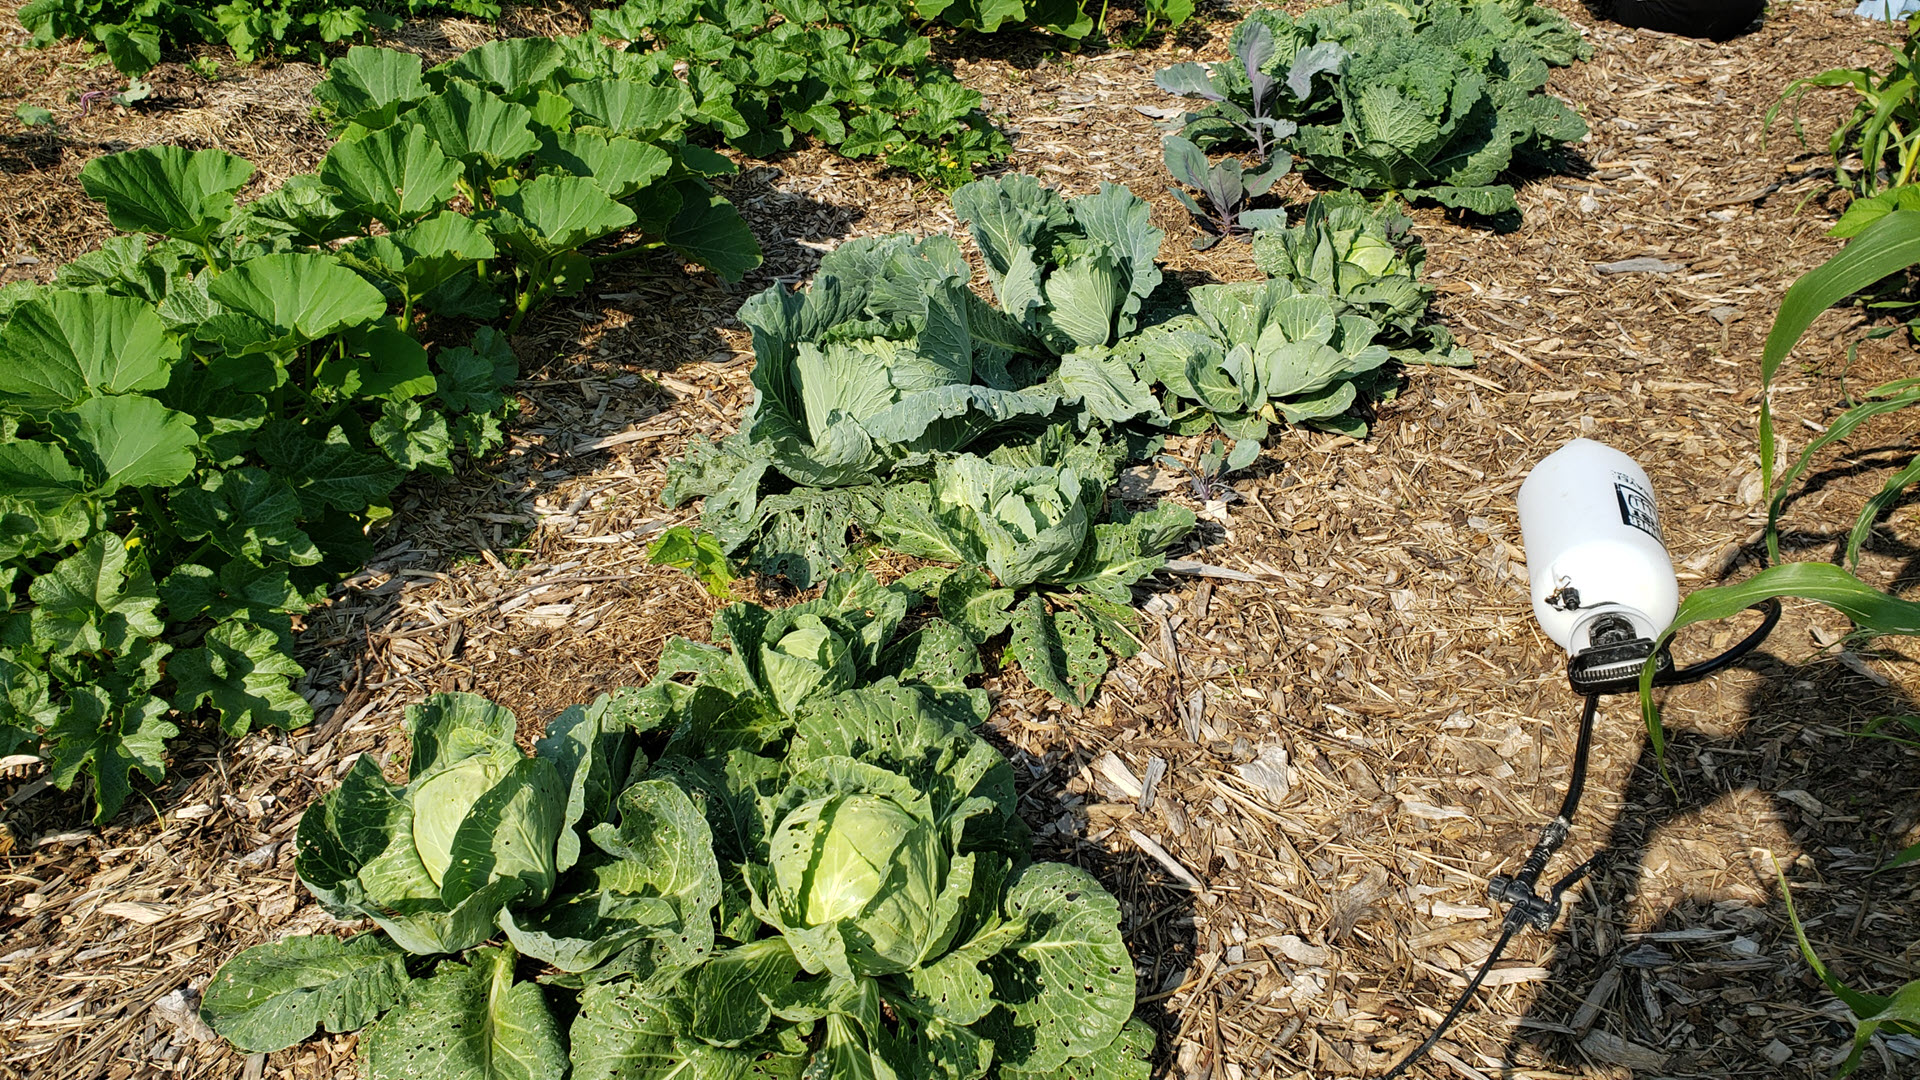 |
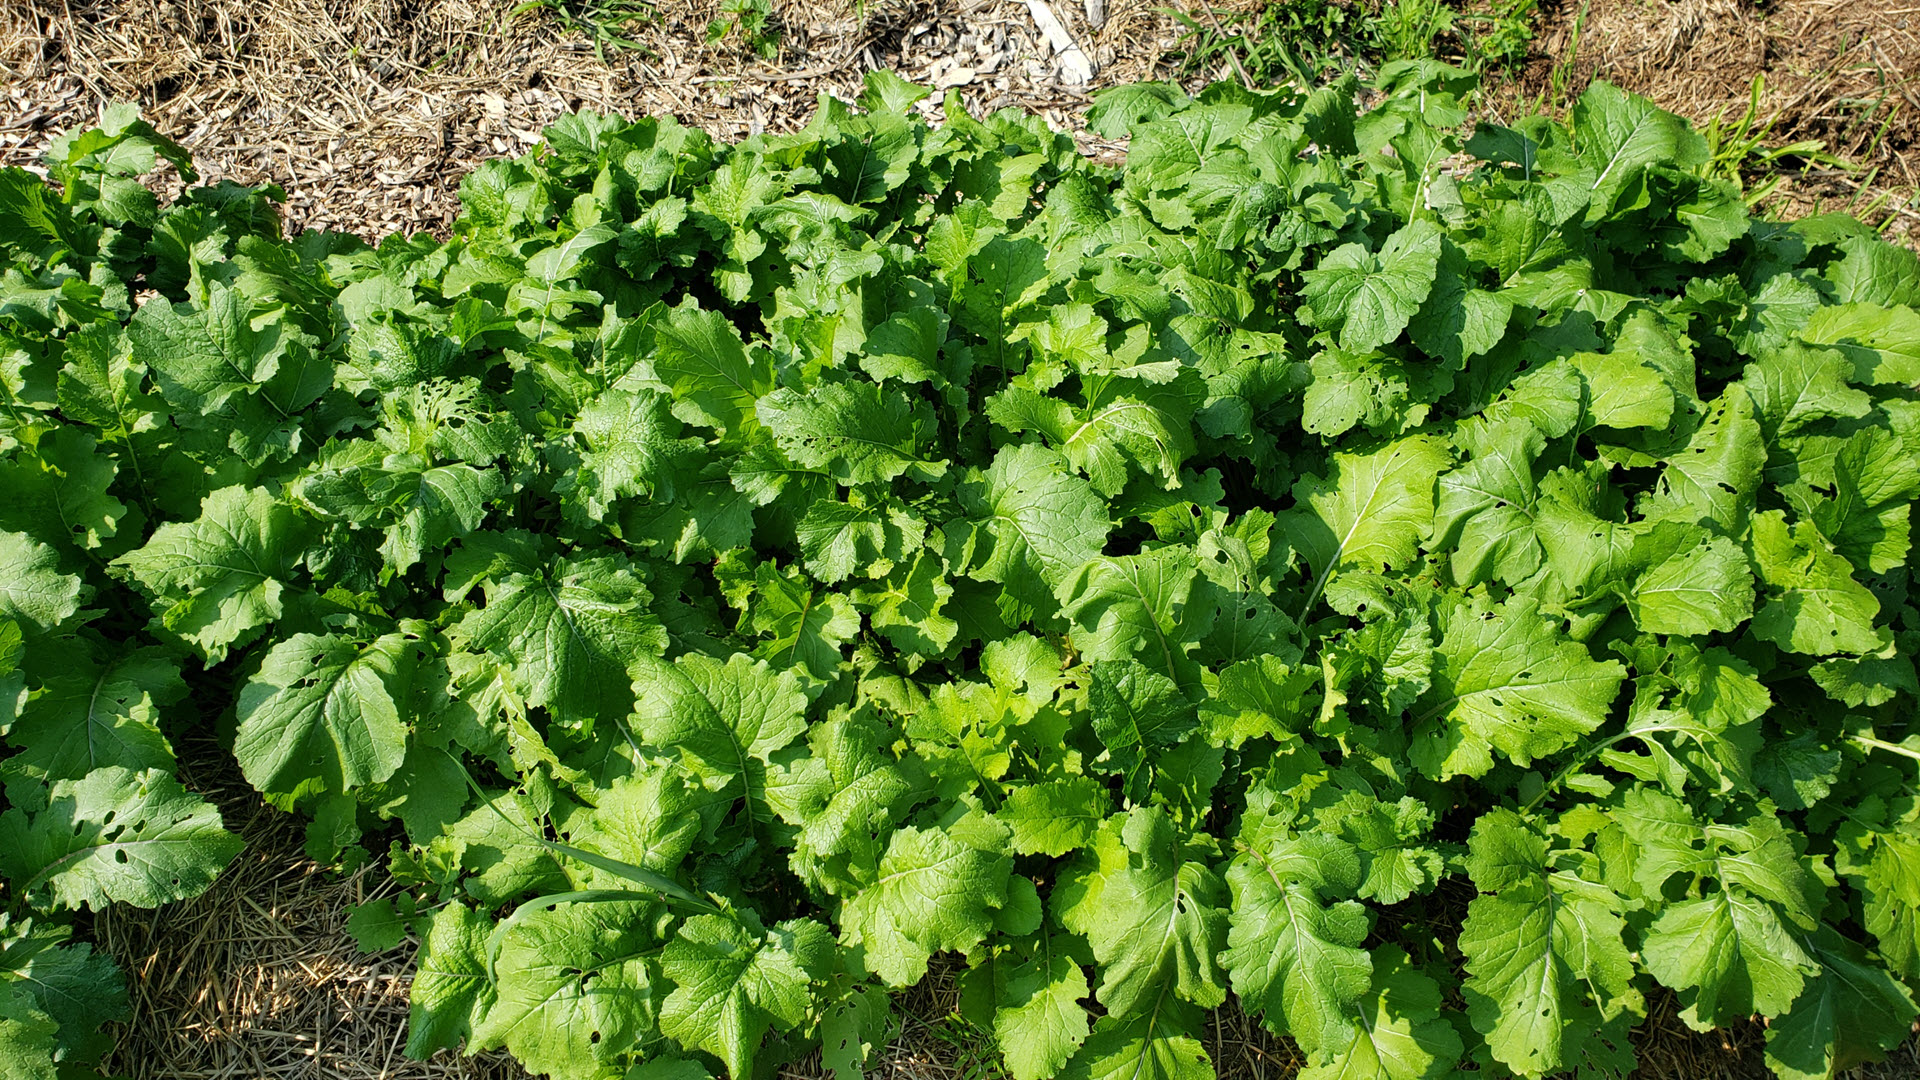
Cabbages. I make sure I planted them further apart this year. |
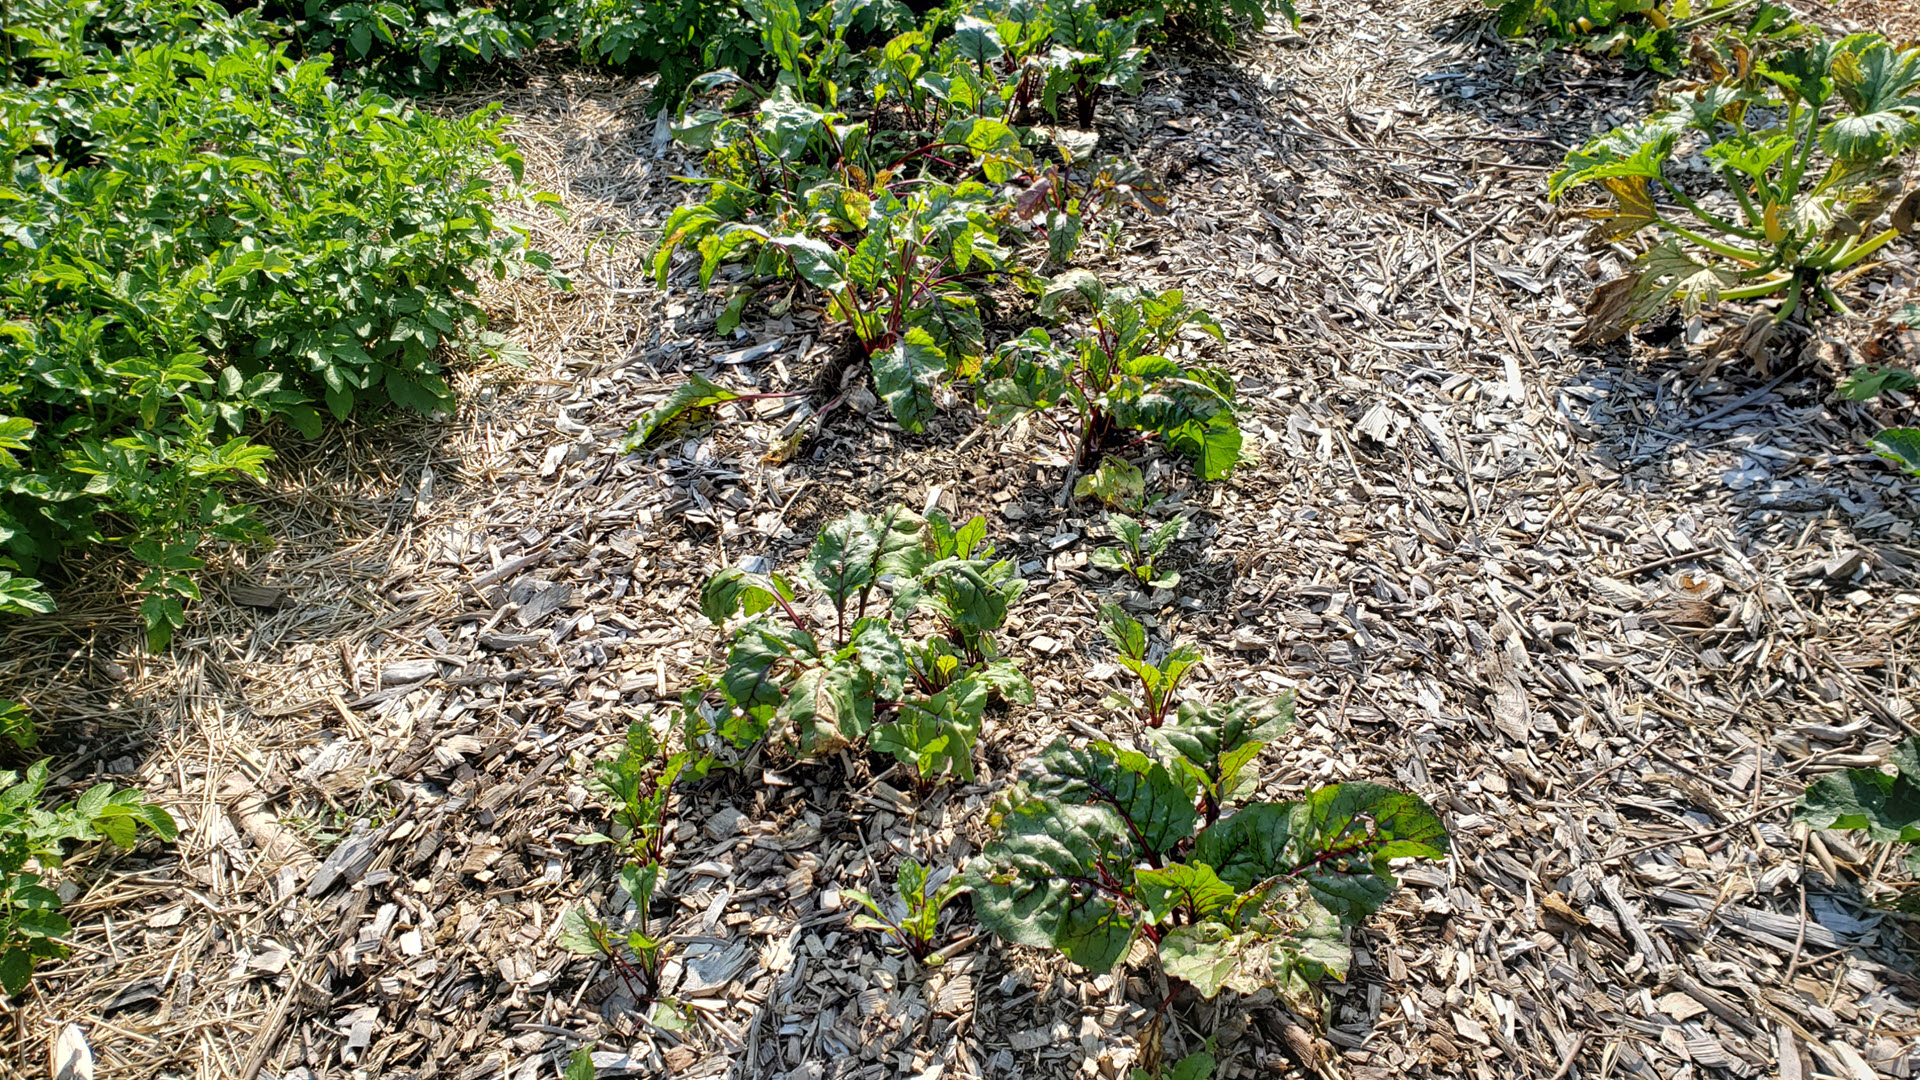 |
Beets |
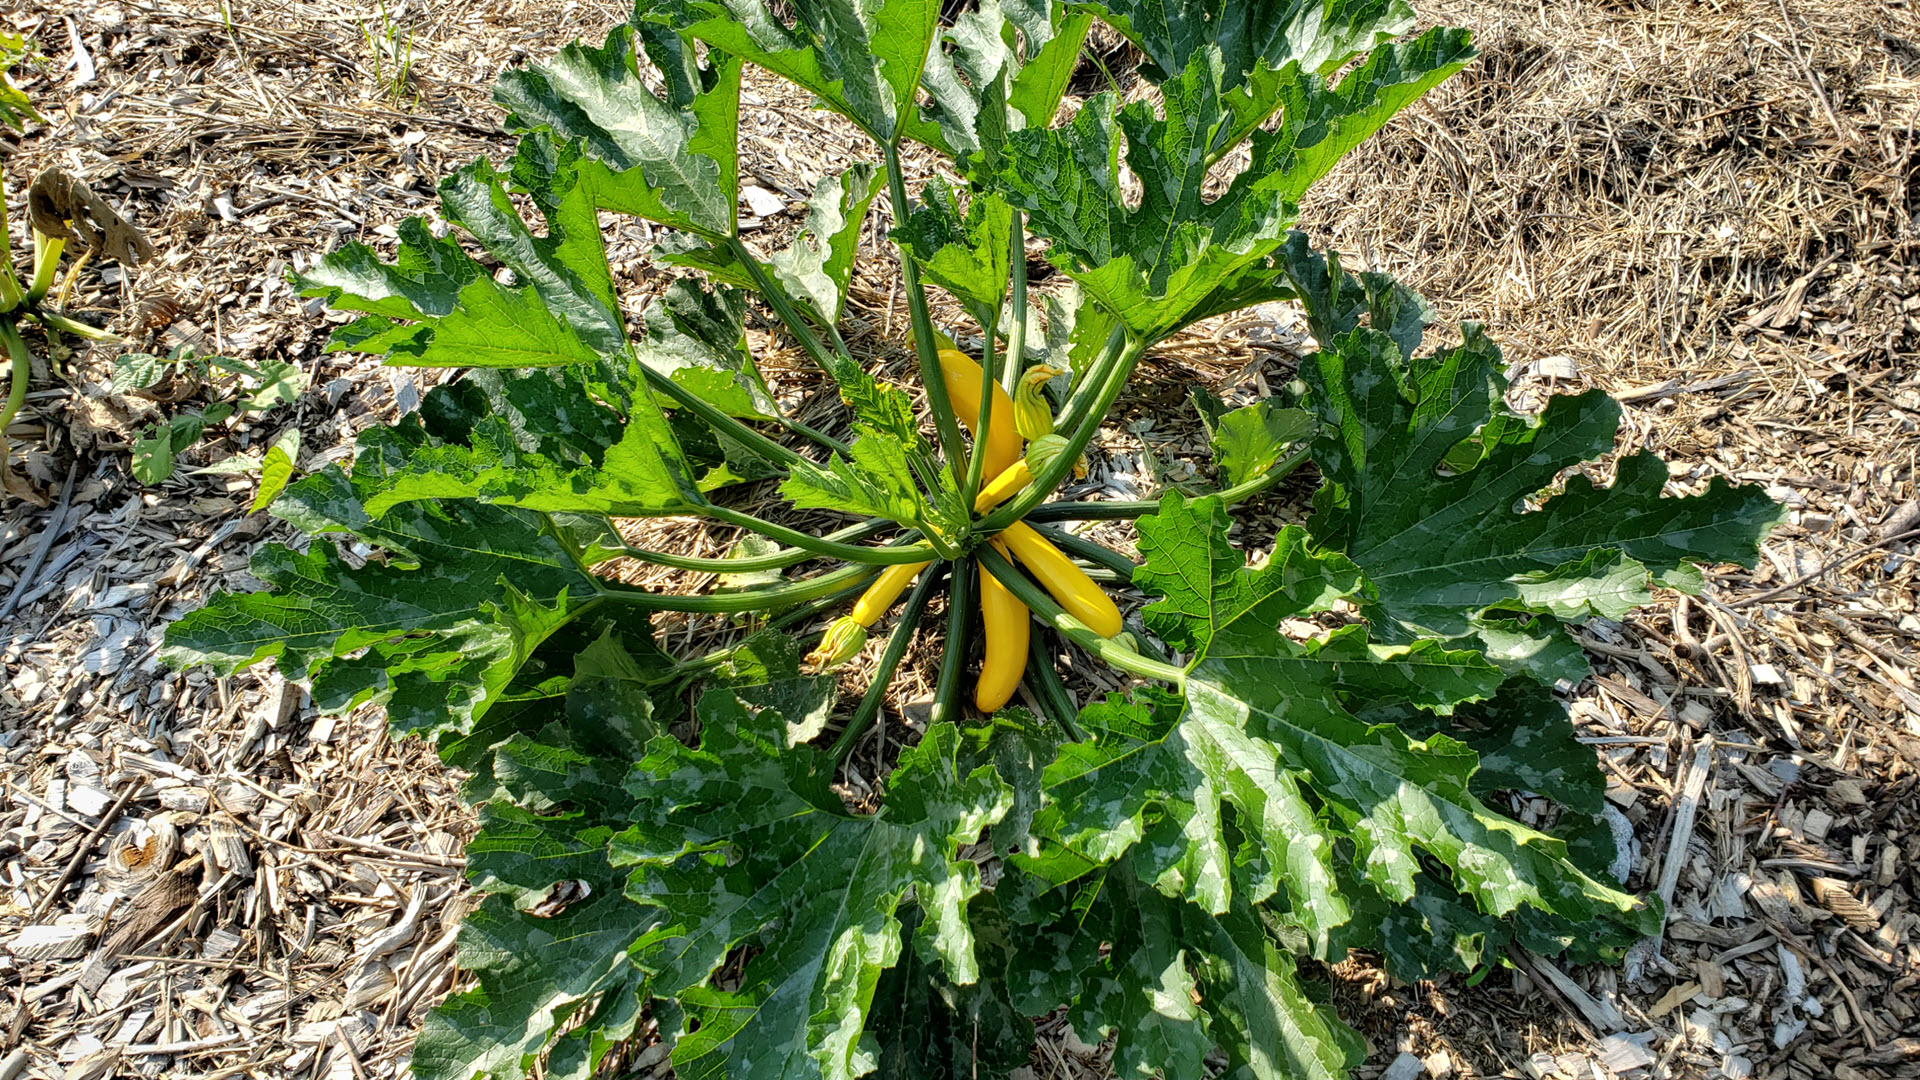 |
Zucchini |
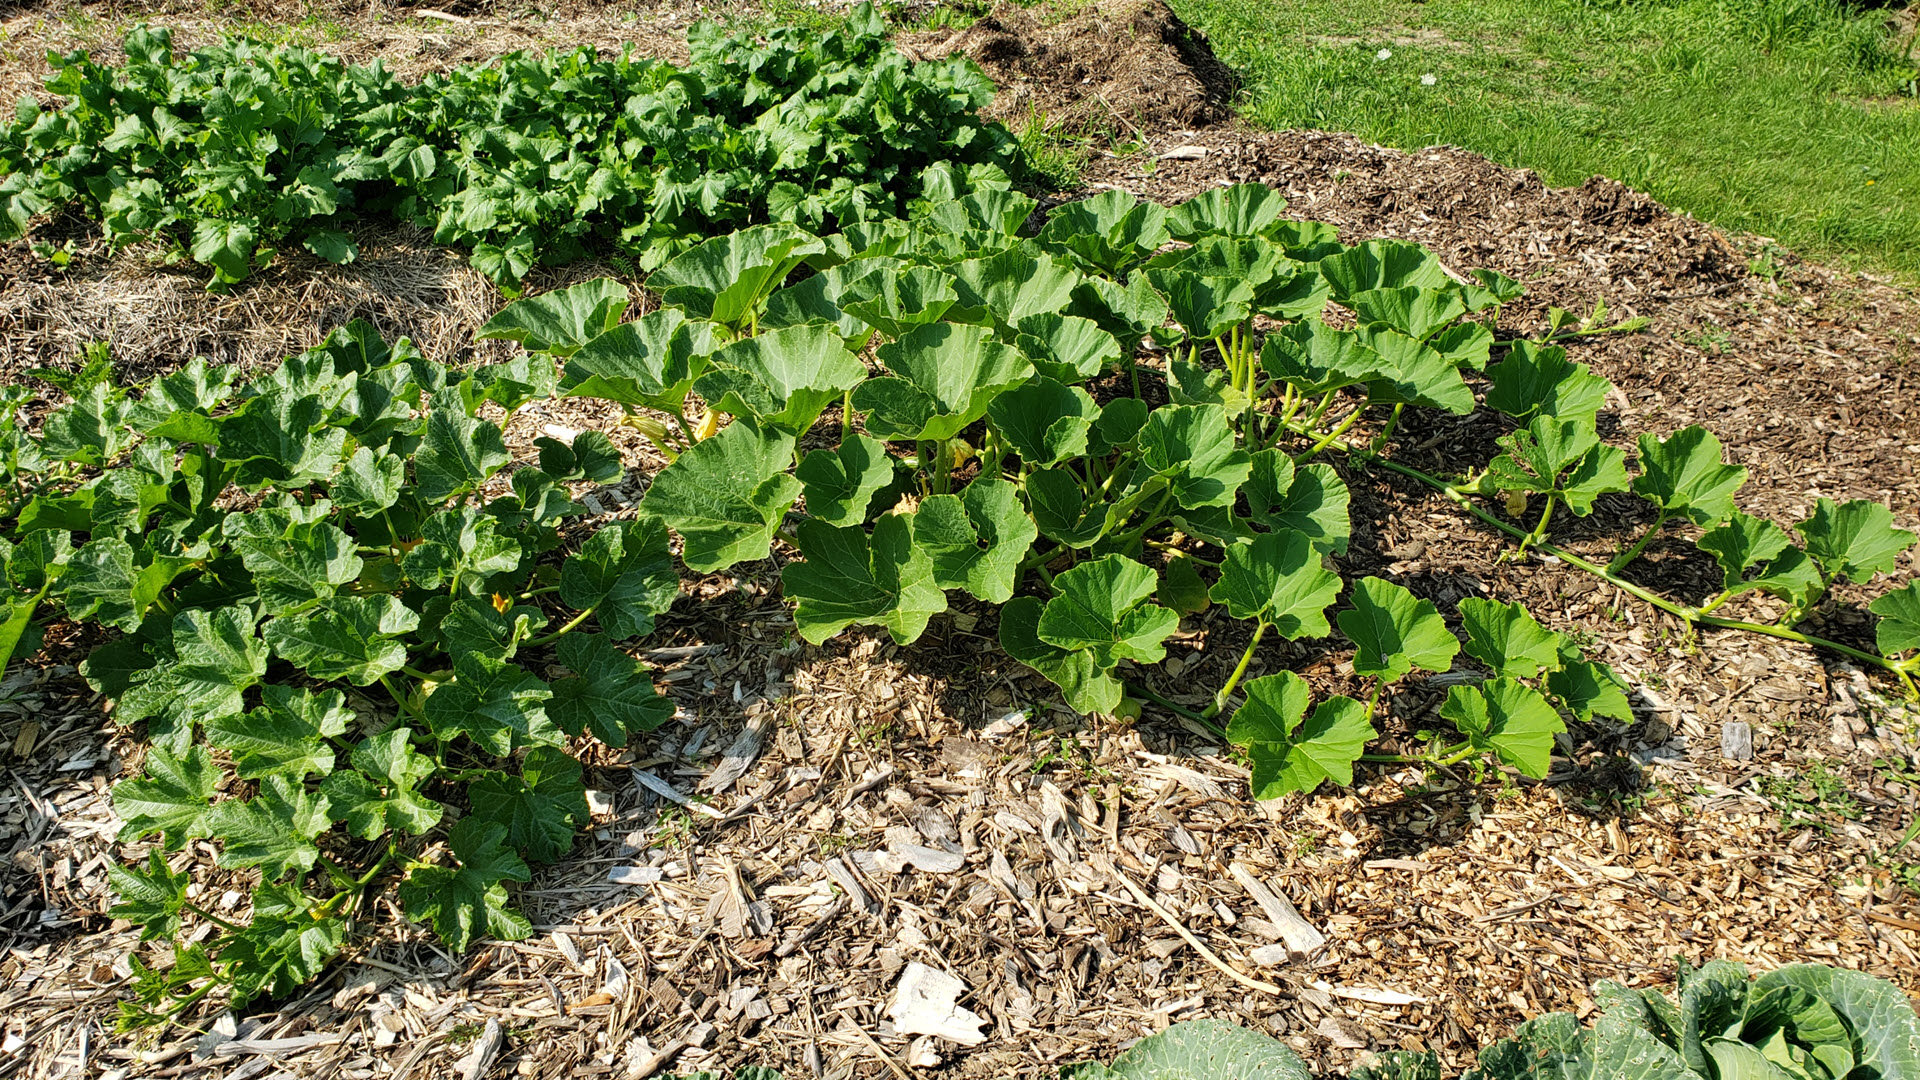 |
Mama squash and delicata squash |
 |
Turnip. I haven’t planted this for several years. |
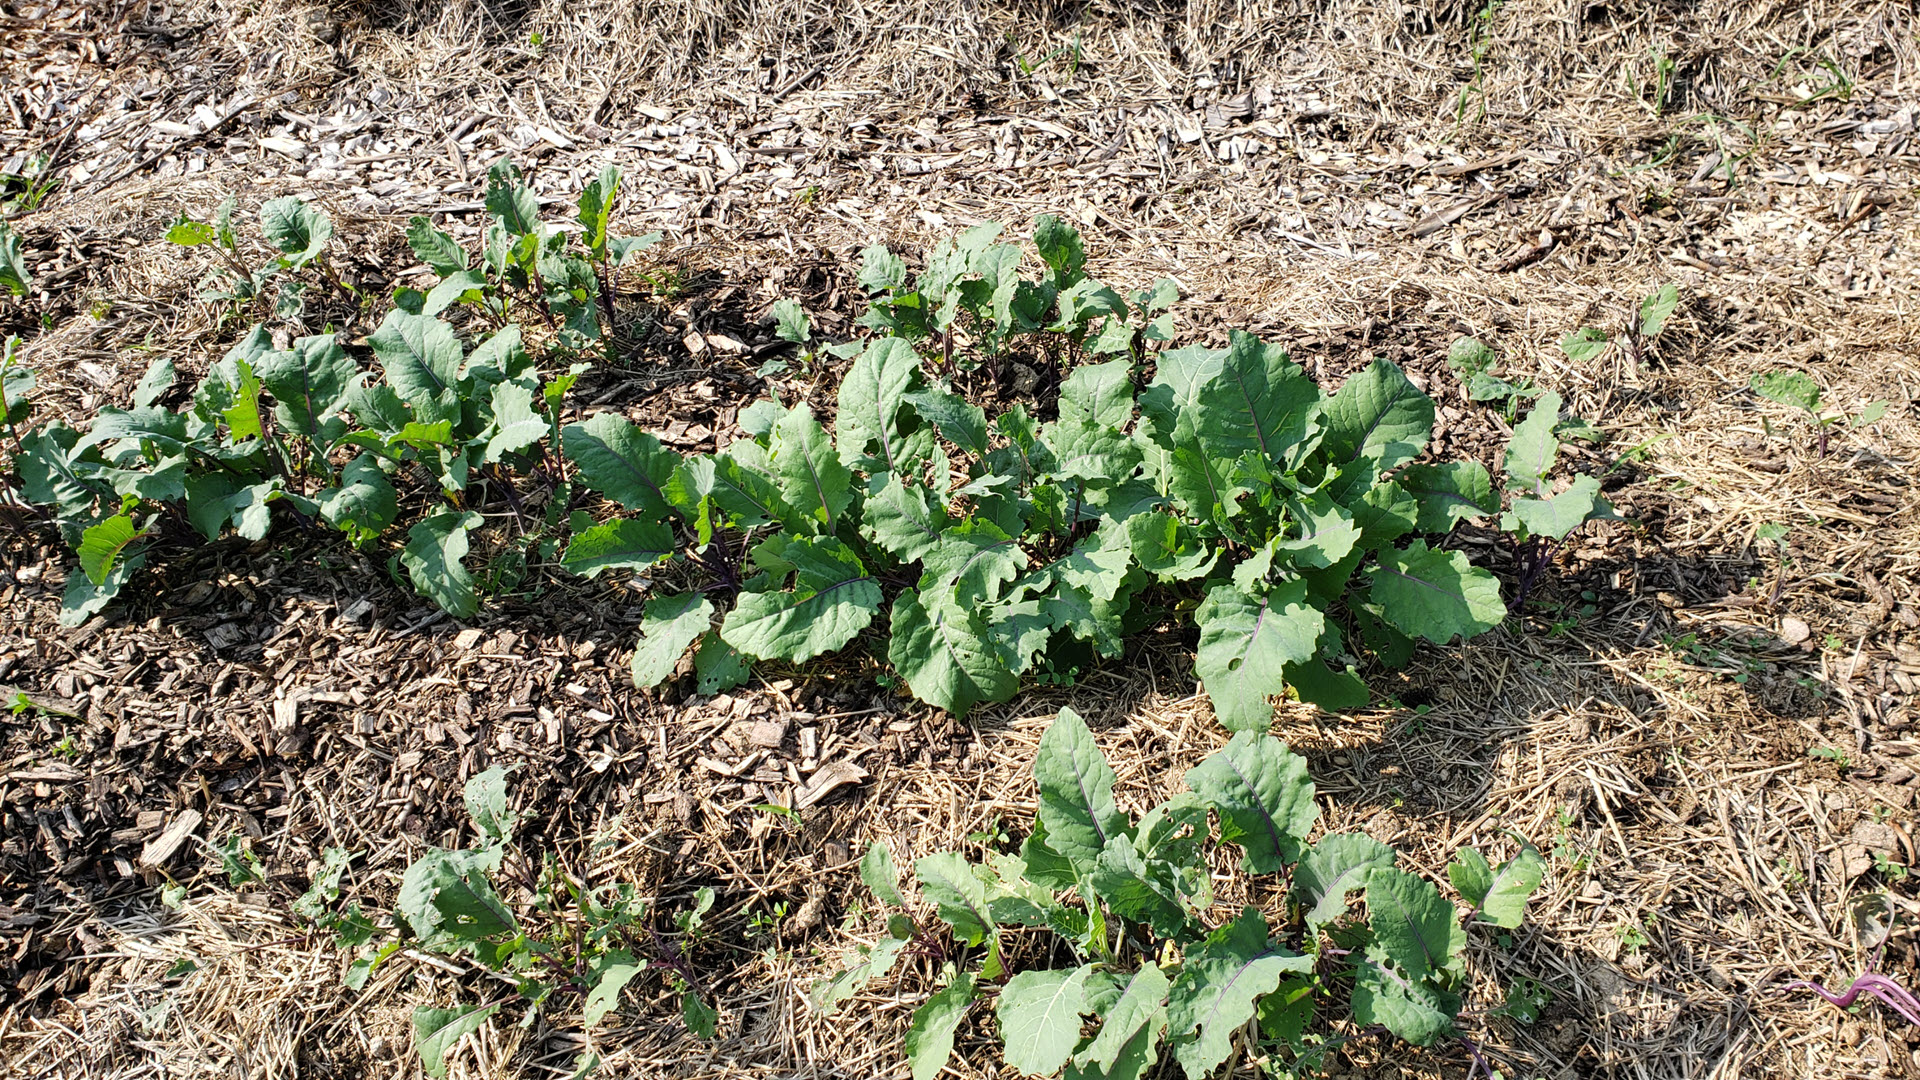 |
Kohlrabi. First time growing it. |
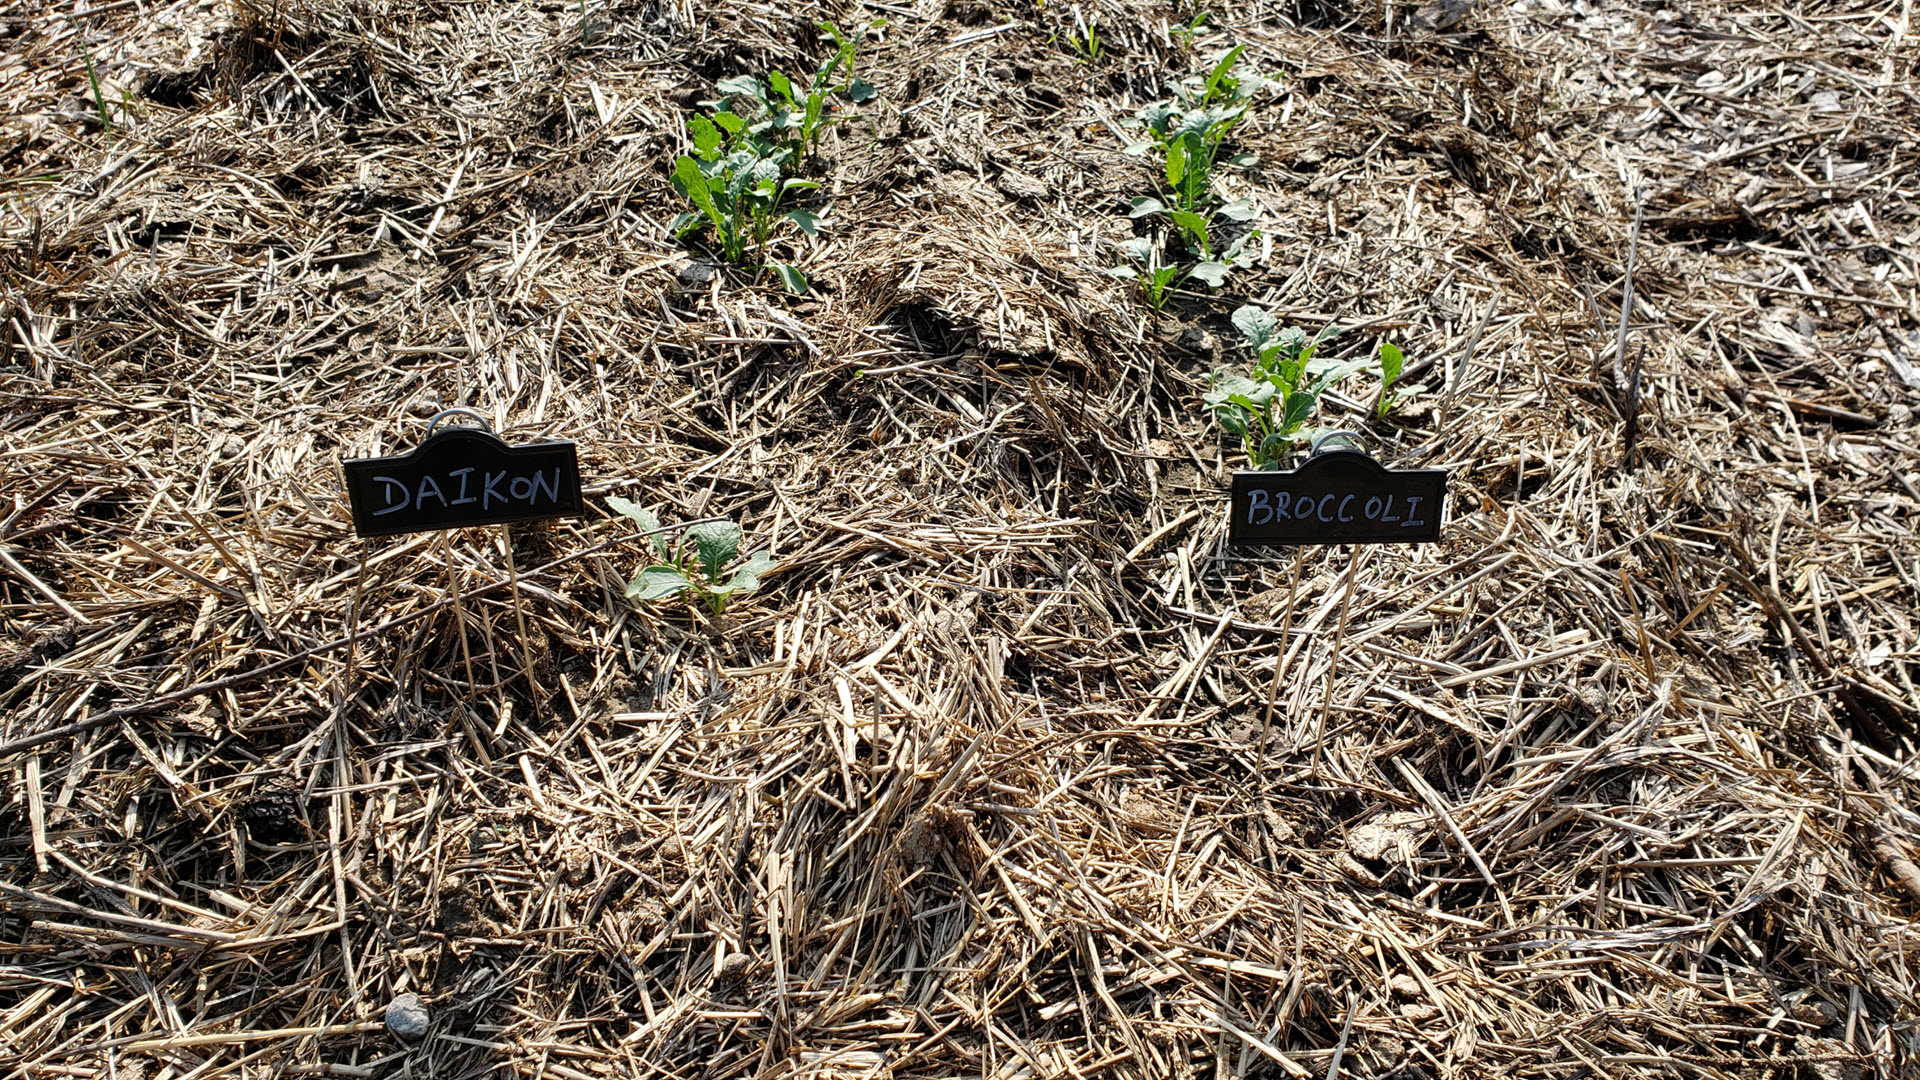 |
Daikon and broccoli for fall planting. |
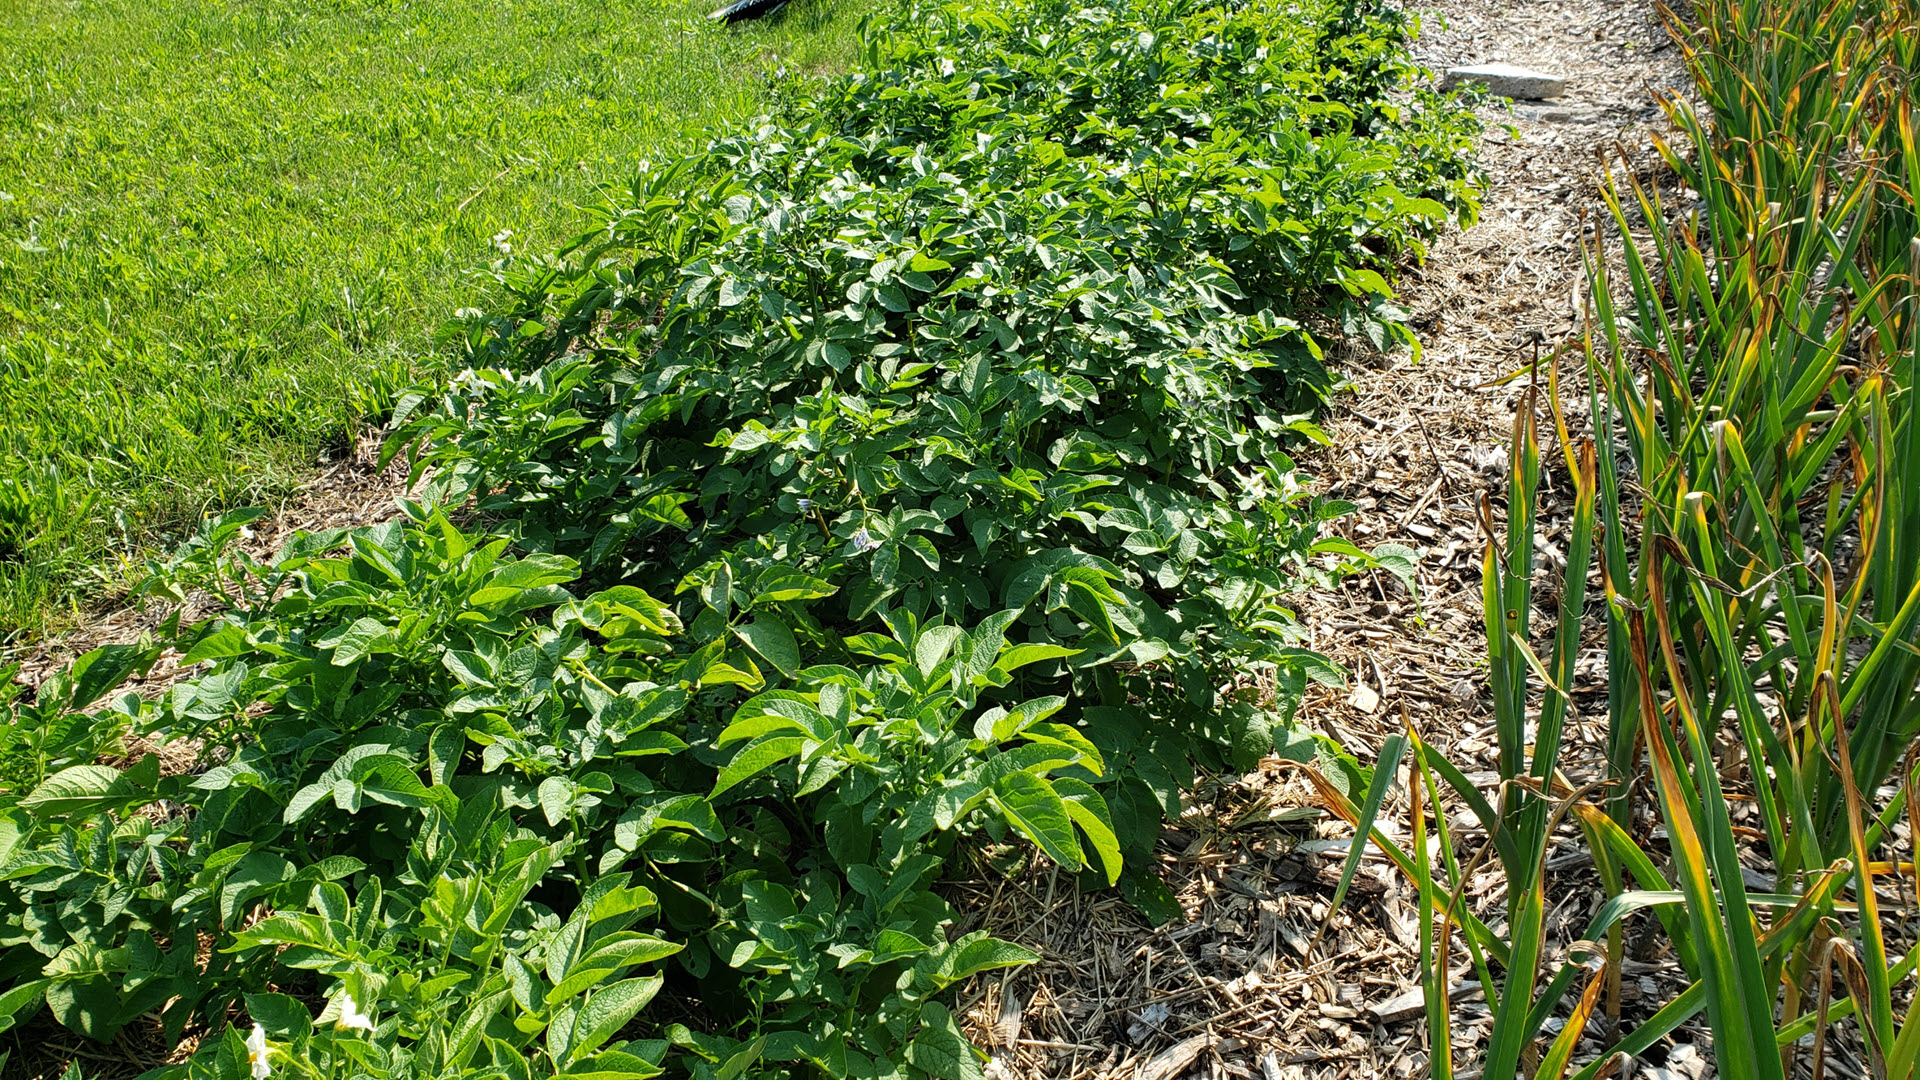 |
Potato plants are growing pretty good this year. I surrounded them with sheep manure. |
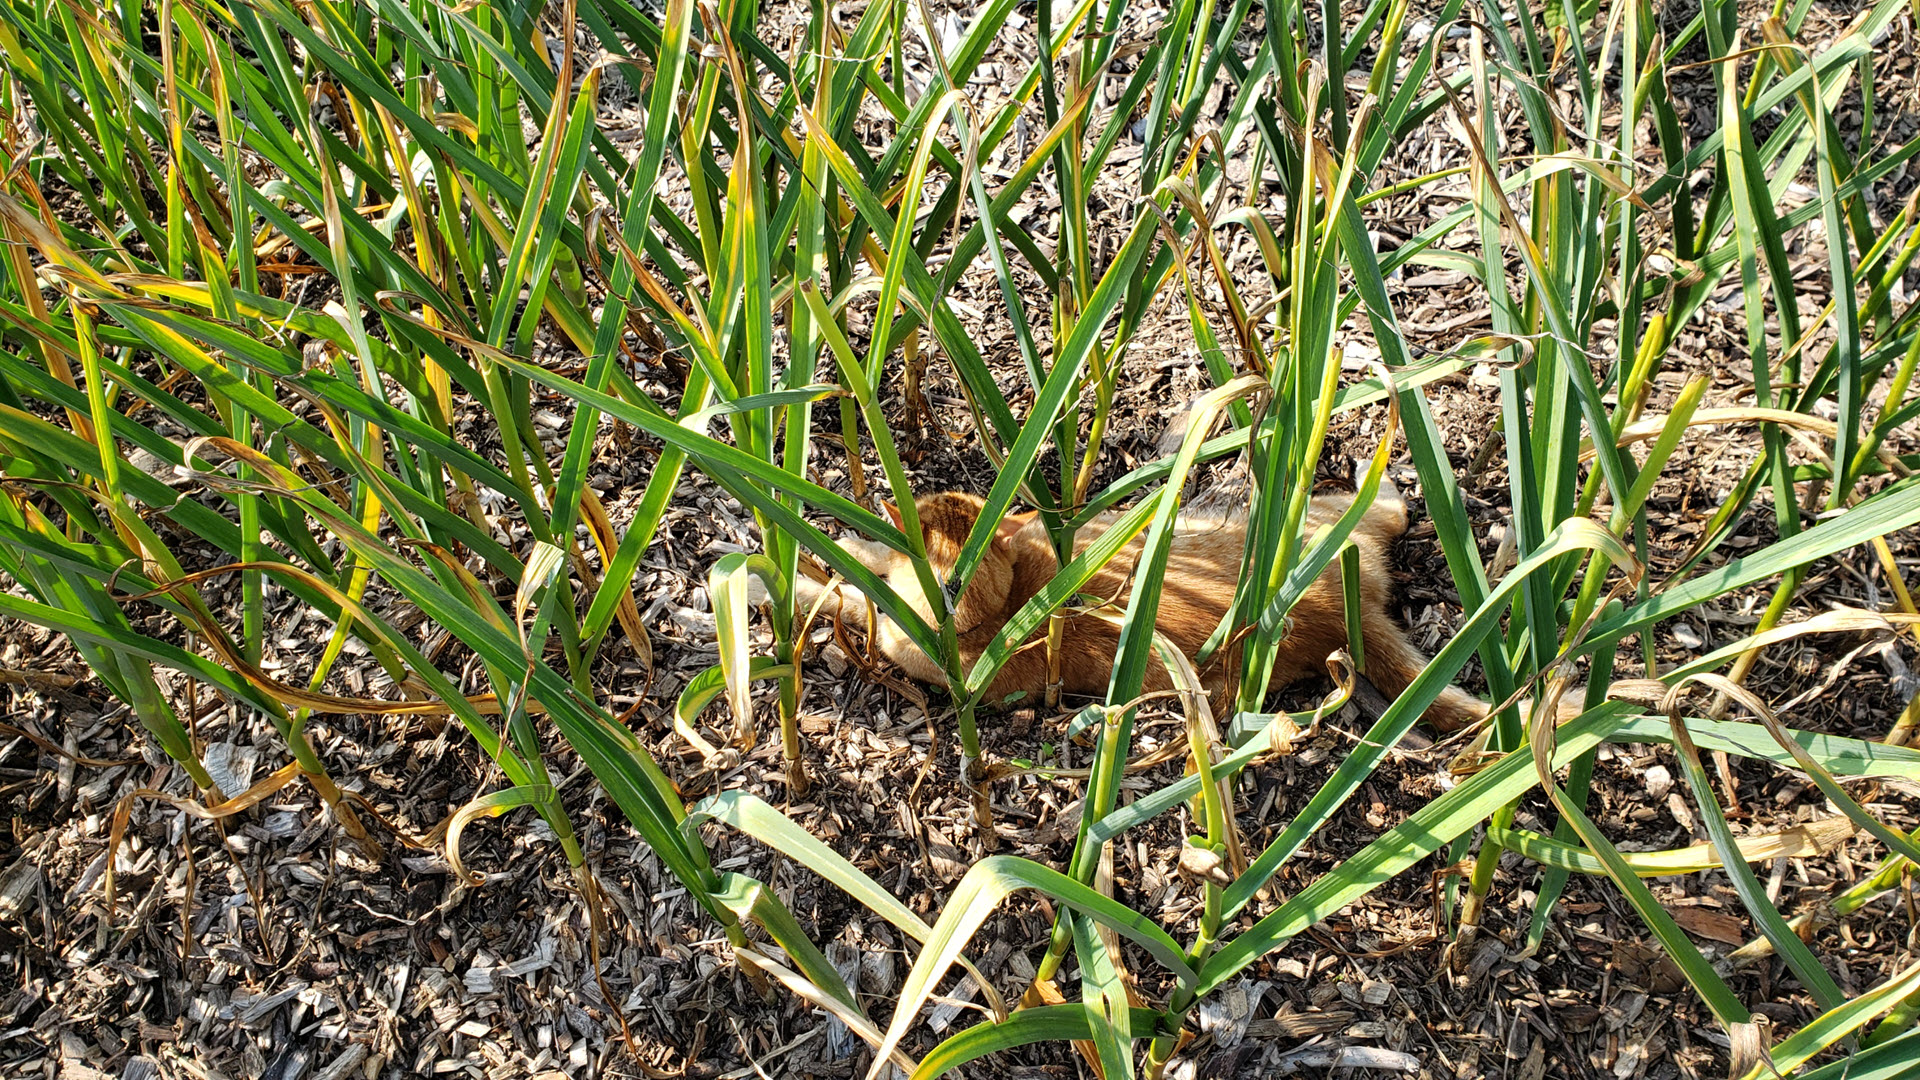 |
Our family cat sleeping in the garlic patch! |
Spring is here and the snow is gone. Time to plant seeds.
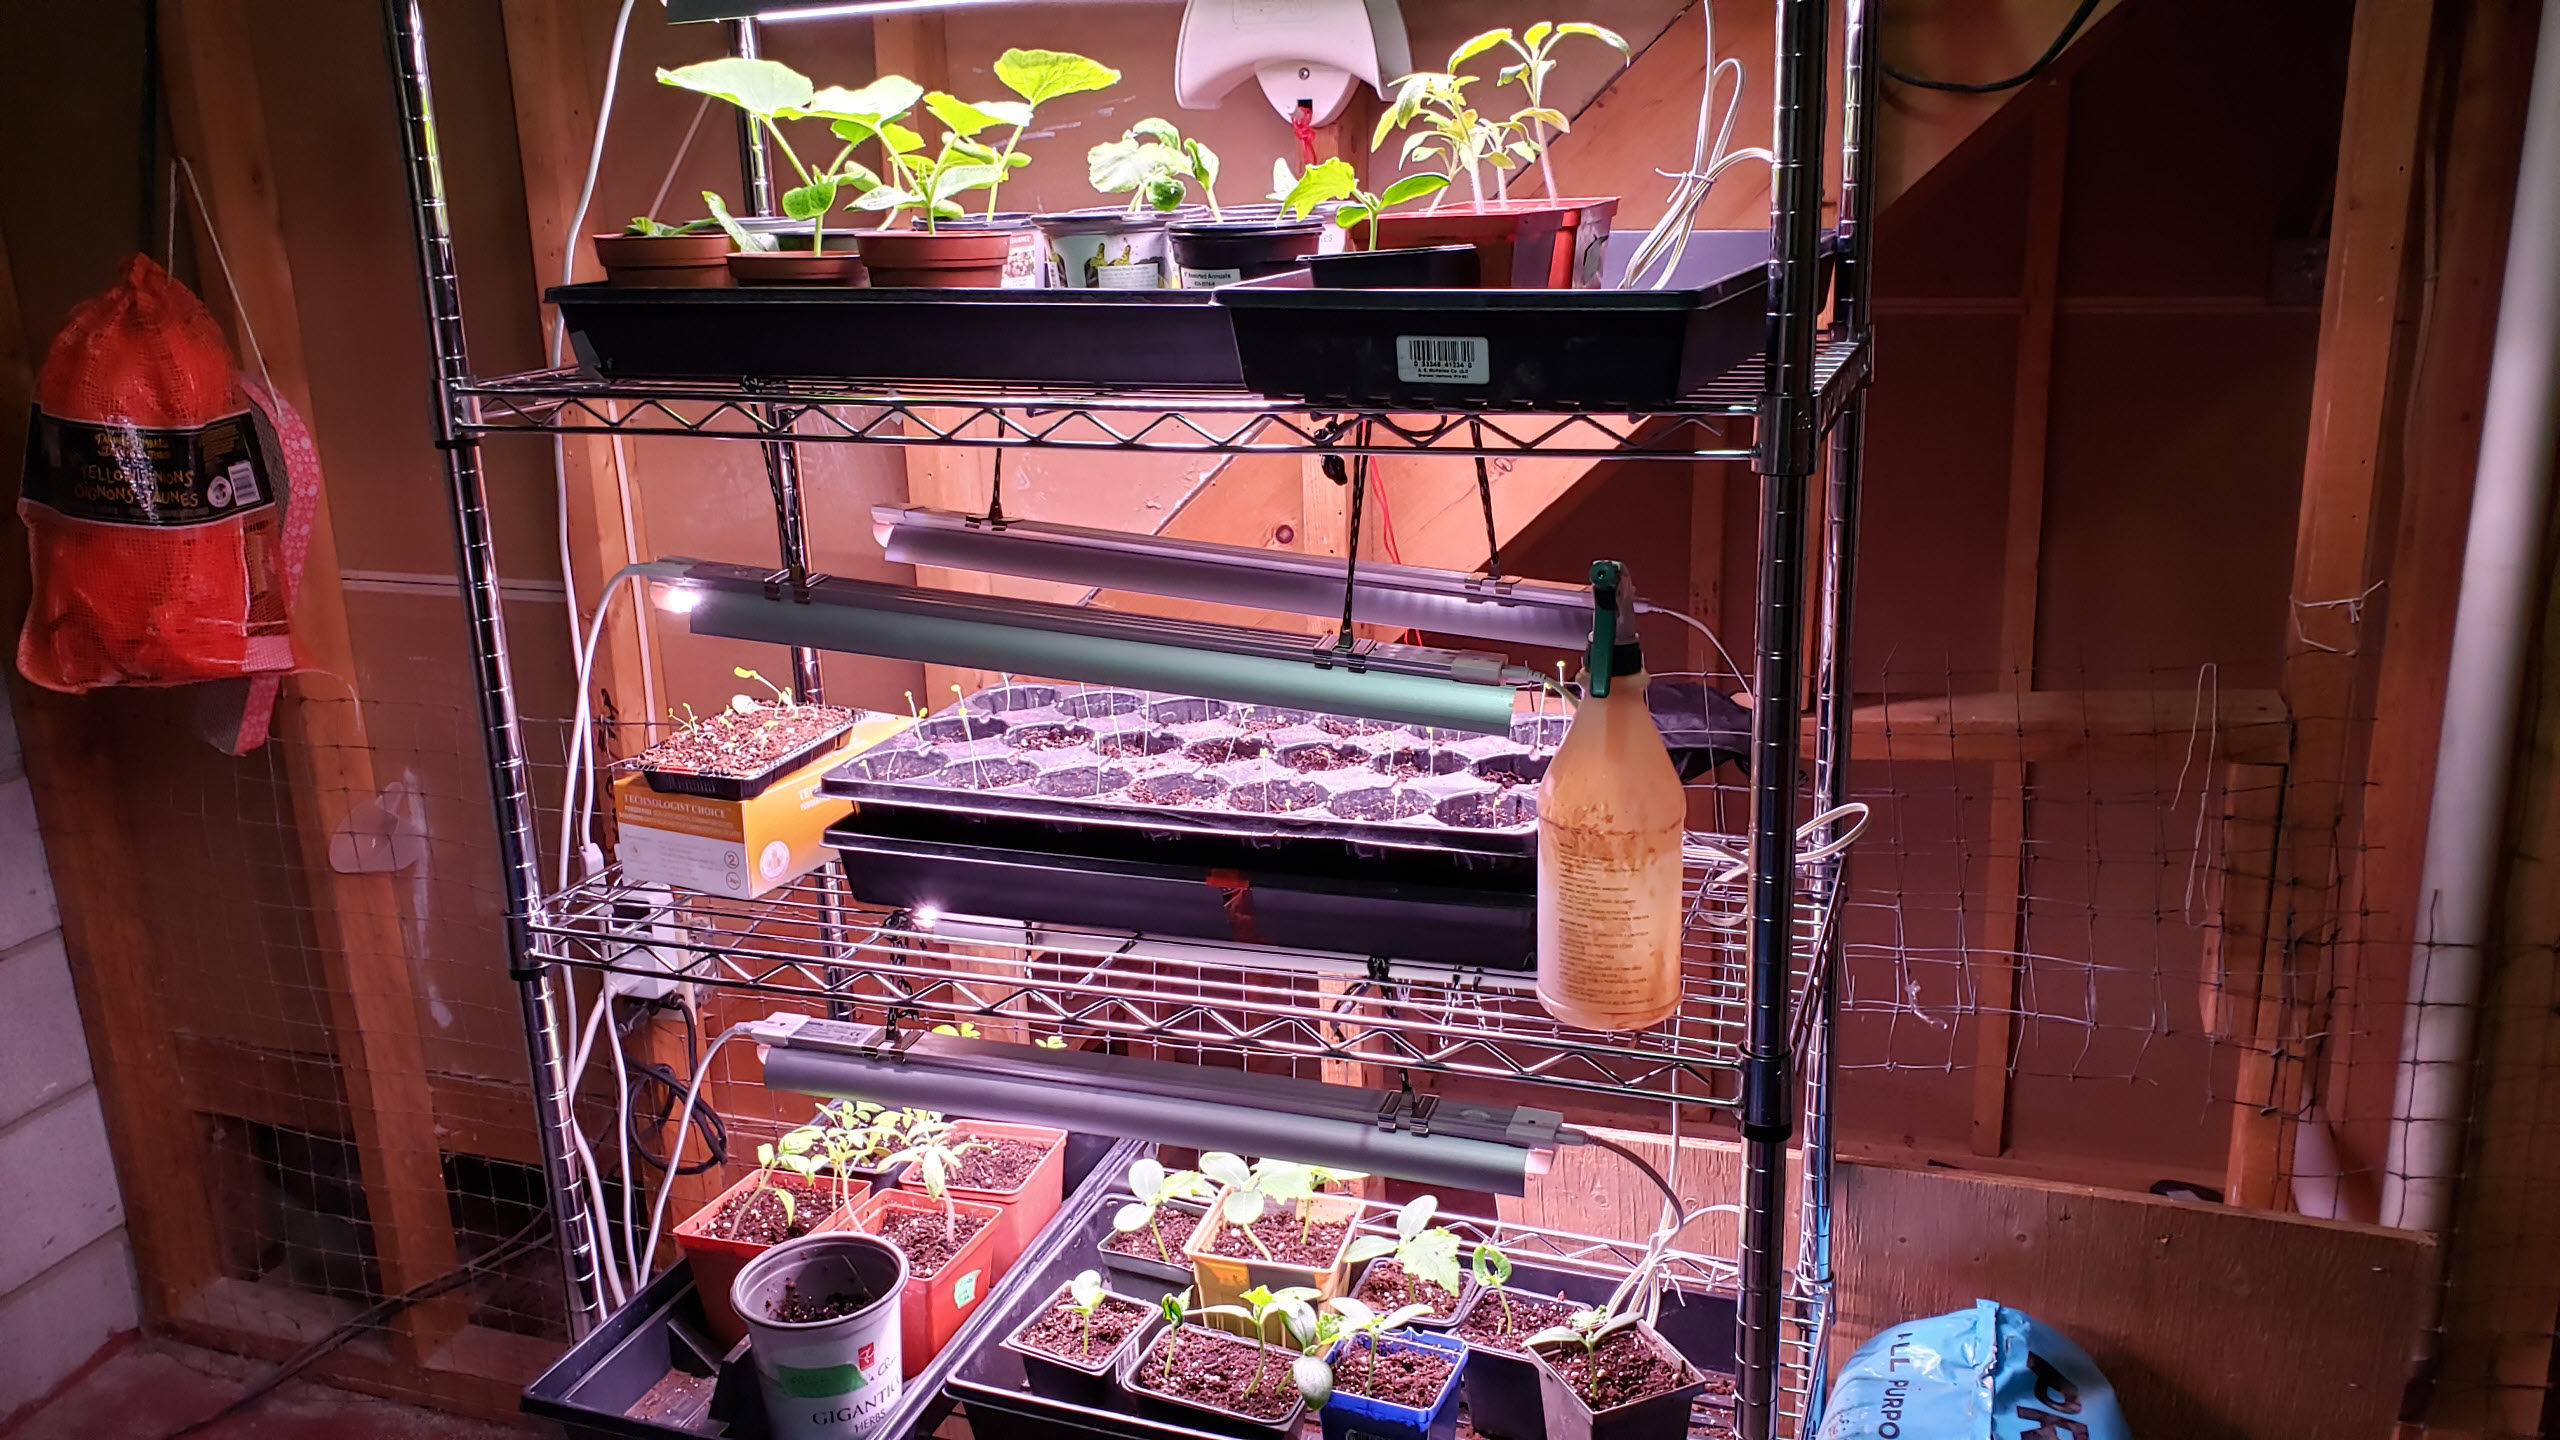 |
I purchased specialized LED designed for plants growing. Not sure if they are any better than regular T8.
Here I am starting seeds of squash, cucumber, tomato, cabbage and zucchini. |
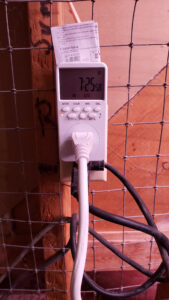 |
This automatic timer is very helpful in turning on and off the growing lights. |
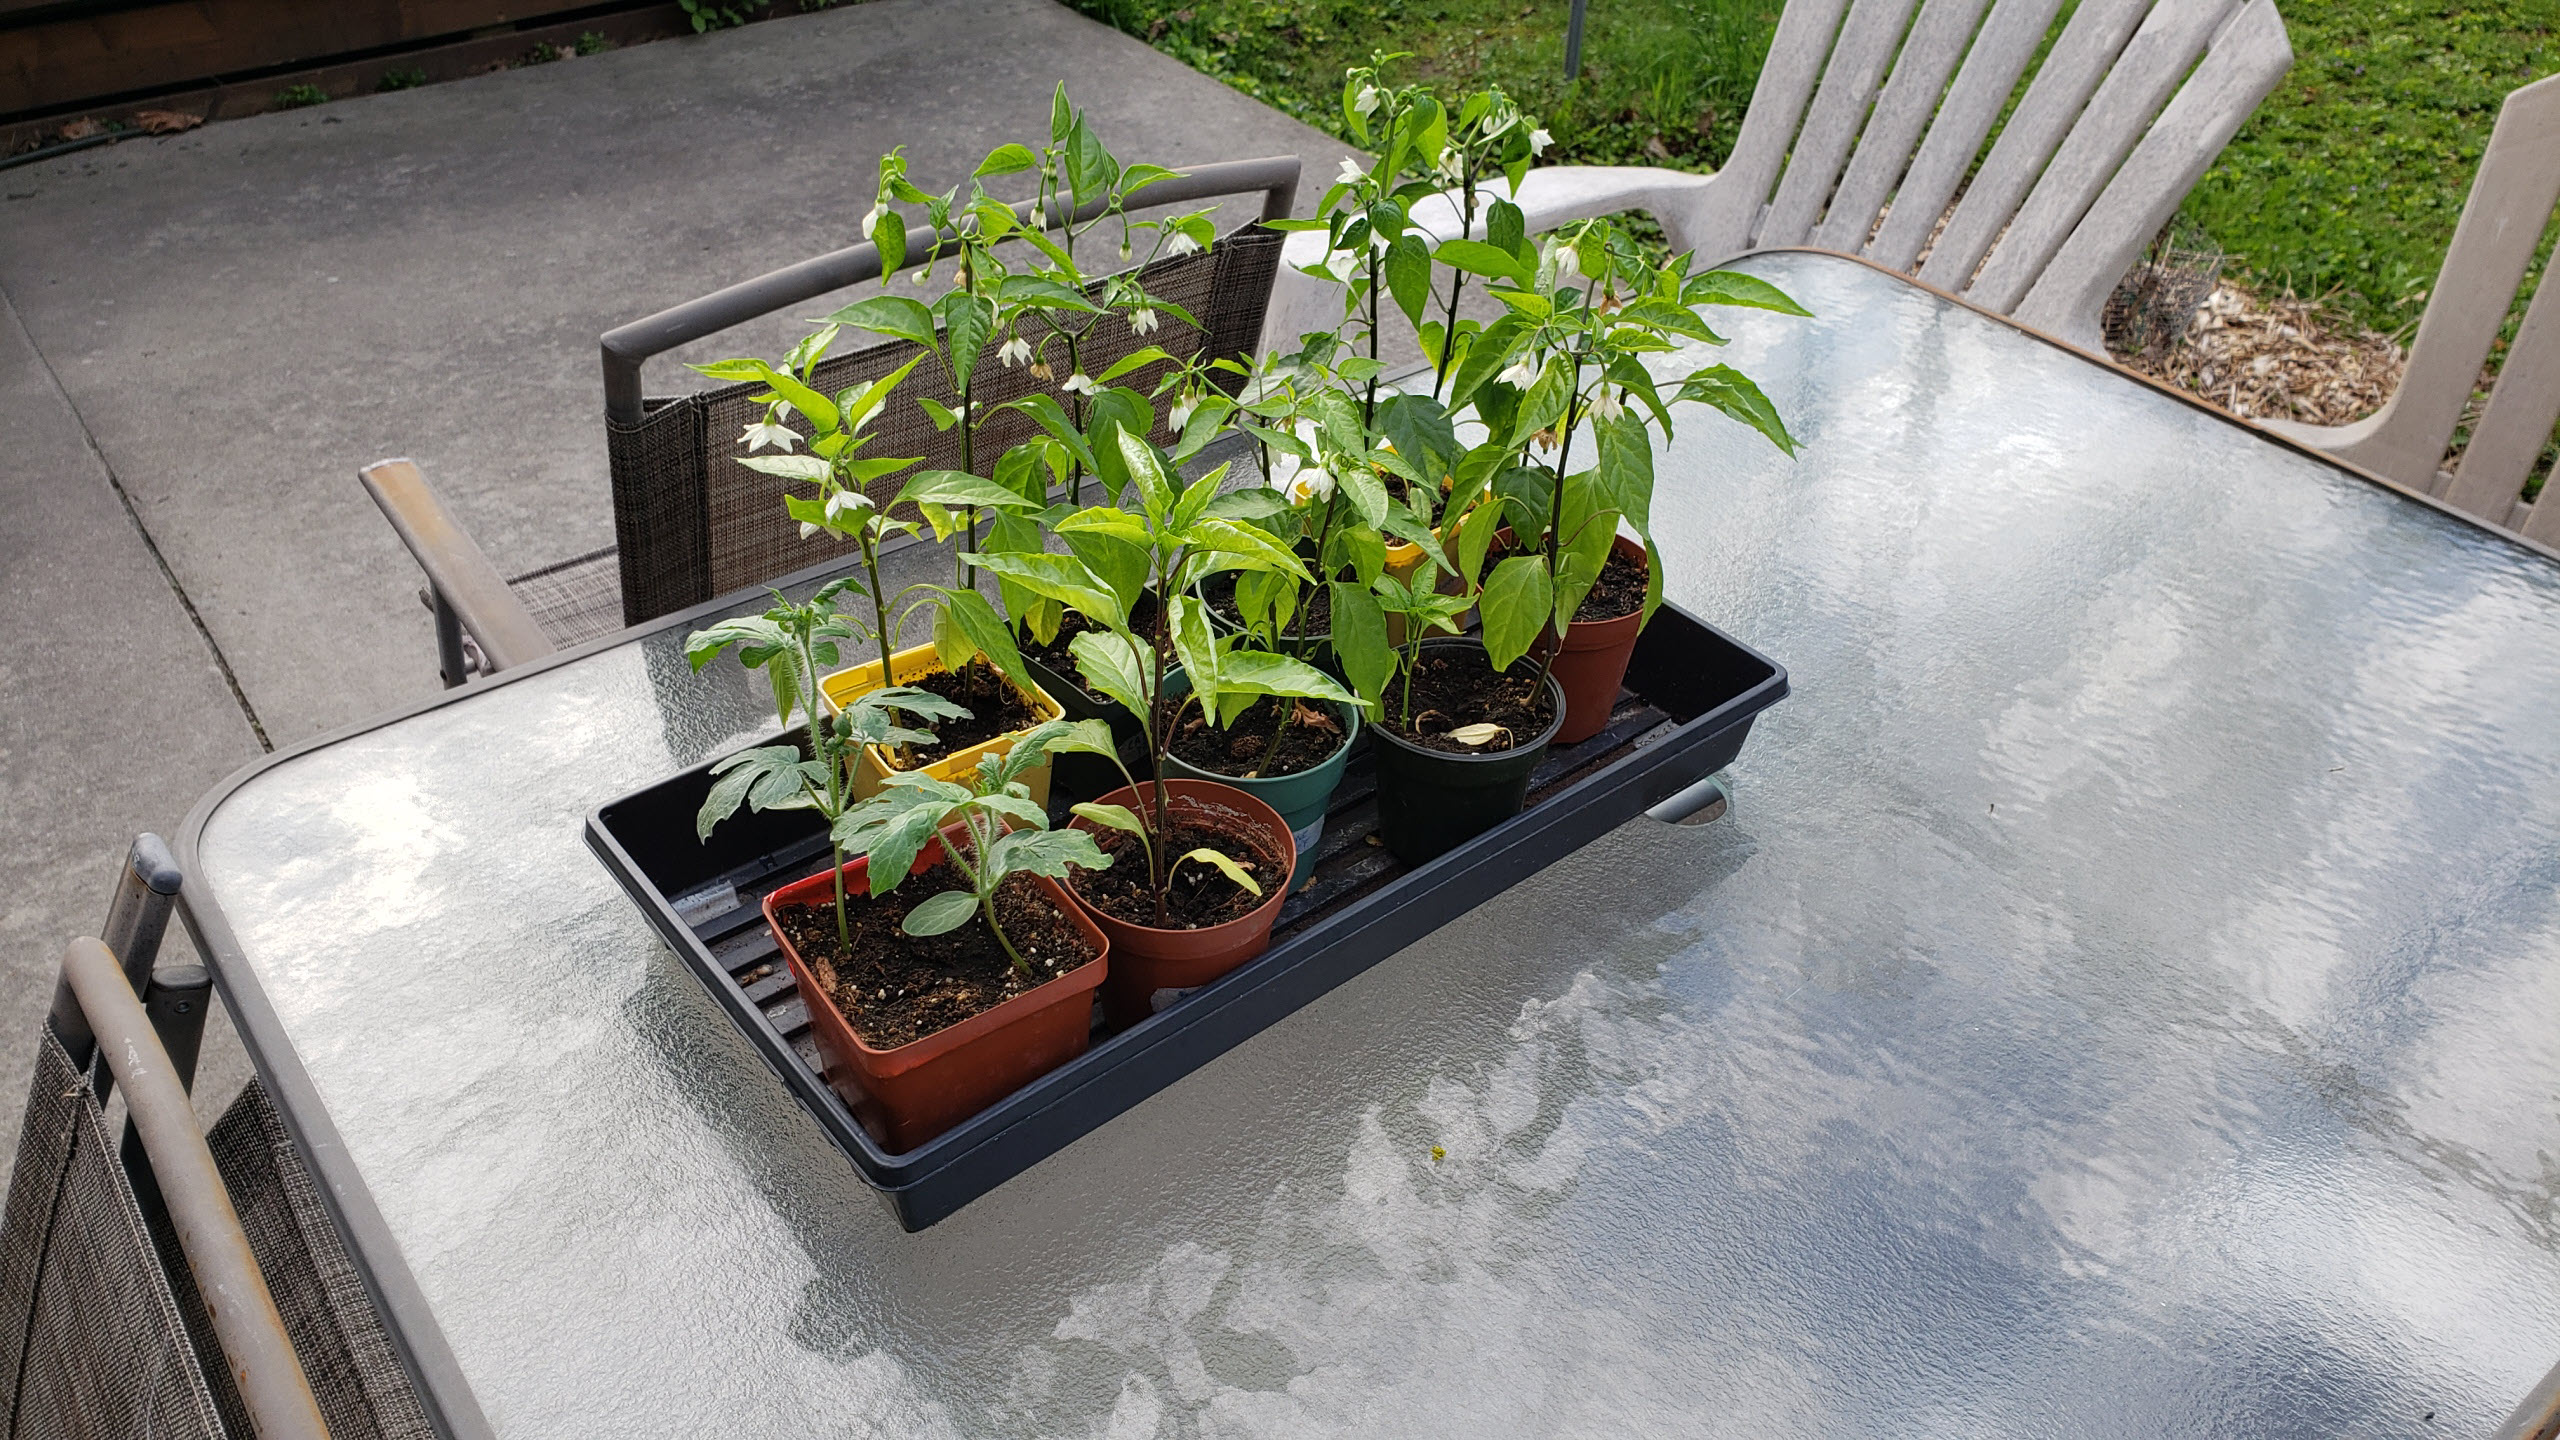 |
These pepper and watermelon seedlings were started in late February and are now ready to be planted outdoors once they are hardened off. |


